
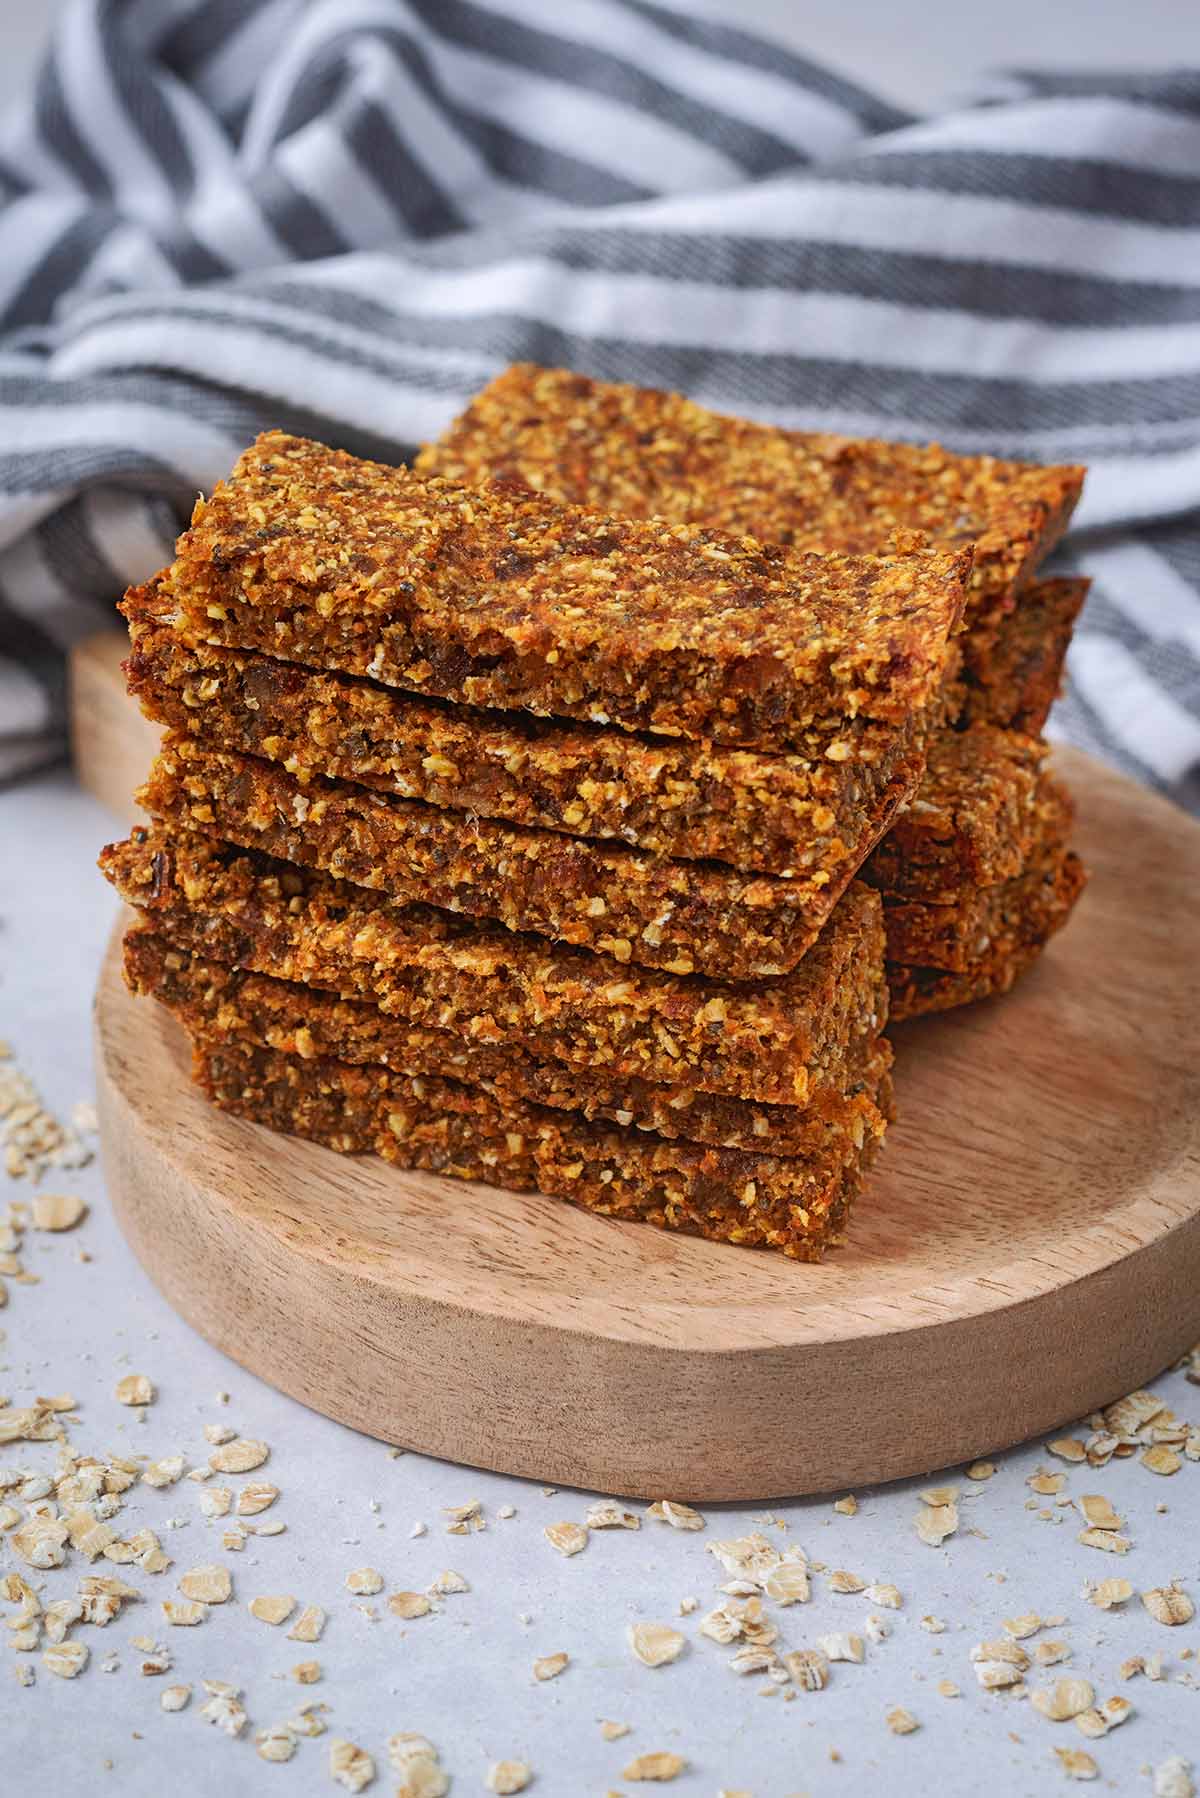
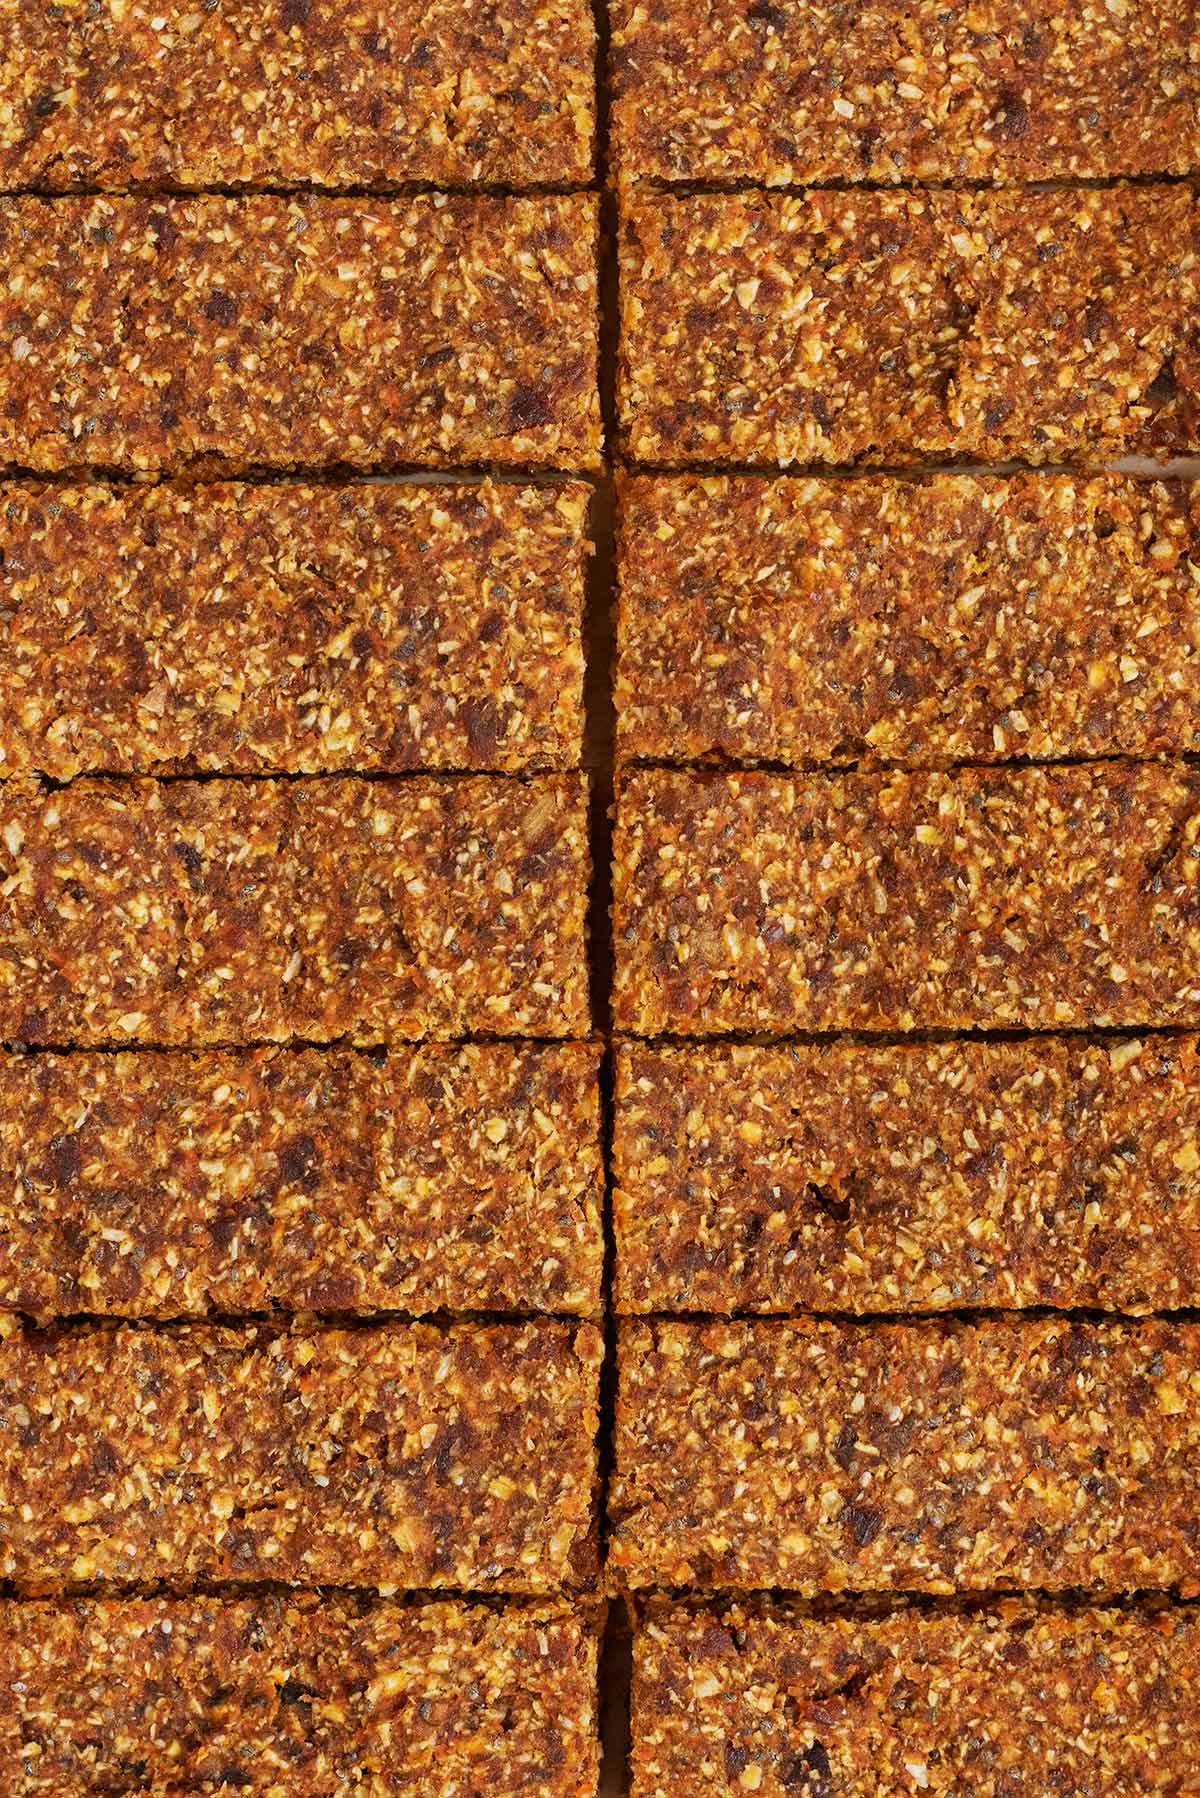
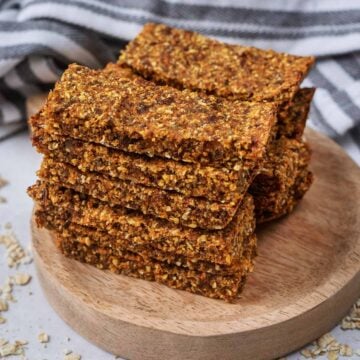
These Carrot Cake Oats Bars have all that amazing flavour of a carrot cake, but are super nutritious and made with wholefoods. They are soft, naturally sweetened, lightly spiced, and made with wholesome ingredients you may already have in your kitchen. It's as simple as blending everything together, a great way to get some extra vegetables in and they are nut free which makes them perfect for school snacks.
Would you like to save this recipe?
What I love most about this carrot cake oat bar recipe is how easy it is. There is no flour, no complicated method, and no need for lots of bowls. Everything just gets blended together.
These bars are ideal for meal prep, easy to customise, and perfect for anyone who loves a healthier bake that still feels like a treat. The carrots and dates add lots of natural sweetness and the oats and seeds make it a great high fibre snack.
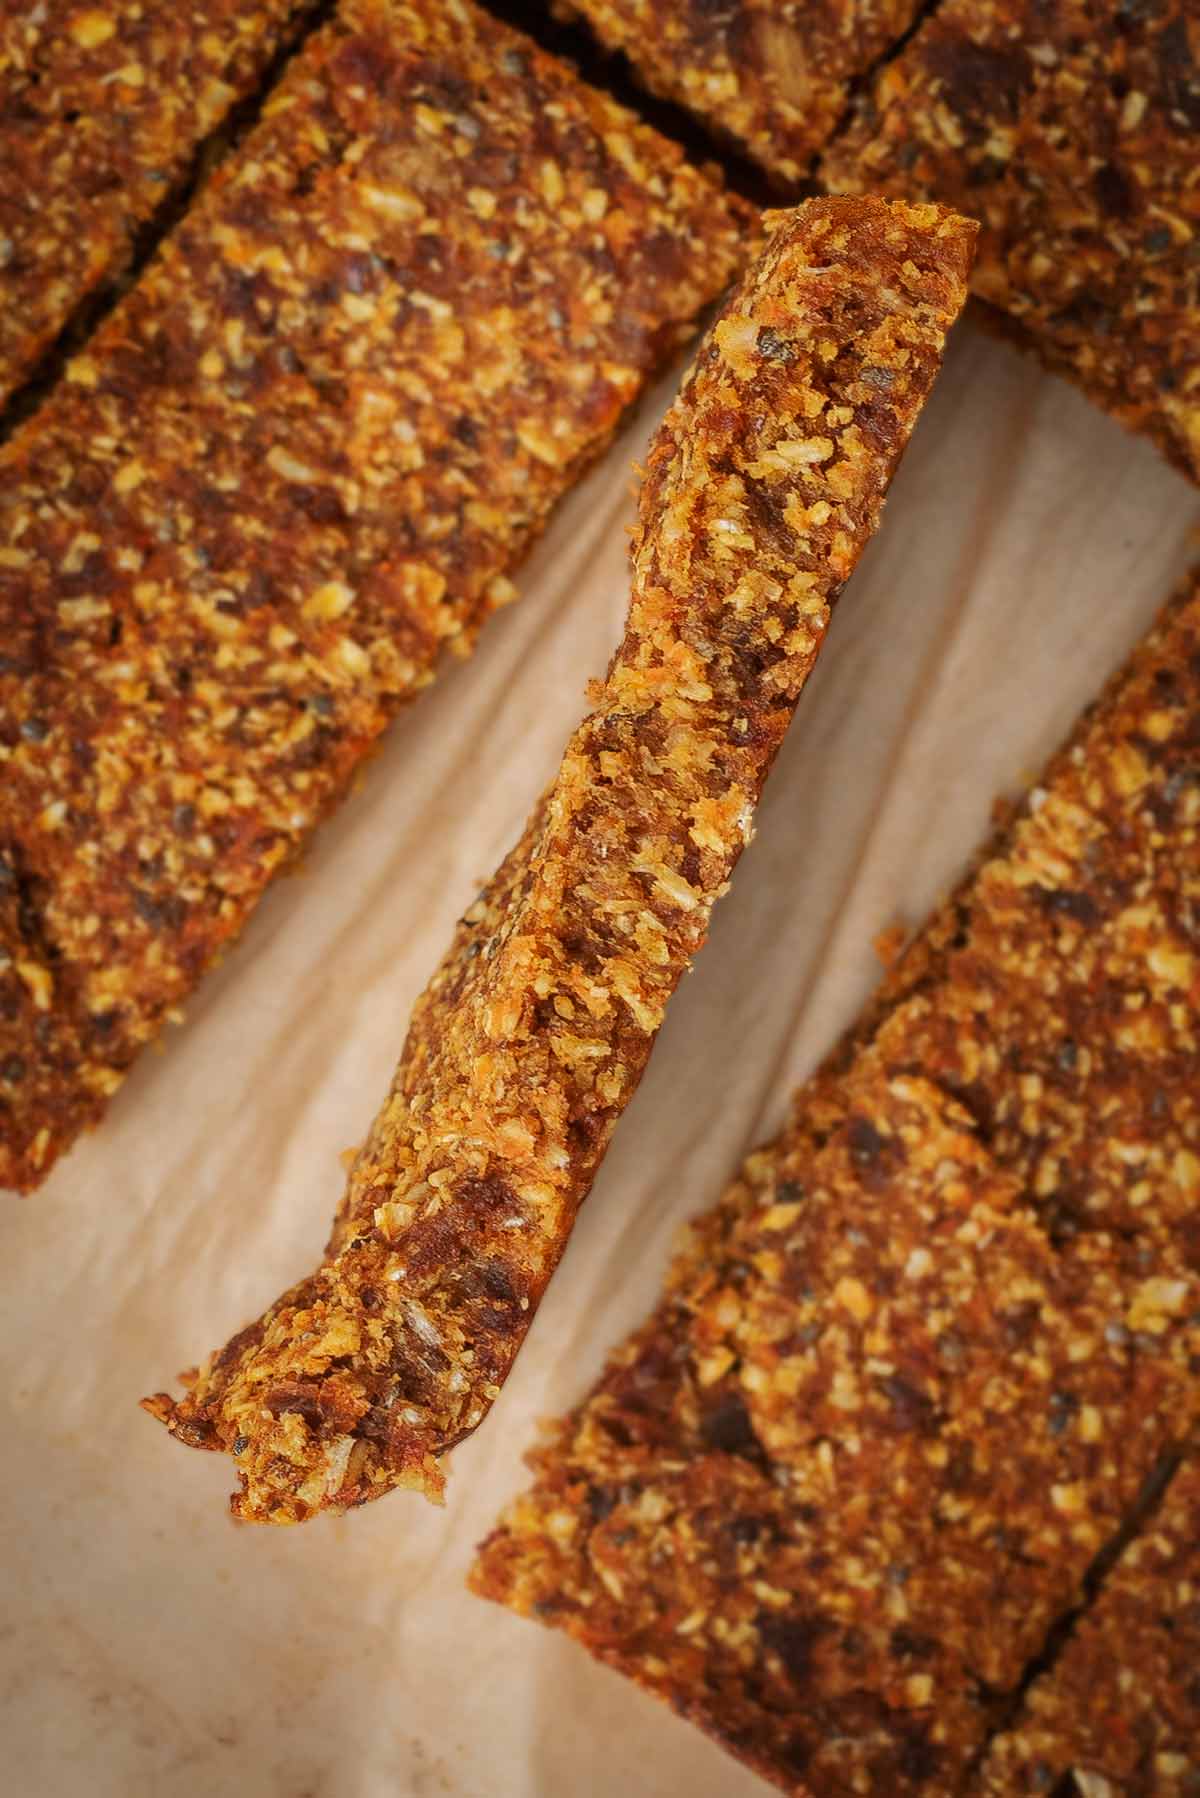
The texture is soft and slightly chewy, with just enough structure to slice neatly into bars once cooled. My kids loved those 'Organix' carrot oat bars when they were little, so these are my "big kid" version.
They are less like a traditional frosted cake bar and more like a soft baked snack bar with carrot cake flavour, but delicious all the same. This is a snack that you can definitely feel good about. I love them as a pre-run snack too.
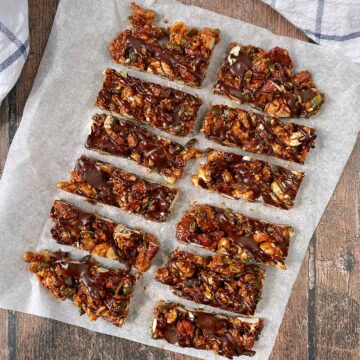
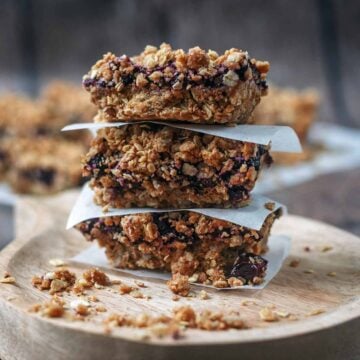
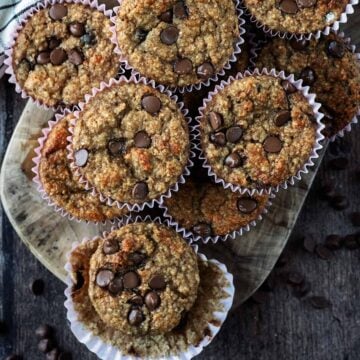
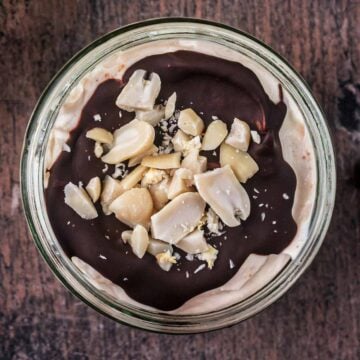
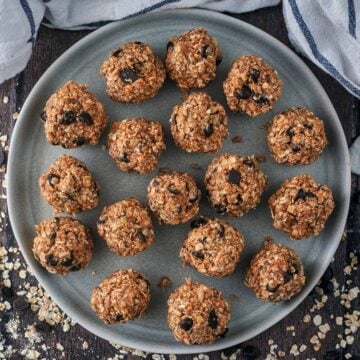
Looking for more healthy snack recipes? Why not try our delicious Chocolate Topped Seed Bars, easy Healthy Flapjacks, our popular High Fiber Breakfast Muffins or for more carrot cake flavour, our Raw Carrot Cake Bites.
Jump to:
Ingredients and Substitutions
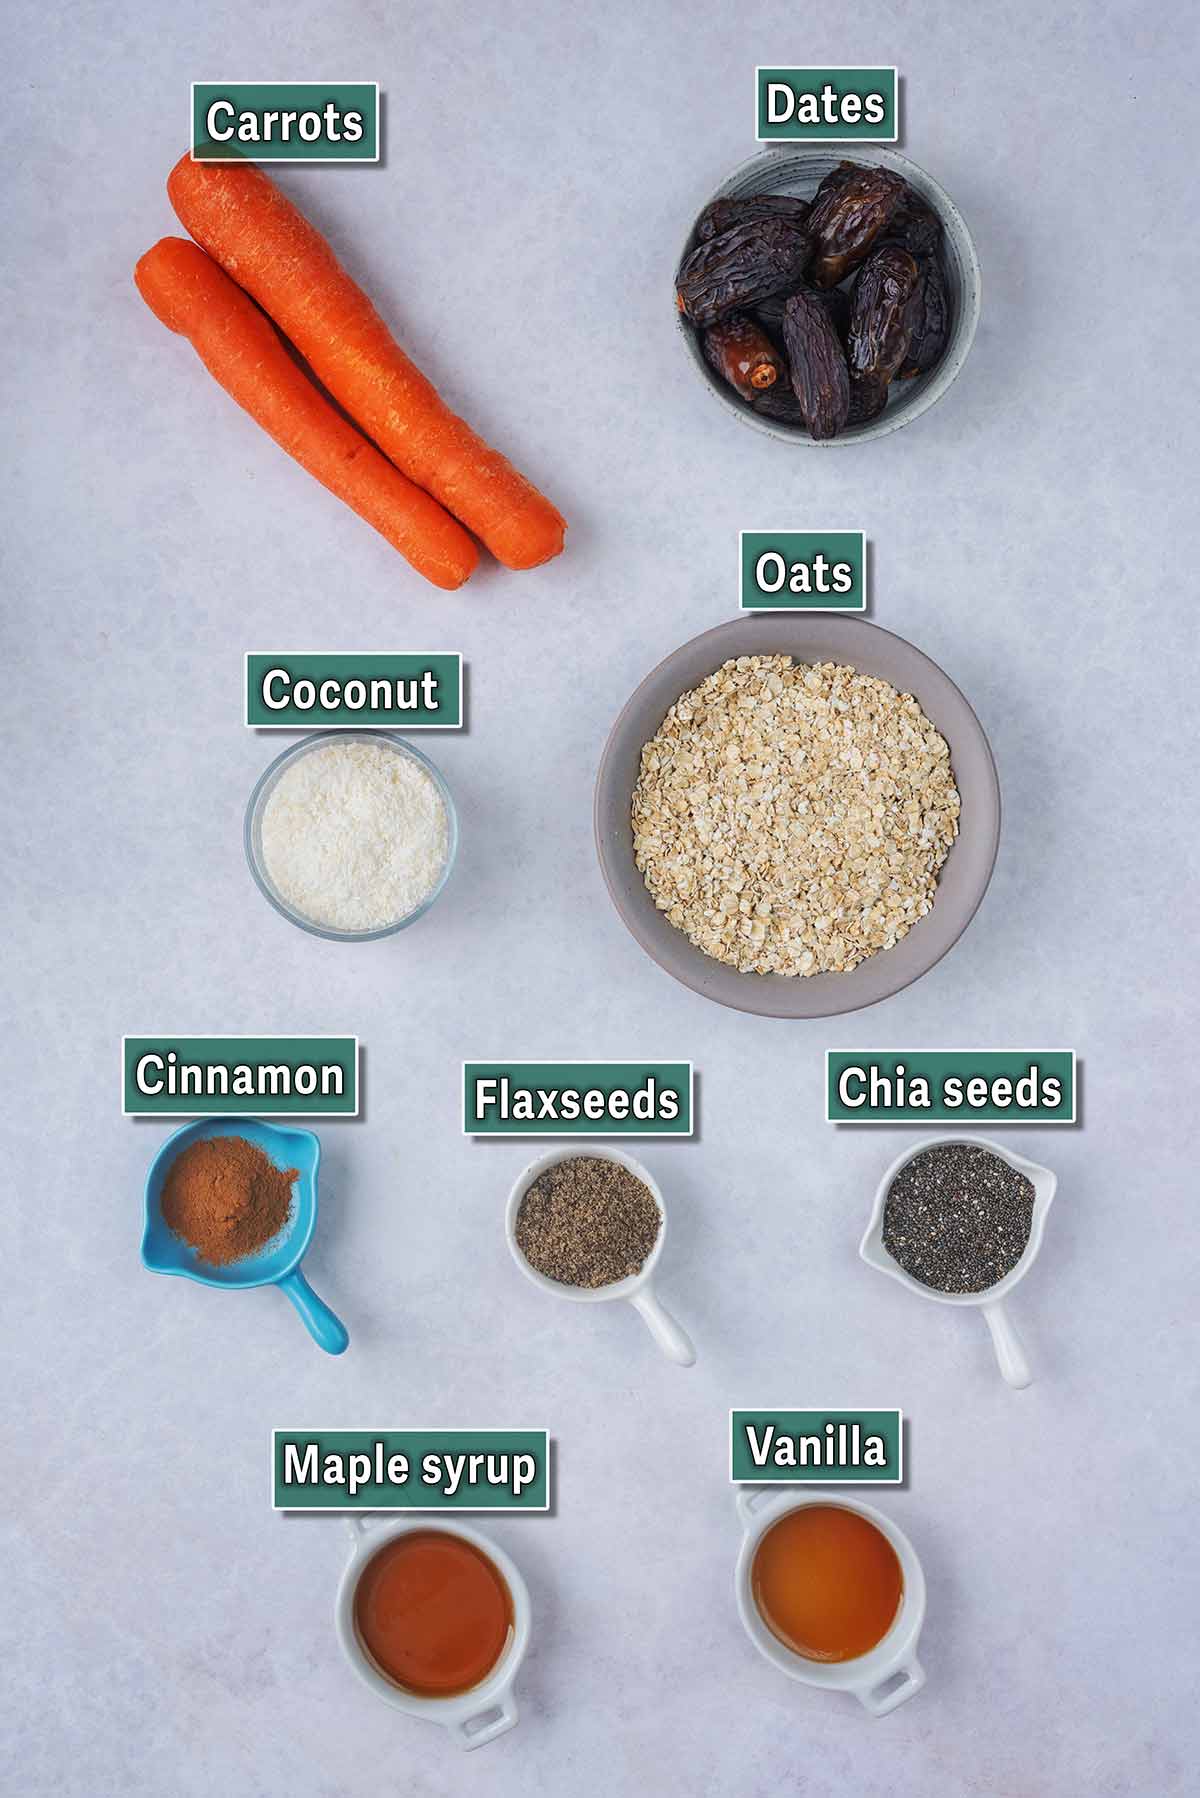
A full ingredients list, along with US Customary and Metric measurements, can be found in the recipe card at the end of this post.
- Carrots - Use freshly grated carrots rather than pre-shredded ones if you can. Freshly grated carrots are softer, moister, and blend better into the mixture.
- Oats - Rolled oats work best, although quick oats can also be used. If you want a slightly smoother texture, you can blend the oats first into a coarse flour before adding the remaining ingredients.
- Dates - Use Medjool dates as they are the sweetest and have an almost caramel flavour. If your dates are a little firm, soak them in warm water for 5 to 10 minutes first, then drain well before blending.
- Seeds - Chia and flaxseeds are used here.
- Coconut - If you are not a big coconut fan, you can reduce it slightly and replace the difference with extra oats.
- Cinnamon, Vanilla and Maple Syrup - These add warmth and sweetness - nutmeg and/or ground ginger can be used too. Start with a tablespoon of maple syrup, test and add more if needed.
Variations
Nuts - For a nuttier flavour, add a small handful of chopped walnuts or pecans to the mixture after blending. This gives the bars more crunch and makes them feel even more like classic carrot cake. We left them out as we wanted to share more nut-free healthy snacks.
Fruit - For a fruitier version, stir through a handful of raisins after blending. They pair really well with the cinnamon and carrots and add little pockets of sweetness. You could use dried cherries or cranberries too.
High Protein - For a higher-protein twist, you can replace a small portion of the oats with your favourite unflavoured or vanilla protein powder. Start by replacing only a few tablespoons so the texture stays balanced.
Topping - For a sweeter dessert-style bar, drizzle the cooled bars with a simple Greek yogurt and maple topping or a light cream cheese glaze if you are serving them more as a treat than a snack.
How To Make Carrot Cake Oat Bars
Prep: Preheat your oven to 180C and line a baking tray or square baking tin with baking paper. An 8-inch square tin works well for thicker bars, while a slightly larger tray will give you thinner bars.
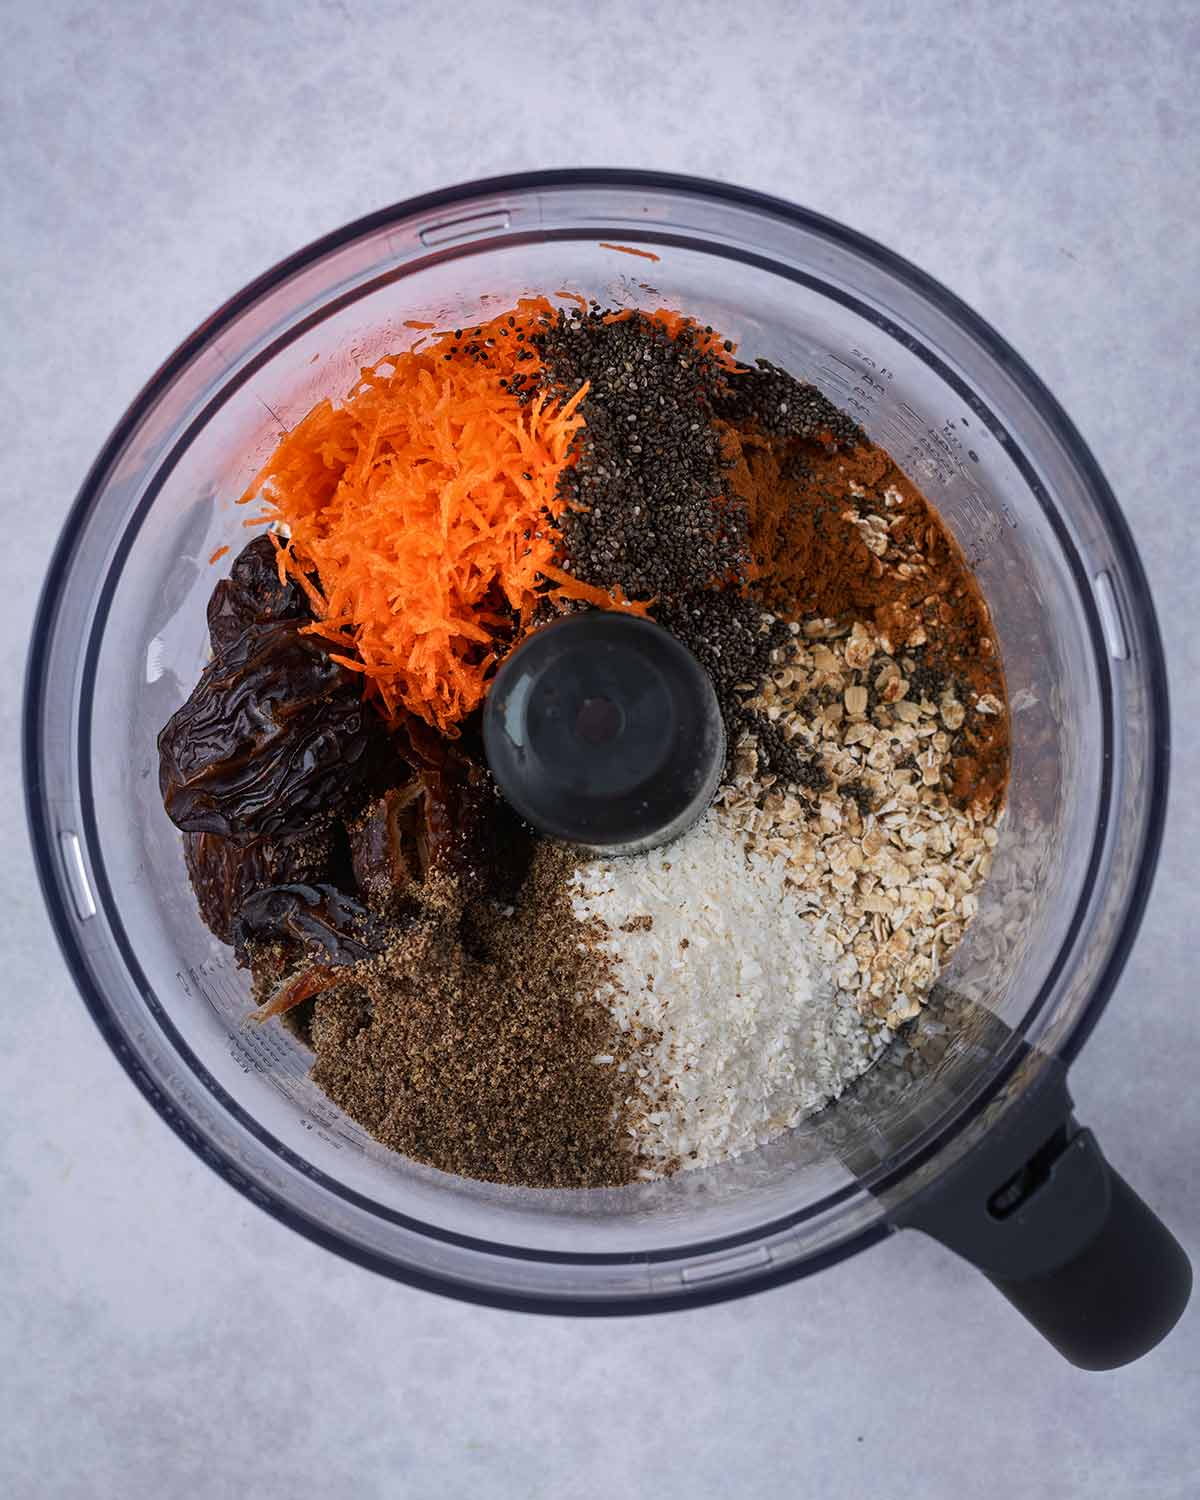
- Step 1: Add all the ingredients to a blender or food processor.
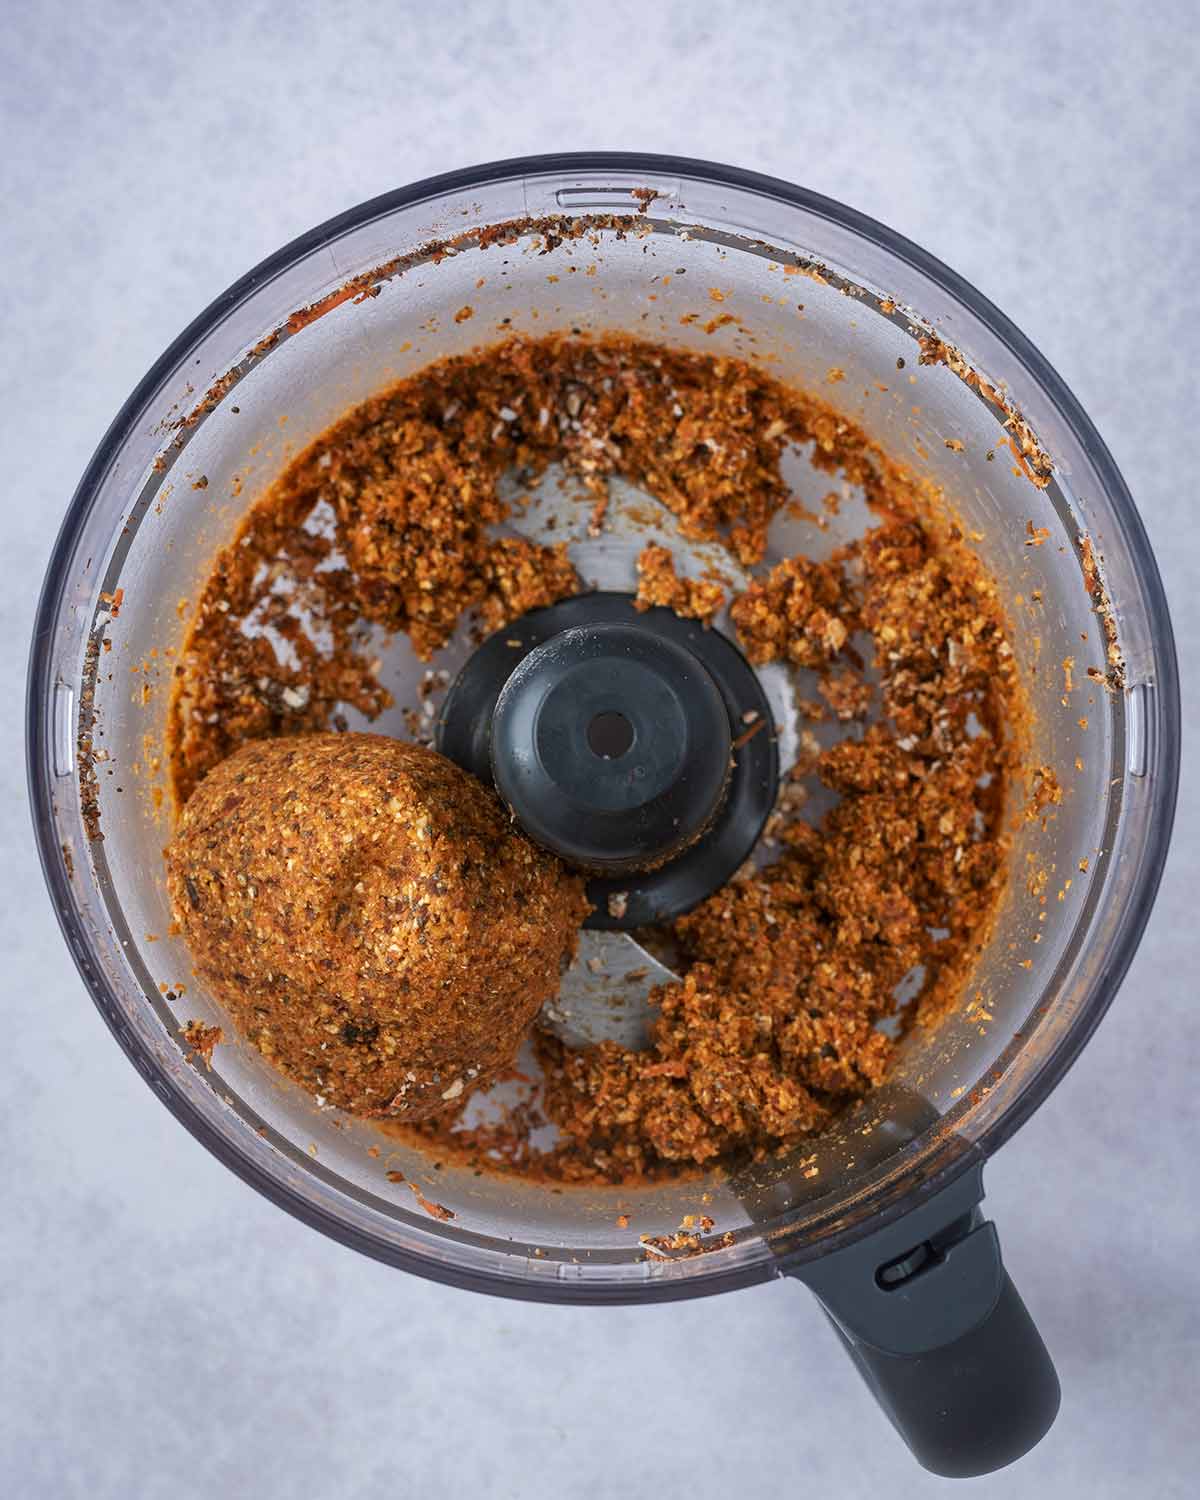
- Step 2: Blend until the mixture comes together into a sticky, textured dough. You want it to hold together when pressed between your fingers. If it seems a little dry, add another small drizzle of maple syrup. If it feels too wet, add a spoonful or two of oats.
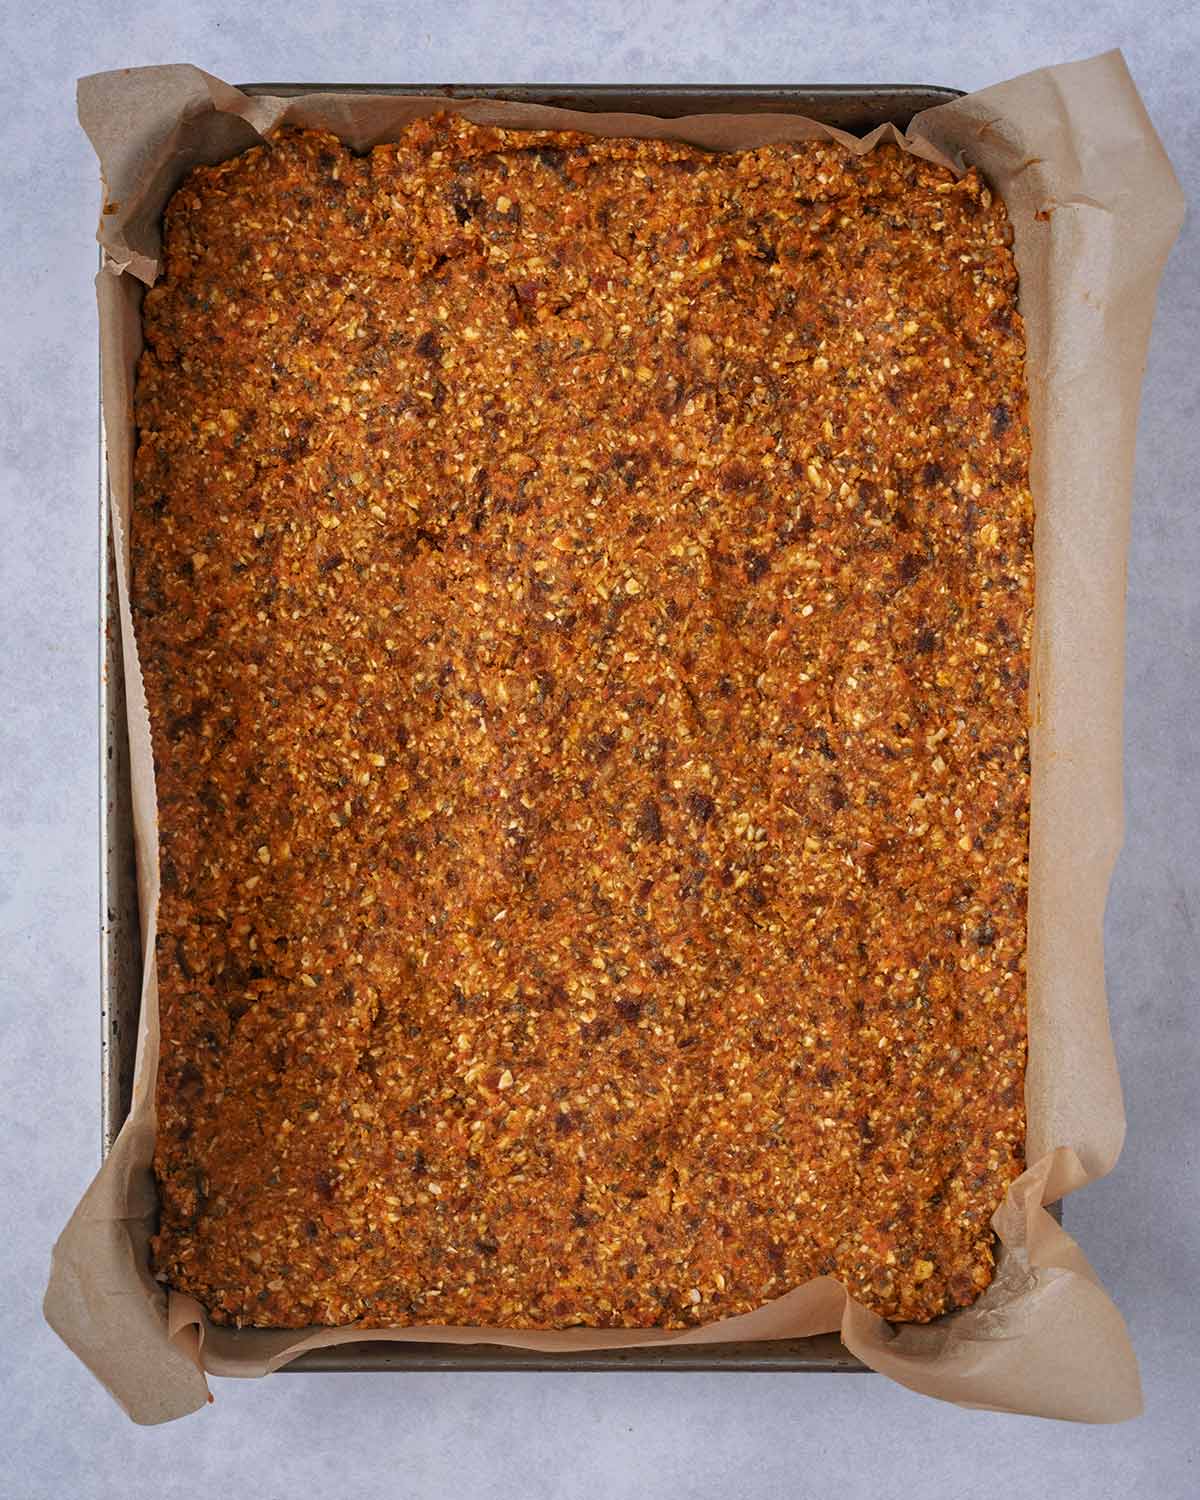
- Step 3: Transfer the mixture to your lined tray and press it down firmly into an even layer. Take your time here because pressing it down well helps the bars hold together after baking. You can use the back of a spoon, a spatula, or slightly damp hands to smooth the top.
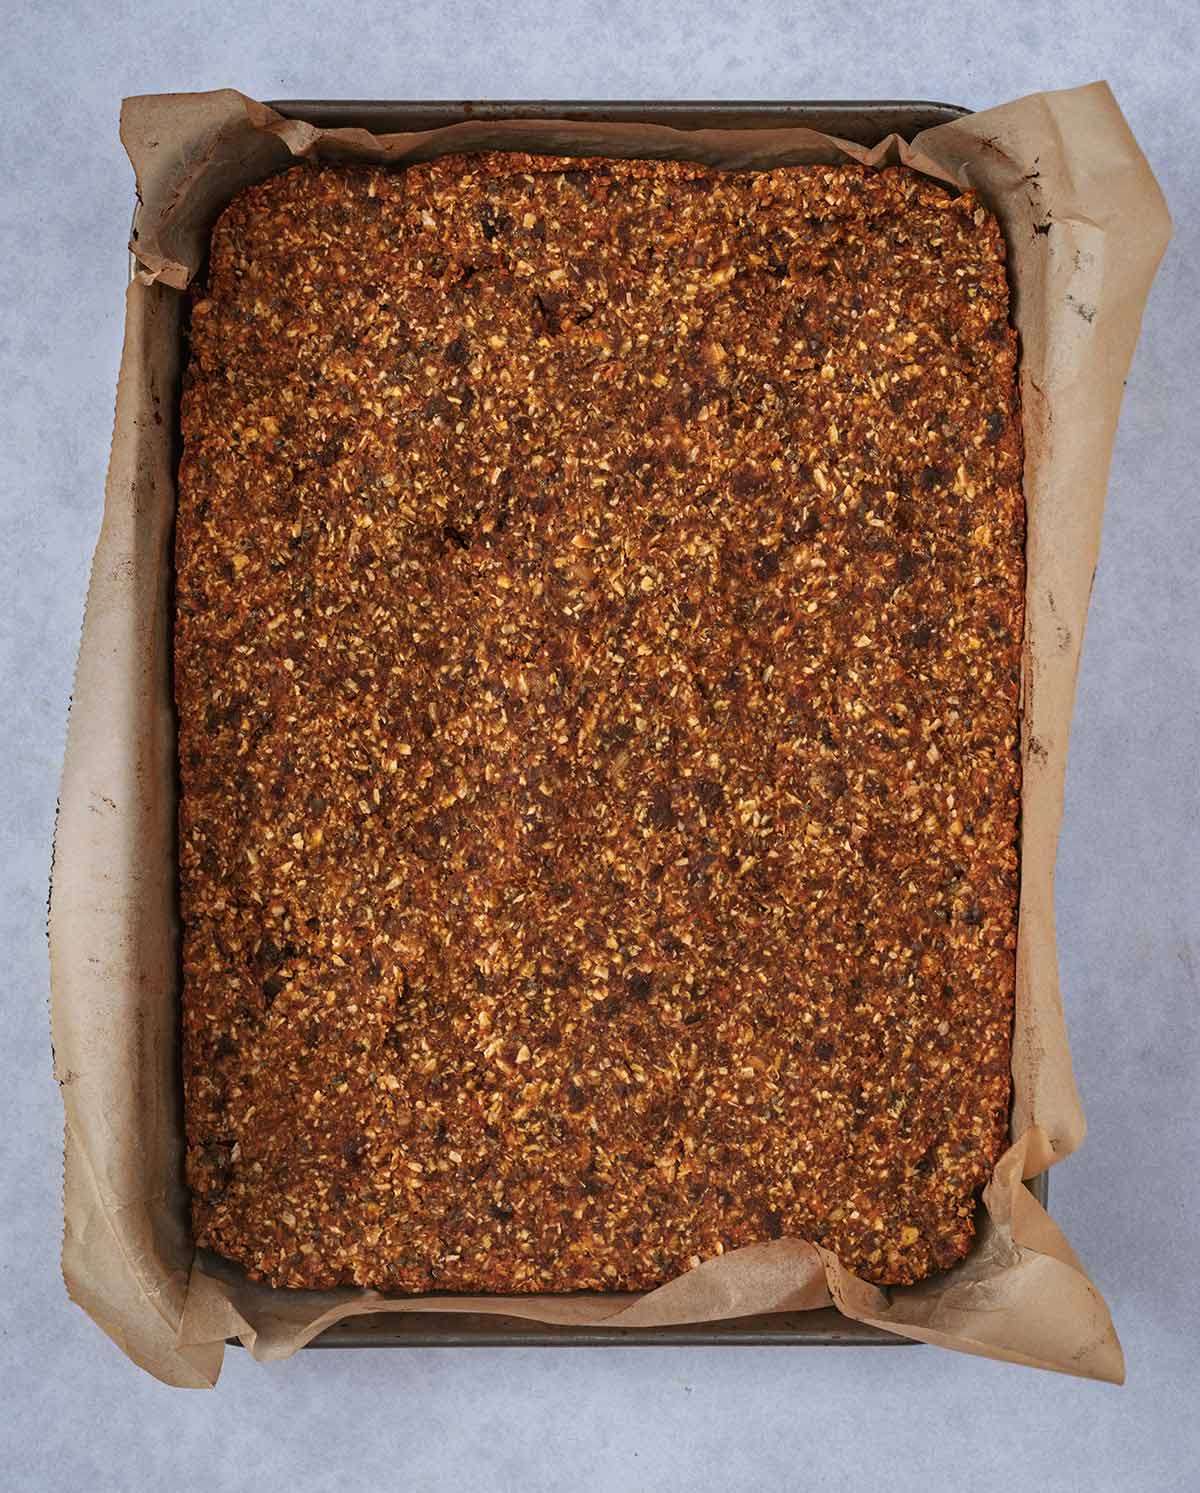
- Step 4: Bake for 15 to 18 minutes, or until the bars look set and the edges are lightly golden. The exact baking time will depend on your tray size and how thick the mixture is.
Carrot Cake Oat Bars Meal Prep and Storage
These carrot cake bars are brilliant for meal prep because they hold up well and are easy to portion in advance. Once the bars are fully cooled and sliced, store them in an airtight container in the refrigerator. They will keep well for up to 5 days.
If you want to stack them, place a sheet of baking paper between the layers to stop them sticking together.
They also freeze well. Place the bars in a freezer-safe container or bag with baking paper between each layer and freeze for up to 3 months. Defrost them in the fridge overnight or at room temperature for a couple of hours before eating.
For easy weekly prep, make a batch on Sunday, slice into individual bars, and keep them ready in the fridge for quick breakfasts and snacks throughout the week.
Dannii's Top Tips
- Use soft, sticky Medjool dates because they make the biggest difference to how well the bars hold together. Dry dates can make the mixture crumbly.
- Do not overblend the mixture into a completely smooth paste. A little texture gives the bars a better final result.
- Press the mixture down firmly into the tray so the bars bake evenly and slice neatly.
- Let the carrot cake oat bars cool fully before cutting. Warm bars can seem soft and fragile, but they will firm up as they sit.
- If your carrots seem especially wet, squeeze out just a little extra moisture before blending. If they are very dry, you may need a touch more maple syrup.
- If you want neater slices, chill the baked slab for 30 minutes before cutting. This makes it easier to get clean, even bars.
- A food processor usually works best for this recipe because it handles sticky dates more easily, but a strong blender can work too. You may just need to stop and scrape down the sides a few times.
- If you prefer a softer, more cake-like texture, avoid overbaking. Take the bars out as soon as the edges are lightly golden and the centre looks set.
Frequently Asked Questions
No, you do not have to peel them if they are clean and fresh. Just give them a good wash before grating. If the carrots are older or the skin looks tough, peeling them may give a smoother texture.
This usually means the mixture was a little too dry or was not pressed firmly enough into the tray. Try adding an extra date or a little more maple syrup next time, and make sure the mixture is packed down well before baking.
They may need a little longer to cool, as they firm up as they sit. If they still feel too soft once cold, they may have been underbaked or the carrots may have added extra moisture. A slightly longer bake or a spoonful more oats can help next time.
More Snack Bar Recipes


If you've tried these carrot cake oatmeal bars, let us know how you got on in the comments below.
Tag us in your creations on Instagram @hungryhealthyhappy - Use the hashtag #hungryhealthyhappy too.
Recipe
Carrot Cake Oat Bars
Ingredients
- 100 g (3.5 oz) of Carrot - grated
- 180 g (1.25 cups) of Medjool dates - pitted
- 80 g (0.66 cup) of Oats - (use certified gluten free oats to ensure this recipe is gluten free)
- 2 teaspoon of Ground flaxseeds
- 2 teaspoon of Chia seeds
- 2 tablespoon of Desiccated coconut
- 1 teaspoon of Cinnamon
- 1 tablespoon of Maple syrup
- 0.5 teaspoon of Vanilla extract
Instructions
- Preheat your oven to 180C and line a baking tray or square baking tin with baking paper. An 8-inch square tin works well for thicker bars, while a slightly larger tray will give you thinner bars.
- Add all the ingredients to a blender or food processor.
- Blend until the mixture comes together into a sticky, textured dough. You want it to hold together when pressed between your fingers. If it seems a little dry, add another small drizzle of maple syrup. If it feels too wet, add a spoonful or two of oats.
- Transfer the mixture to your lined tray and press it down firmly into an even layer. Take your time here because pressing it down well helps the bars hold together after baking. You can use the back of a spoon, a spatula, or slightly damp hands to smooth the top.
- Bake for 15 to 18 minutes, or until the bars look set and the edges are lightly golden. The exact baking time will depend on your tray size and how thick the mixture is.
Recipe Video
Recipe Tips
- Use soft, sticky Medjool dates because they make the biggest difference to how well the bars hold together. Dry dates can make the mixture crumbly.
- Do not overblend the mixture into a completely smooth paste. A little texture gives the bars a better final result.
- Press the mixture down firmly into the tray so the bars bake evenly and slice neatly.
- Let the carrot cake oat bars cool fully before cutting. Warm bars can seem soft and fragile, but they will firm up as they sit.
- If your carrots seem especially wet, squeeze out just a little extra moisture before blending. If they are very dry, you may need a touch more maple syrup.
- If you want neater slices, chill the baked slab for 30 minutes before cutting. This makes it easier to get clean, even bars.
- A food processor usually works best for this recipe because it handles sticky dates more easily, but a strong blender can work too. You may just need to stop and scrape down the sides a few times.
- If you prefer a softer, more cake-like texture, avoid overbaking. Take the bars out as soon as the edges are lightly golden and the centre looks set.
Nutritional Information
Would you like to save this recipe?
The nutritional information provided is approximate and is calculated using online tools. Information can vary depending on various factors, but we have endeavoured to be as accurate as possible.
As all appliances vary, cooking times are a guide. Please note that by changing the serving size, the cooking time may also need to be altered.
Arrah Ott says
These are delicious. I doubled the recipe and put half a batch in the freezer for the following week. So easy, quick, healthy, and taste great (as do all the recipes from this site I've tried)