

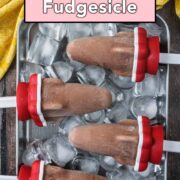
These High Protein Chocolate Fudge Popsicles are rich, creamy and chocolatey, with 18 grams of protein per popsicle. Made with just 5 simple ingredients, they are a healthier frozen dessert that still tastes like a proper treat. A must have during a summer heatwave, and kids LOVE them.
Would you like to save this recipe?
These healthy chocolate popsicles are SO easy to make. Everything is blended together until smooth, poured into popsicle moulds and frozen until firm. No protein powder is needed (no cottage cheese either), and the combination of Greek yogurt, milk and peanut butter gives them a naturally creamy texture with a good protein boost.
They are perfect snack for a hot summer day, post-workout treat or a healthier dessert to keep stocked in the freezer, and there are lots of ways they can be adapted too - even to make them nut free.
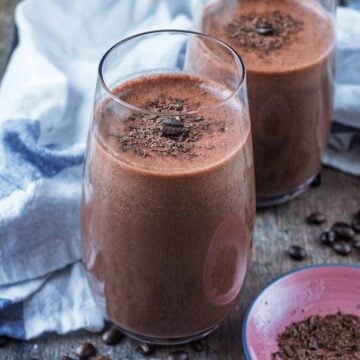
They are such a good alternative to shop-bought ice lollies that are often higher in sugar and much lower in protein. If you are stressed at the thought of the school summer holidays and 4,000 requests a day for ice cream, then get these in your freezer! I had a little mixture leftover and it was great as a smoothie too.
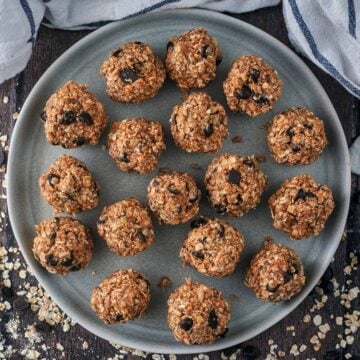
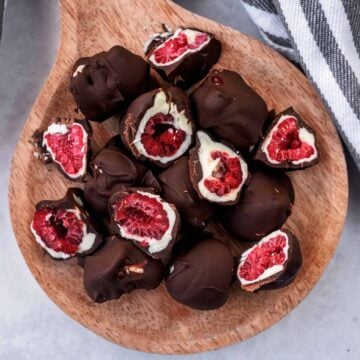
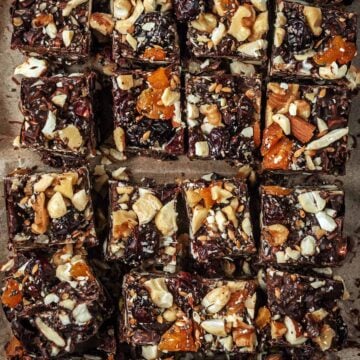
Looking for more healthy frozen desserts? Why not try our easy Chocolate Fudge Bars, delicious Chocolate Covered Frozen Raspberries or our protein-packed Ninja Creami Cottage Cheese Ice Cream?
Jump to:
Ingredients and Substitutions
A full ingredients list, along with US Customary and Metric measurements, can be found in the recipe card at the end of this post.
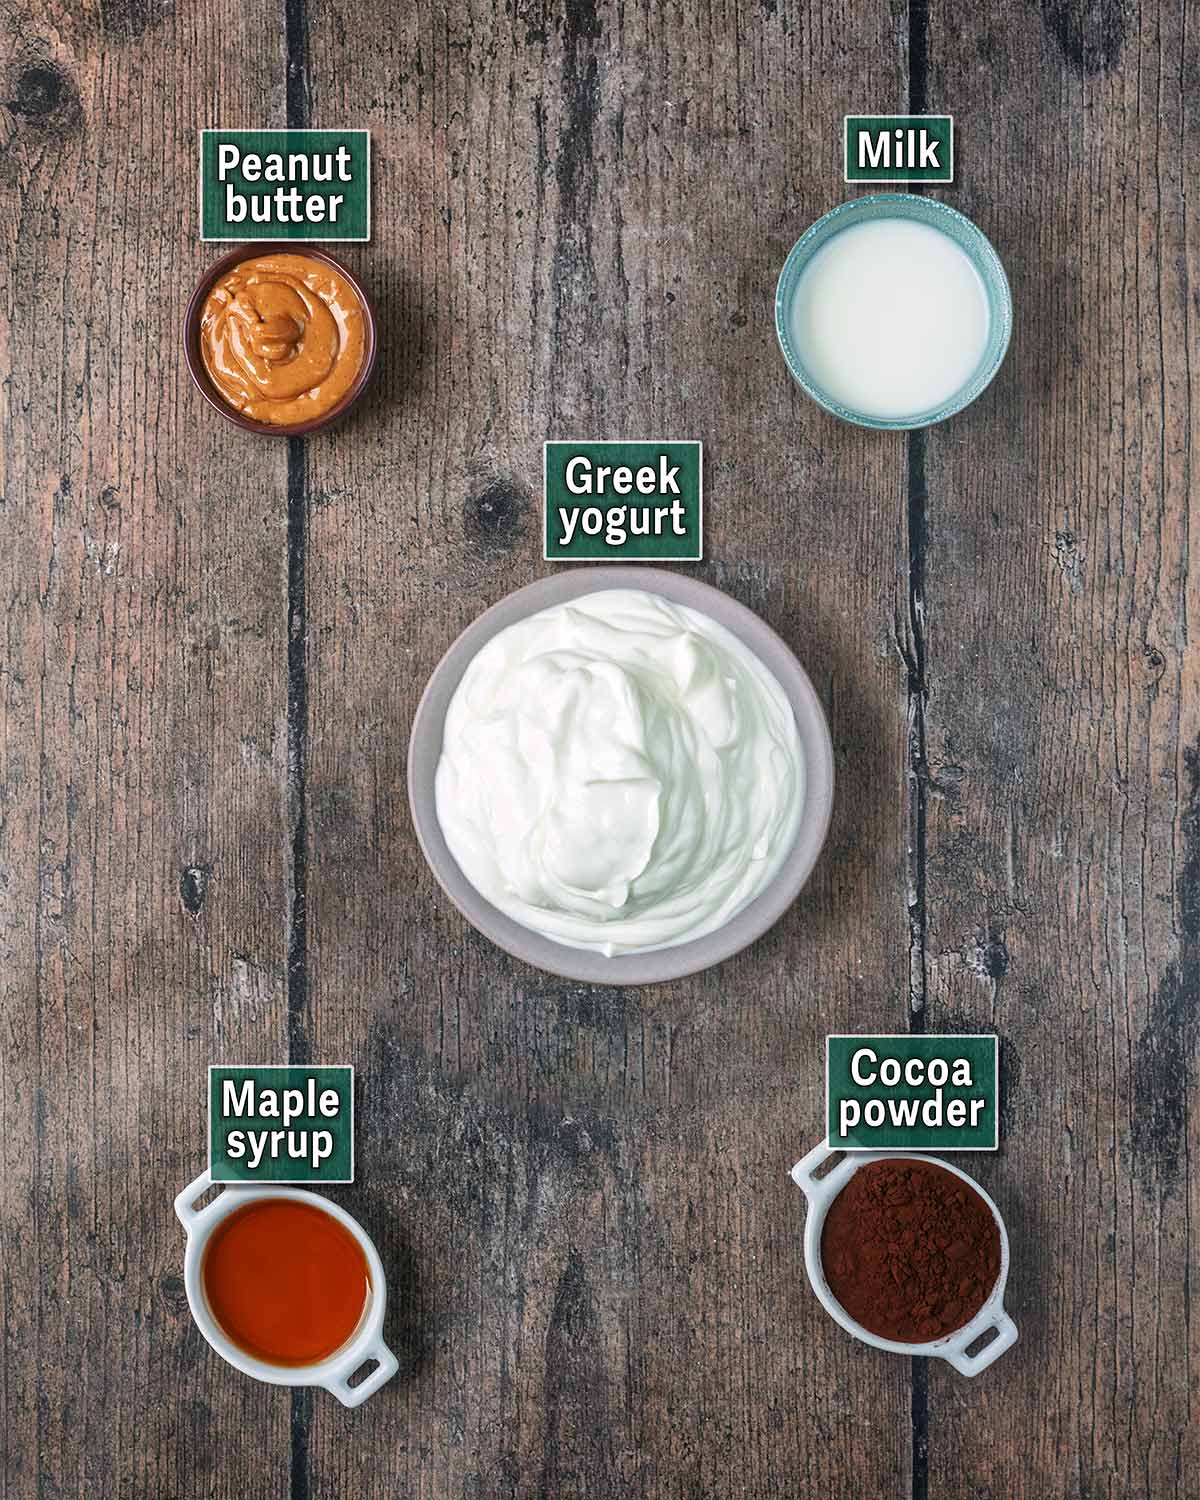
- Yogurt - Use thick Greek yogurt for the creamiest texture and the best protein content. A 0% Greek yogurt works well, but full-fat Greek yogurt will give an even richer, creamier result. Avoid thin natural yogurt, as the popsicles may turn icy.
- Milk - Any milk will work, but using a higher protein milk will help keep the protein content higher. Semi-skimmed, whole milk, skimmed milk or a filtered/high-protein milk can all be used. For a dairy-free version, use almond milk, oat milk or soya milk, but the protein content will change.
- Cocoa - Use unsweetened cocoa powder for a deep chocolate flavour. Cacao powder can also be used, although it has a slightly more intense and sometimes more bitter flavour.
- Peanut butter - Smooth peanut butter blends best and gives the popsicles a rich, fudge-like texture. Choose a runny peanut butter if possible, as it will blend more easily. Crunchy peanut butter can be used, but the texture will not be as smooth.
- Maple syrup - This adds sweetness and helps balance the cocoa powder. You can adjust the amount depending on how sweet you like them. Honey or agave syrup can also be used, although honey will give a slightly stronger flavour.
Healthy Chocolate Popsicle Variations
Nut free - Swap the peanut butter for sunflower seed butter or tahini. Tahini will give a slightly more grown-up, less sweet flavour, so you may want to add a little extra maple syrup.
Sweeter - Add a little extra maple syrup or blend in half a ripe banana. Banana will make the texture creamier, but it will also add a banana flavour.
Extra chocolate - Stir in a few mini dark chocolate chips after blending. This adds texture, although the popsicles will no longer be completely smooth.
Mocha - Add a small shot of cooled espresso or a teaspoon of instant coffee dissolved in a little warm water. This makes the chocolate flavour taste even richer.
Dairy free - Use a thick dairy-free Greek-style yogurt and a plant-based milk. Soya milk is usually the best option for keeping the protein higher, but the exact protein amount will depend on the brands used.
How To Make Chocolate Fudge Popsicles
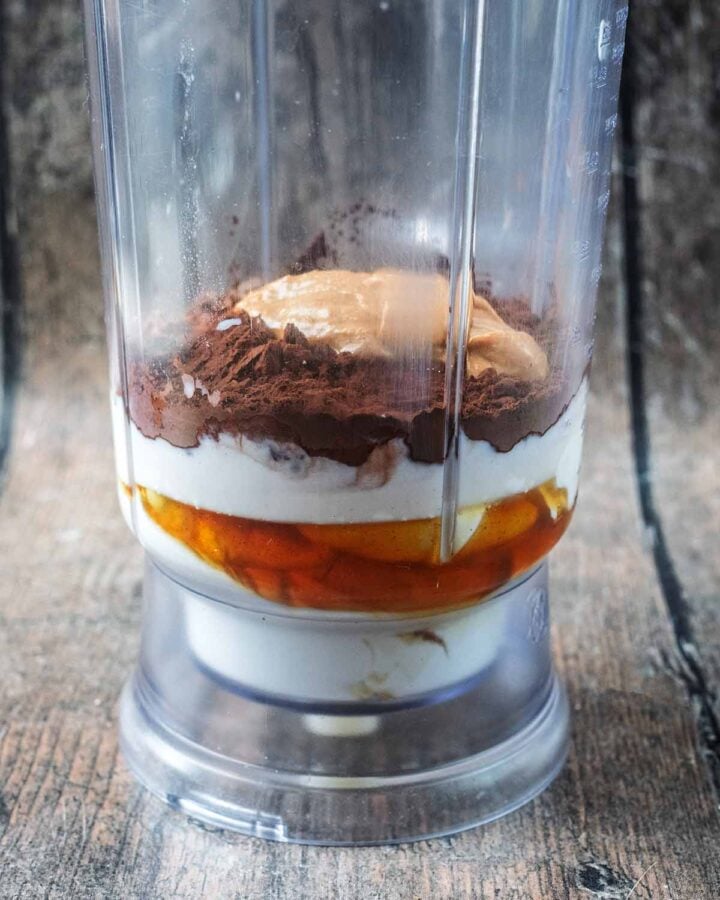
Step 1
Put all of the ingredients into a blender.

Step 2
Blend well until everything is combined.
Step 3
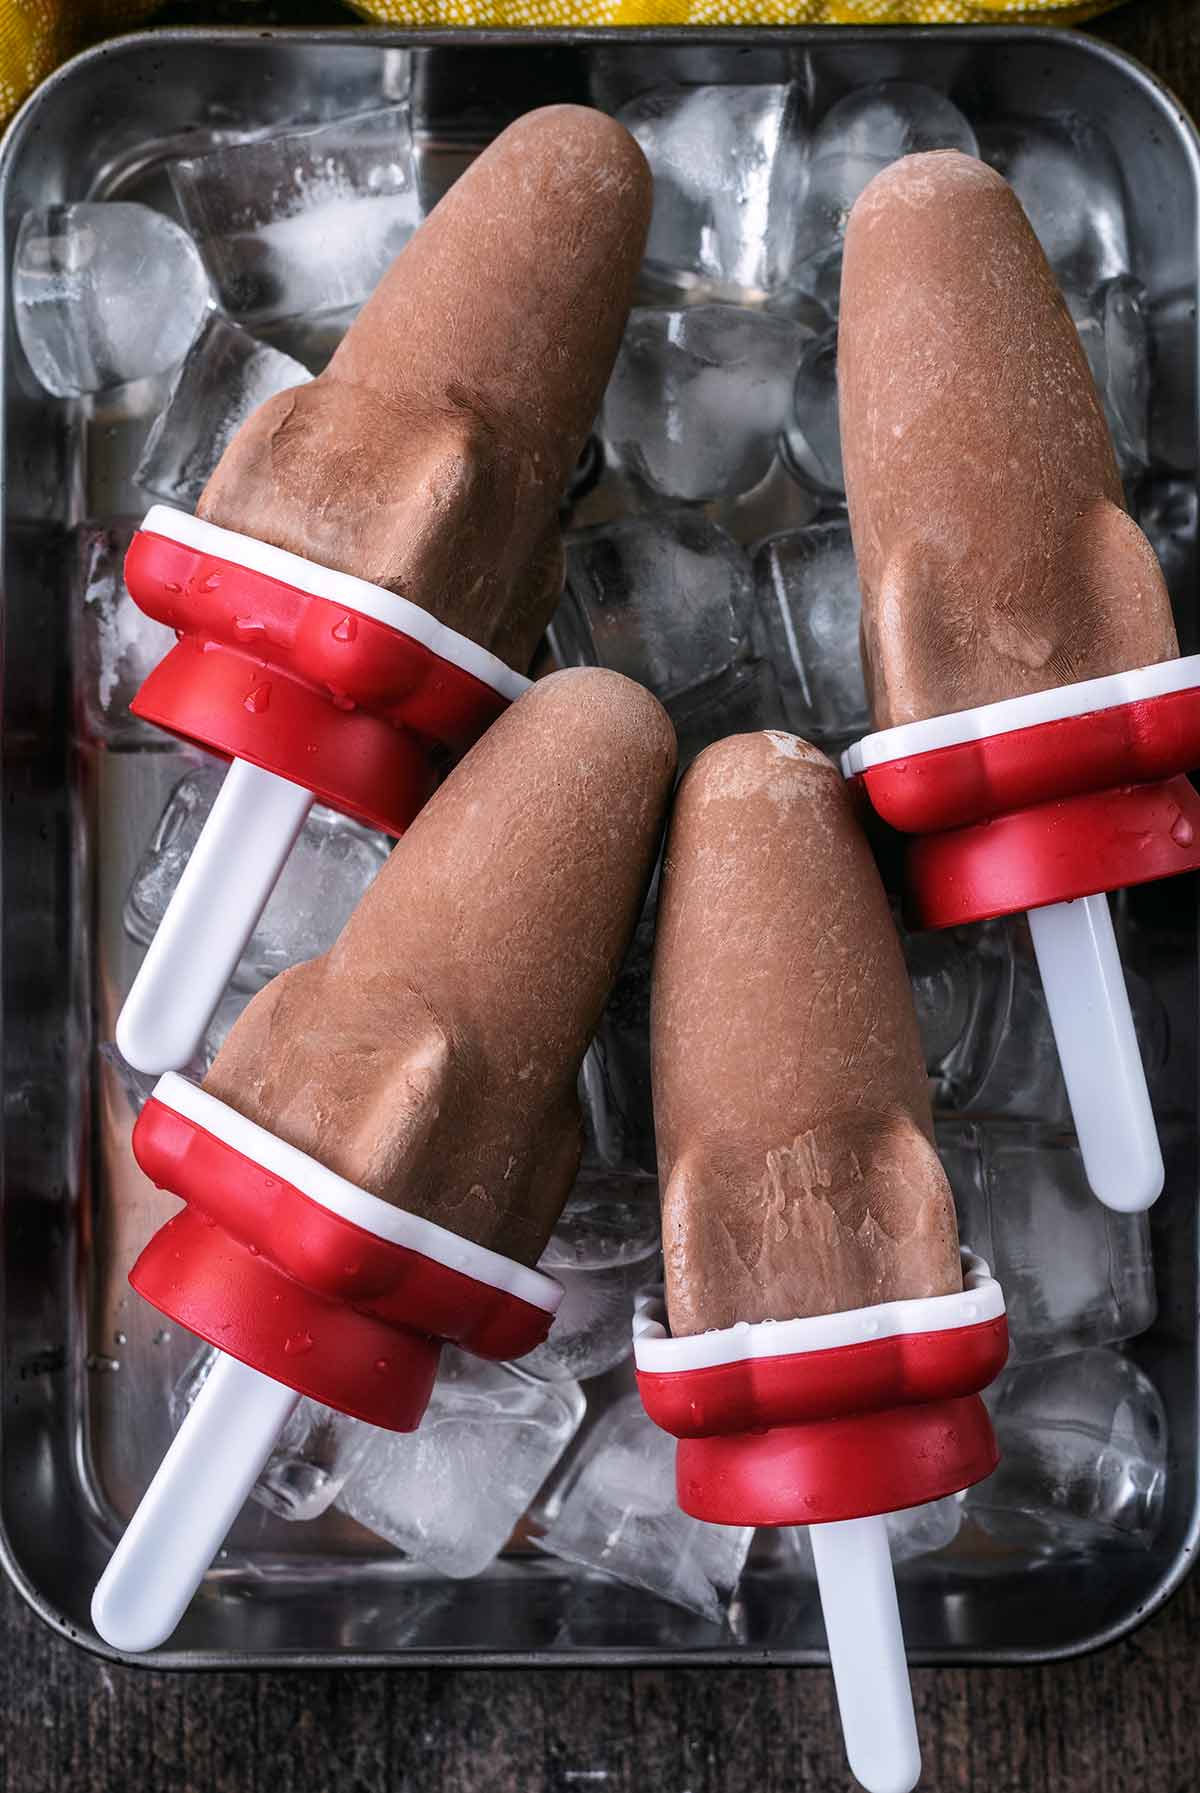
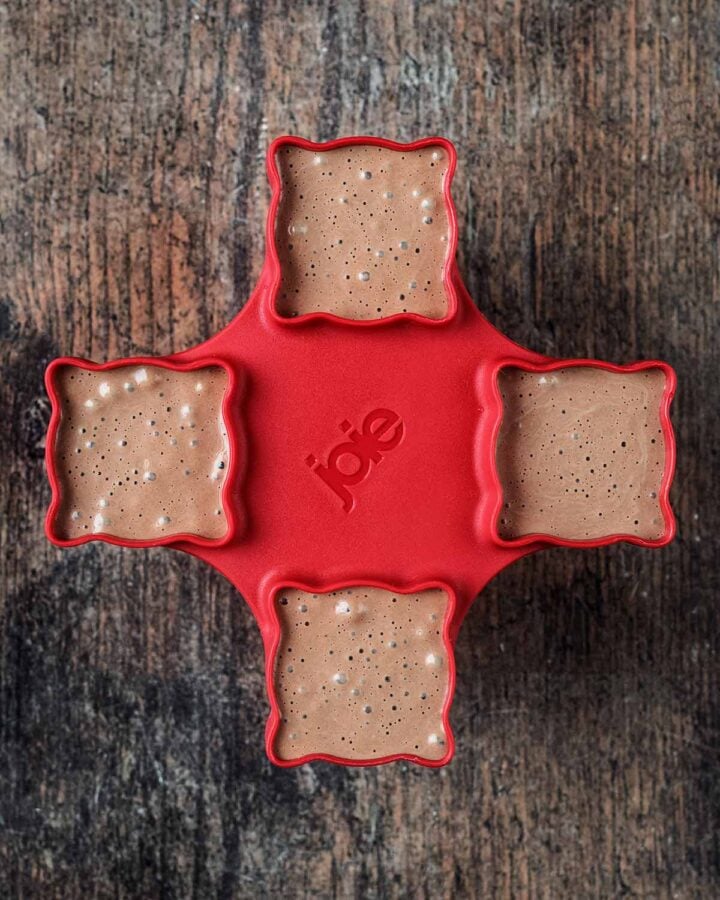
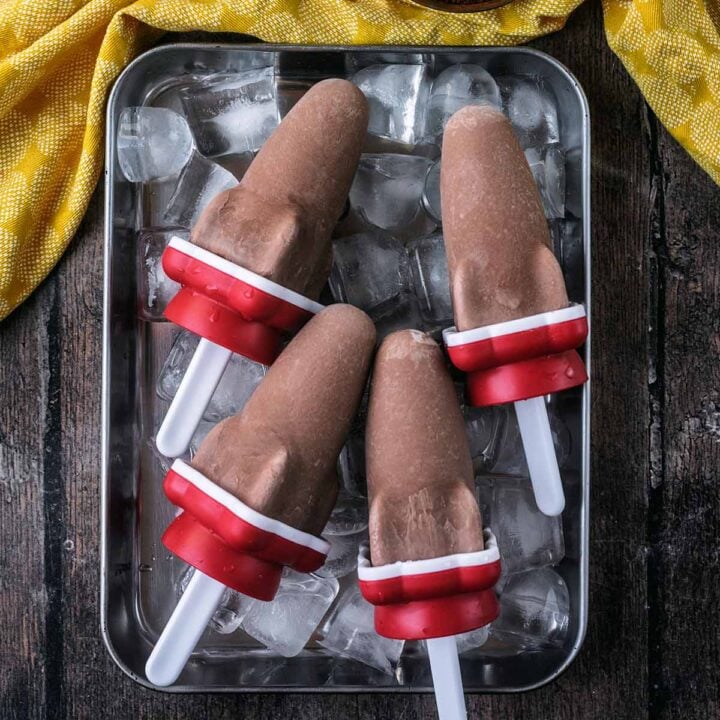
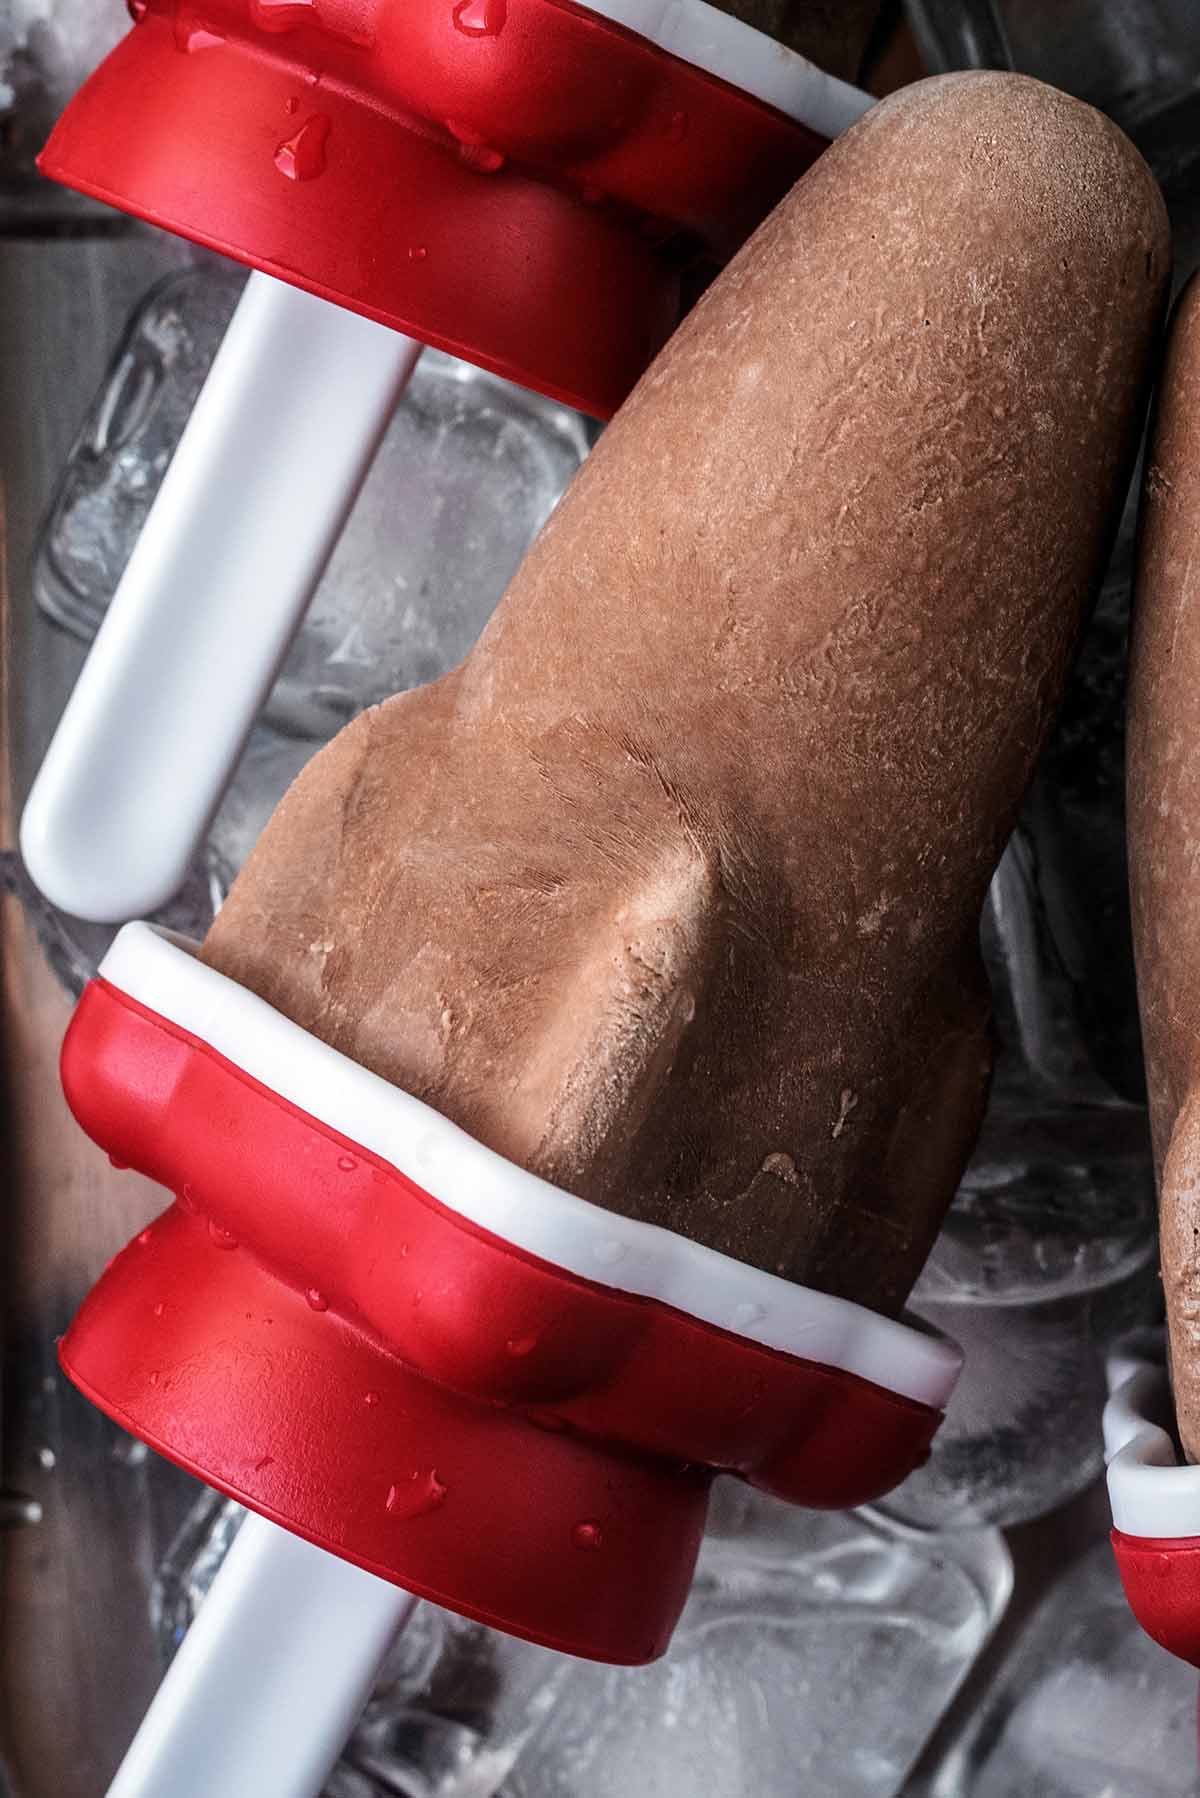
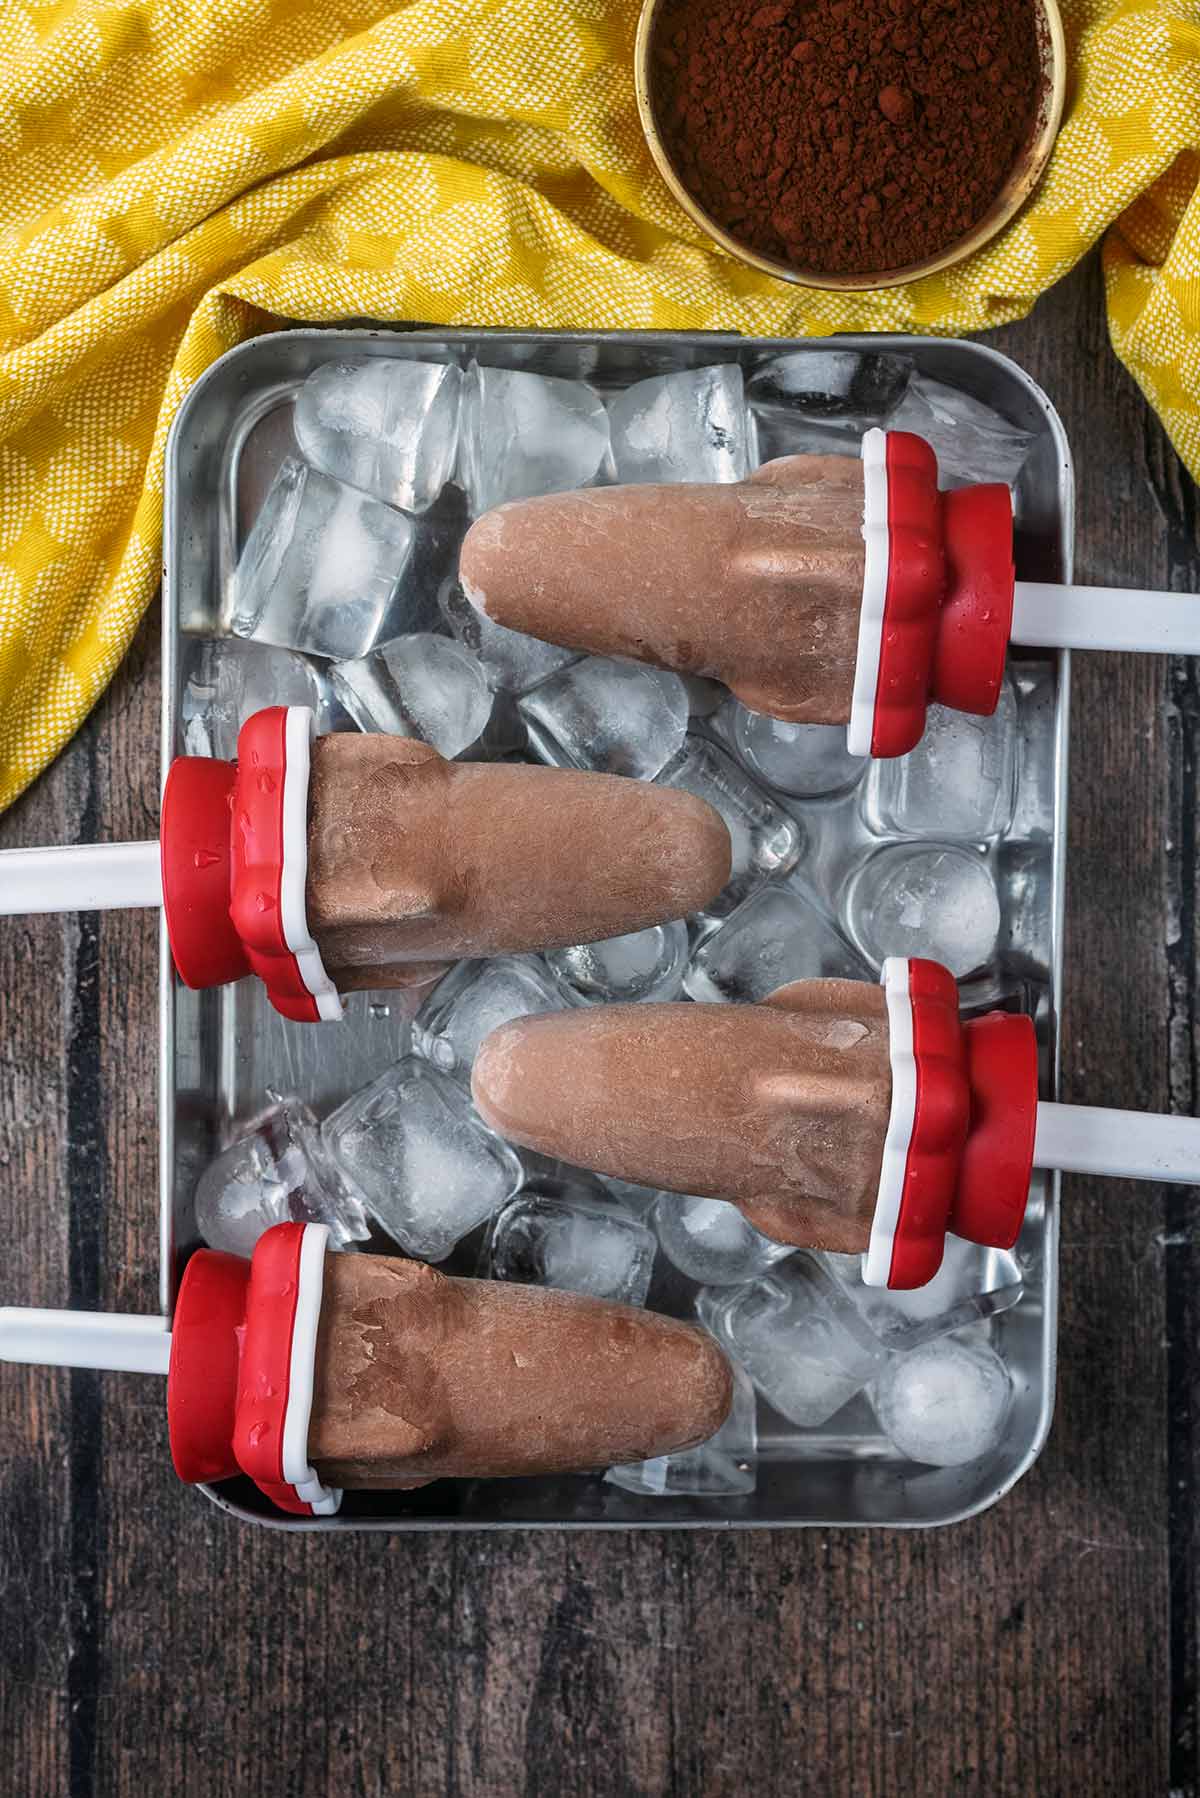
Pour into moulds. We used these rocket moulds.
Step 4
Freeze for at least 6 hours.
🌟 Tip: When removing the popsicles from the mould, warm them slightly under running water.
High Protein Popsicle Storage
Once the popsicles are fully frozen, they can be kept in the moulds until you are ready to eat them.
If you want to free up the moulds, remove the frozen popsicles and wrap each one individually in baking paper or freezer-safe wrap. Store them in an airtight freezer bag or container.
They will keep well in the freezer for up to 2 months. After that, they are still safe to eat if stored properly, but the texture may become a little icier.
Try to keep them tightly covered to prevent freezer burn and stop them absorbing any freezer smells.
Do not refreeze a popsicle once it has fully thawed.
Dannii's Top Tips
- Use a thick Greek yogurt for the best texture. The thicker the yogurt, the creamier the popsicles will be.
- Blend the mixture really well so the cocoa powder fully dissolves and there are no dry patches or streaks of peanut butter.
- Taste the mixture before freezing. Once frozen, the sweetness will taste more muted, so the mixture should taste a little sweeter than you would usually want.
- Do not overfill the moulds, as the mixture may expand slightly as it freezes. Leave a small gap at the top.
- Tap the moulds gently on the worktop after filling to remove air bubbles and help the mixture settle evenly.
- If your popsicle sticks are not standing upright, freeze the moulds for 30-40 minutes first, then insert the sticks once the mixture has started to firm up.
- For the smoothest texture, use a high-speed blender. A food processor will work too, but the mixture may not be quite as silky.
- The protein content will depend on the brands of Greek yogurt, milk and peanut butter used, as well as the size of your popsicle moulds. To keep them at around 18 grams of protein each, use high-protein Greek yogurt and divide the mixture between 4 large moulds.
Frequently Asked Questions
These popsicles are already high in protein without protein powder, but you can add a scoop if you want to increase the protein further. You may need to add a splash more milk, as protein powder can make the mixture thicker and slightly drier.
They usually need at least 5-6 hours, but overnight is best to make sure they are completely solid.
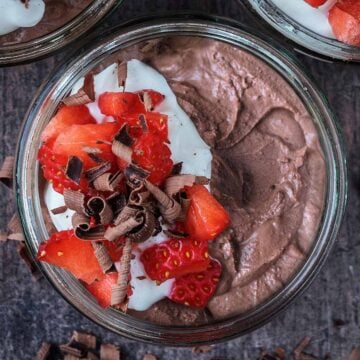
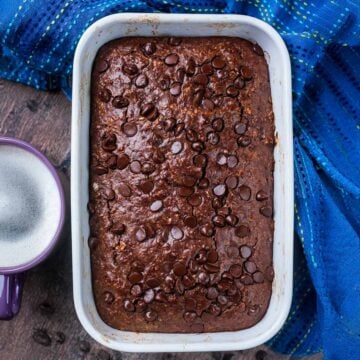
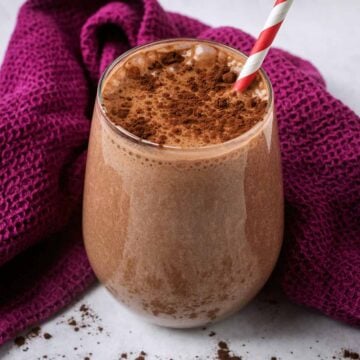
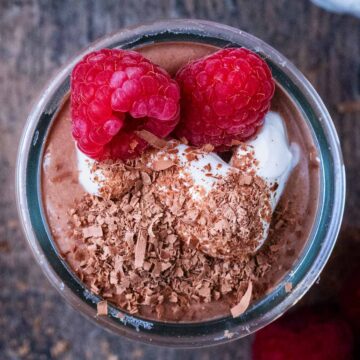
More High Protein Chocolate Recipes
If you've tried these high protein fudgesicles, let us know how you got on in the comments below.
Tag us in your creations on Instagram @hungryhealthyhappy - Use the hashtag #hungryhealthyhappy too.
Recipe

High Protein Chocolate Fudge Popsicles
Ingredients
- 500 g (2 cups) of 0% Fat Free Greek yogurt
- 2 tablespoon of Cocoa powder
- 60 ml (0.25 cup) of Skimmed milk
- 65 g (0.25 cup) of Peanut butter
- 1 tablespoon of Maple syrup
Instructions
- Put all of the ingredients into a blender.
- Blend well until everything is combined.
- Pour into moulds.
- Freeze for at least 5 hours.
Recipe Video
Recipe Tips
- Use a thick Greek yogurt for the best texture. The thicker the yogurt, the creamier the popsicles will be.
- Blend the mixture really well so the cocoa powder fully dissolves and there are no dry patches or streaks of peanut butter.
- Taste the mixture before freezing. Once frozen, the sweetness will taste more muted, so the mixture should taste a little sweeter than you would usually want.
- Do not overfill the moulds, as the mixture may expand slightly as it freezes. Leave a small gap at the top.
- Tap the moulds gently on the worktop after filling to remove air bubbles and help the mixture settle evenly.
- If your popsicle sticks are not standing upright, freeze the moulds for 30-40 minutes first, then insert the sticks once the mixture has started to firm up.
- For the smoothest texture, use a high-speed blender. A food processor will work too, but the mixture may not be quite as silky.
- The protein content will depend on the brands of Greek yogurt, milk and peanut butter used, as well as the size of your popsicle moulds. To keep them at around 18 grams of protein each, use high-protein Greek yogurt and divide the mixture between 4 large moulds.
Nutritional Information
Would you like to save this recipe?
The nutritional information provided is approximate and is calculated using online tools. Information can vary depending on various factors, but we have endeavoured to be as accurate as possible.
As all appliances vary, cooking times are a guide. Please note that by changing the serving size, the cooking time may also need to be altered.
Comments
No Comments