This is the perfect white bread recipe, and such an easy recipe to make. It is soft and light in the middle, with a slightly crusty outside. No fancy ingredients or special equipment needed to make this. Just wholesome homemade bread, which is perfect for toast, sandwiches or dipping in to soup.
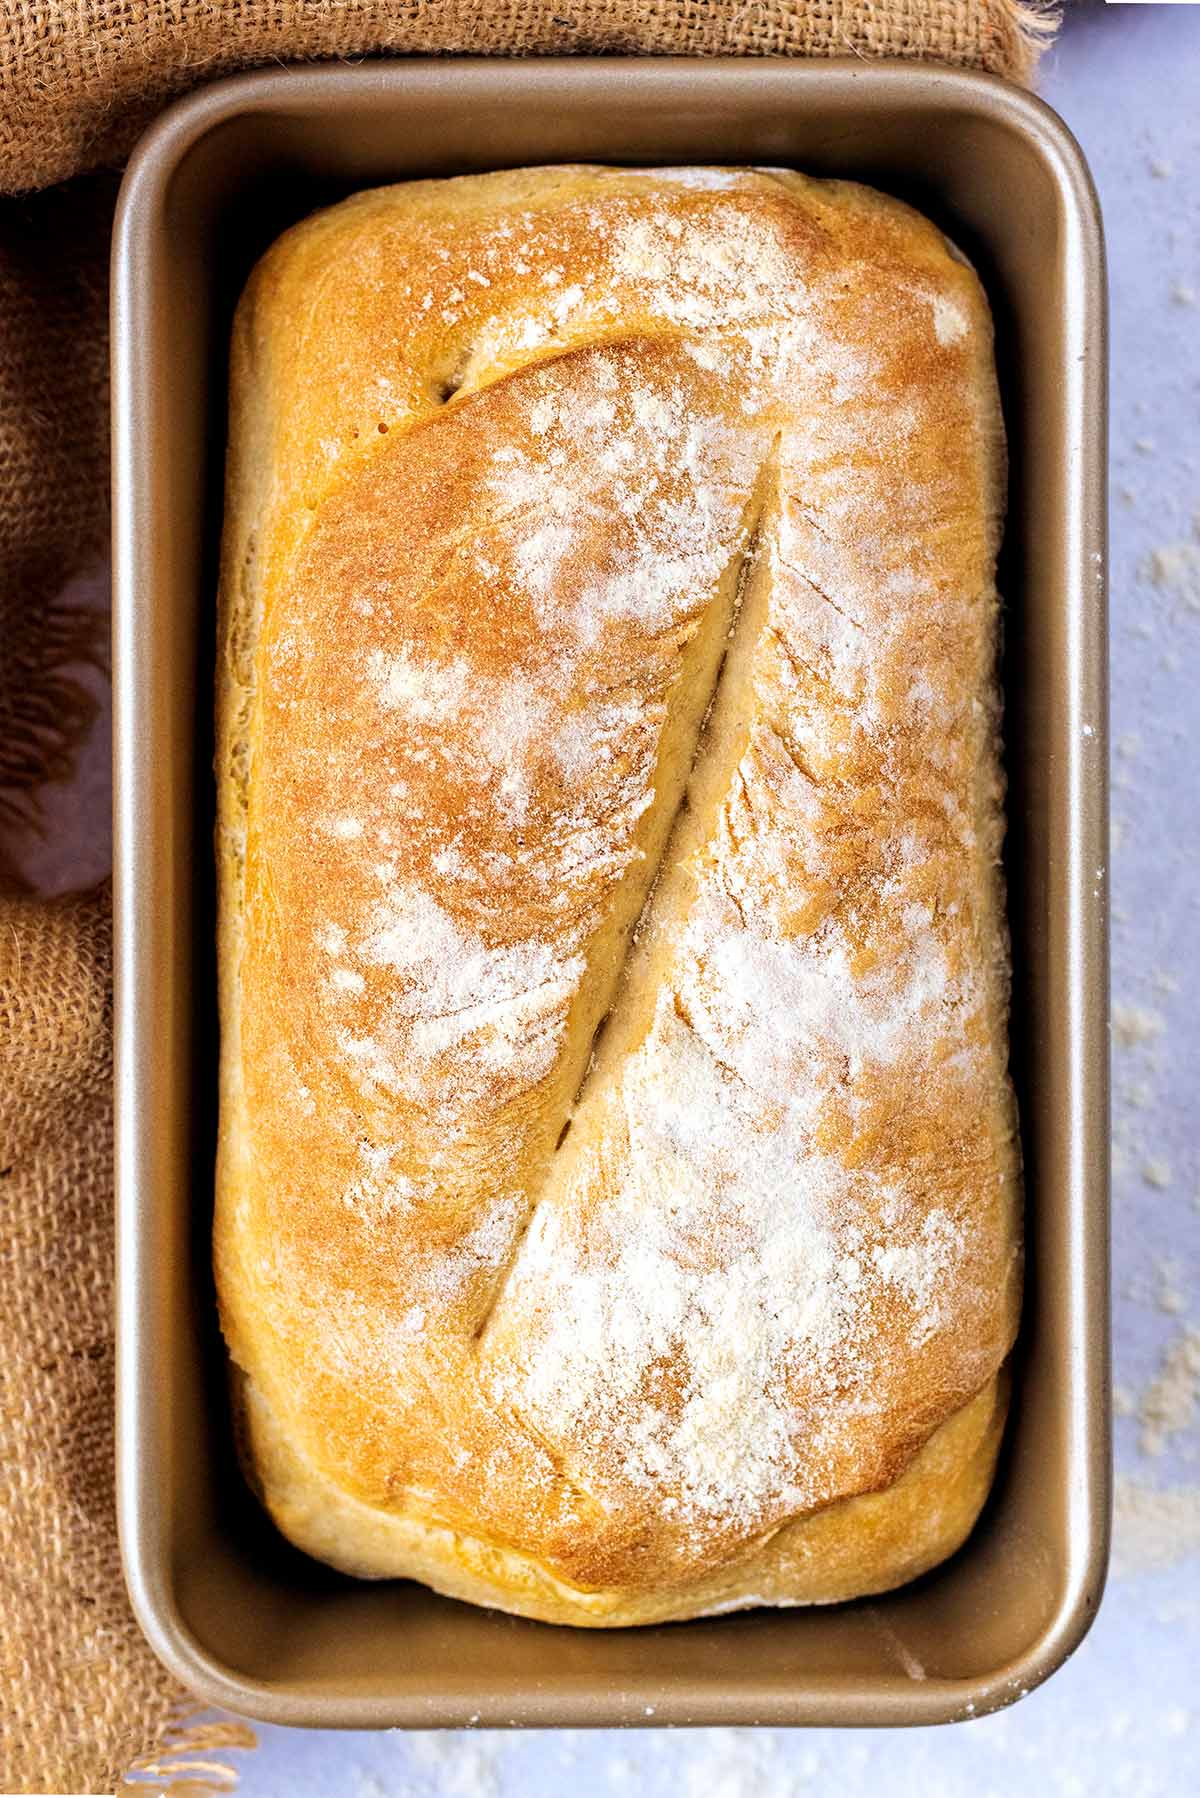
We have recently started making our own bread, because not only is it much cheaper and tastes incredible, but it means we don't have any plastic packaging from buying it - something we are trying to reduce. We have tested this recipe many, many times, so we know that it works.
If you think homemade bread isn't worth the effort, try this first. Whilst it does take a couple of hours to make, most of that is letting it proof and it's a great way to get kids involved in the kitchen, as they will love kneading the dough.
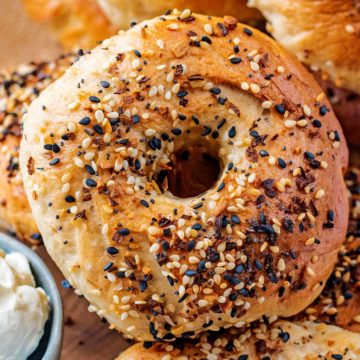
Looking for more homemade bread recipes? Try our easy Slow Cooker Loaf or our high protein Cottage Cheese Bagels.
Jump to:
Why you will love it
- Cheap - This whole loaf costs only £0.28/$0.38 to make, so much cheaper than store bought. That works out to only 2p/3¢ per slice! Sure, you might be able to get a very cheap value loaf for that, but it won't taste as good as this.
- Delicious homemade bread - You just can't beat homemade bread. The smell that fills your kitchen when this is baking is better than any air freshener. If you want to start making your own bread, a simple white loaf is a good place to start.
- Easy - If you haven't made your own bread before, don't be put off because it is actually pretty simple. Whilst this loaf does need to proof twice, that isn't hands on time.
- Stores well - If you don't eat this loaf in one go (it's hard not to, trust me), then it will store for a few days in a container, or you can freeze it in slices.
Ingredients needed
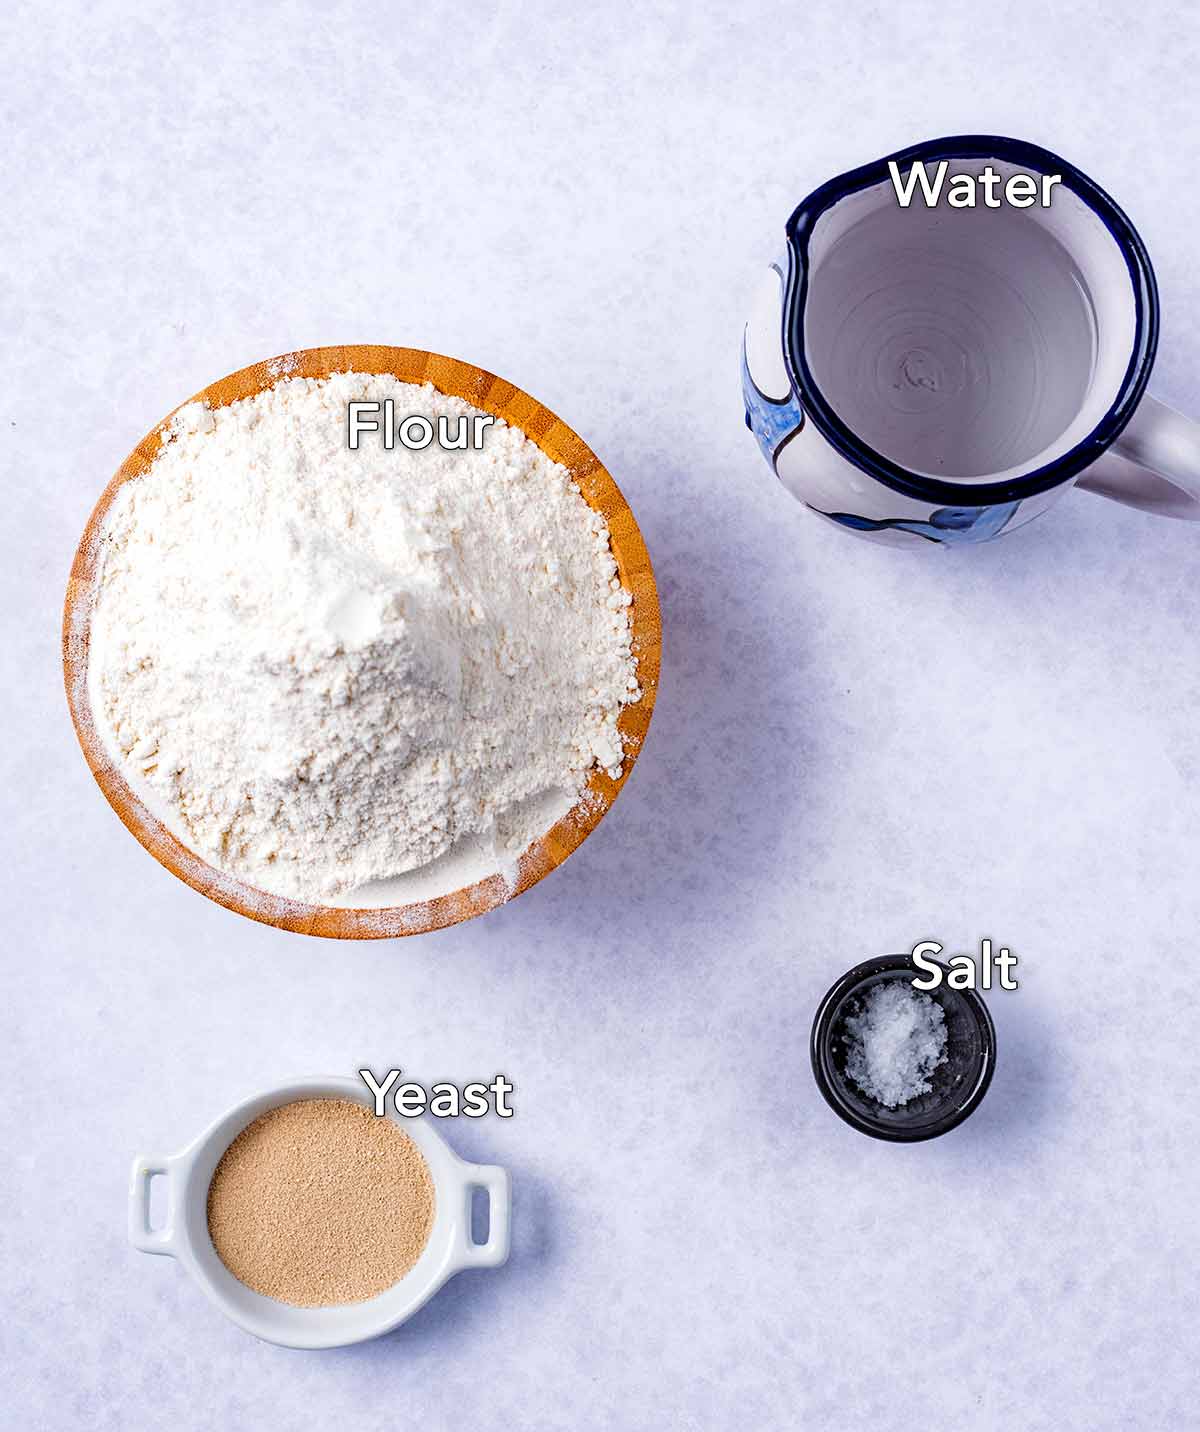
- Flour - You need a strong white bread flour to make this and the best quality you can get, as it will make a difference. Bread flour is used over plain flour, because it has a high protein content, which helps for the gluten and is what gives bread that lovely texture.
- Yeast - This is what helps the dough to rise. We use fast action yeast (also called dried yeast). Make sure that the yeast is not out of date, or been open for too long as it won't froth up as the yeast has died and will not work in your recipe.
- Salt - This adds lots of flavour. We used crushed sea salt.
- Water - You need lukewarm water to make the dough in this easy white bread. Around 42°C/110°F is what will work best, as it helps to activate the yeast and give the dough that smooth elasticity that it needs.
A full ingredients list with measurements is in the recipe card below.
How to make white bread - Step by step
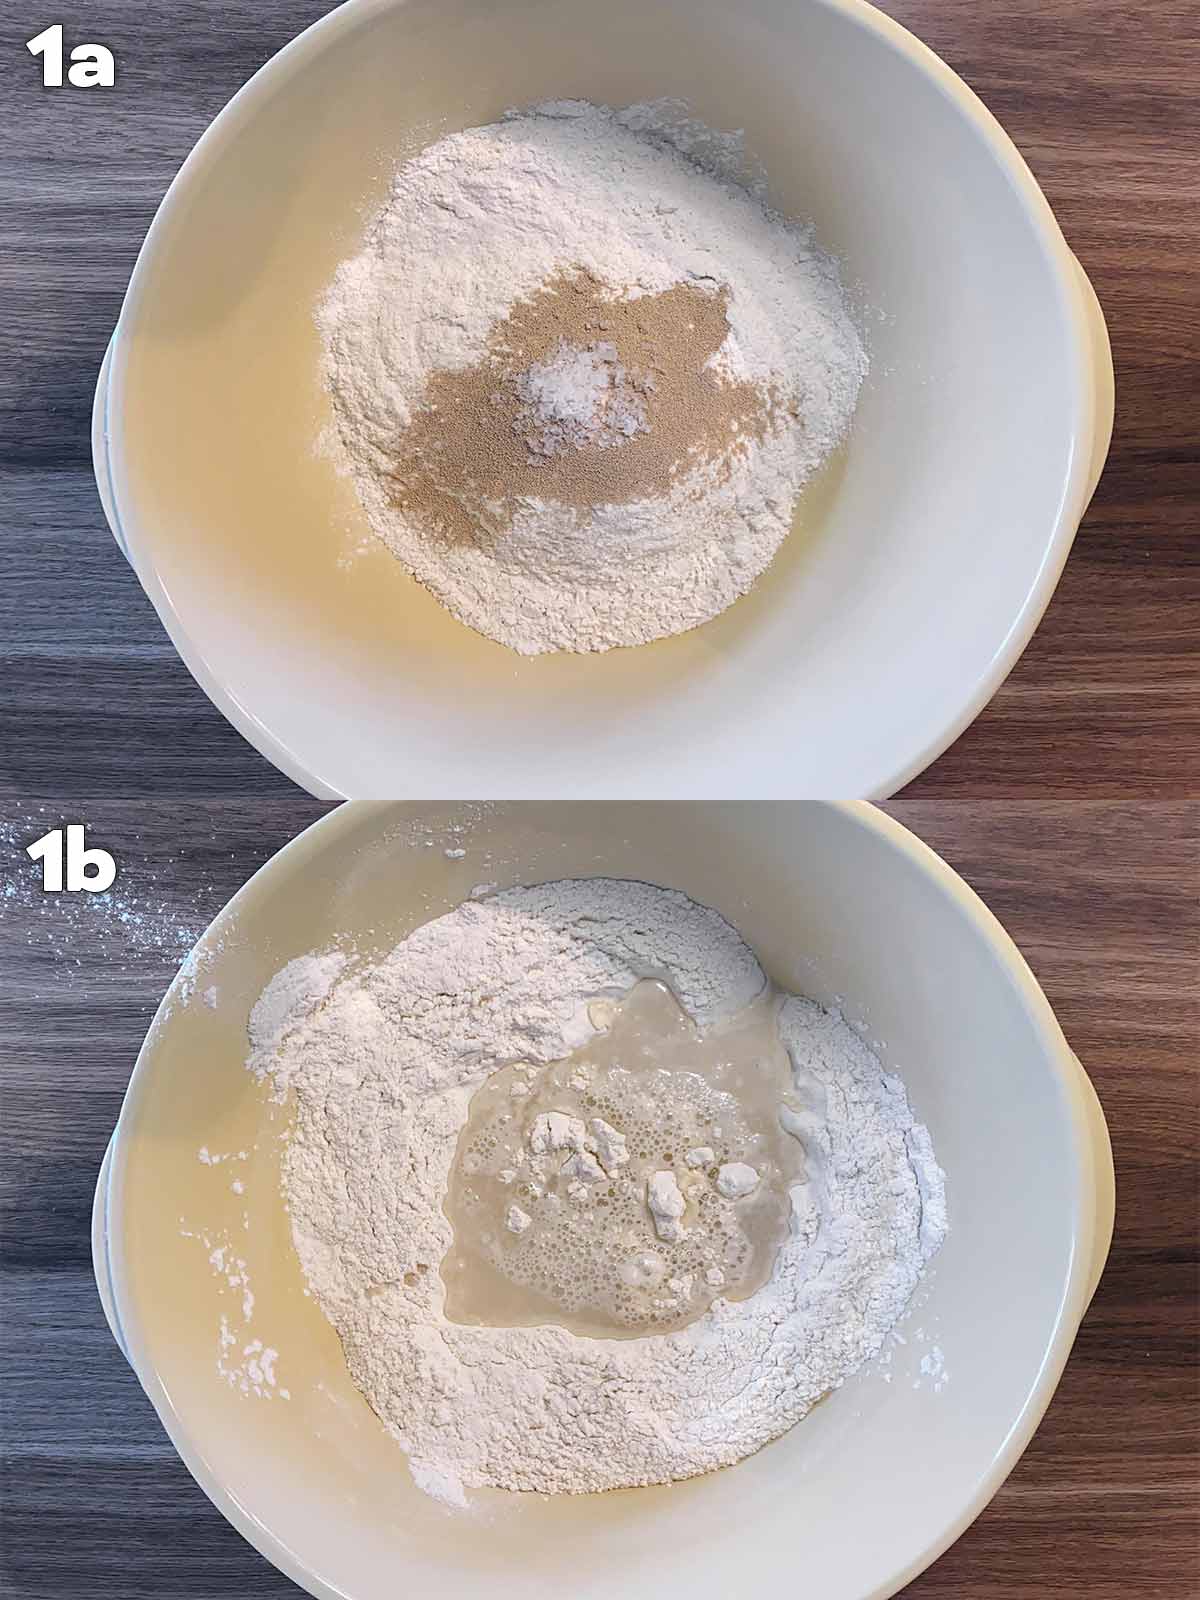
One: Put the flour, yeast and salt in a large mixing bowl (1a). Make a well in the middle and pour the water into it (1b).
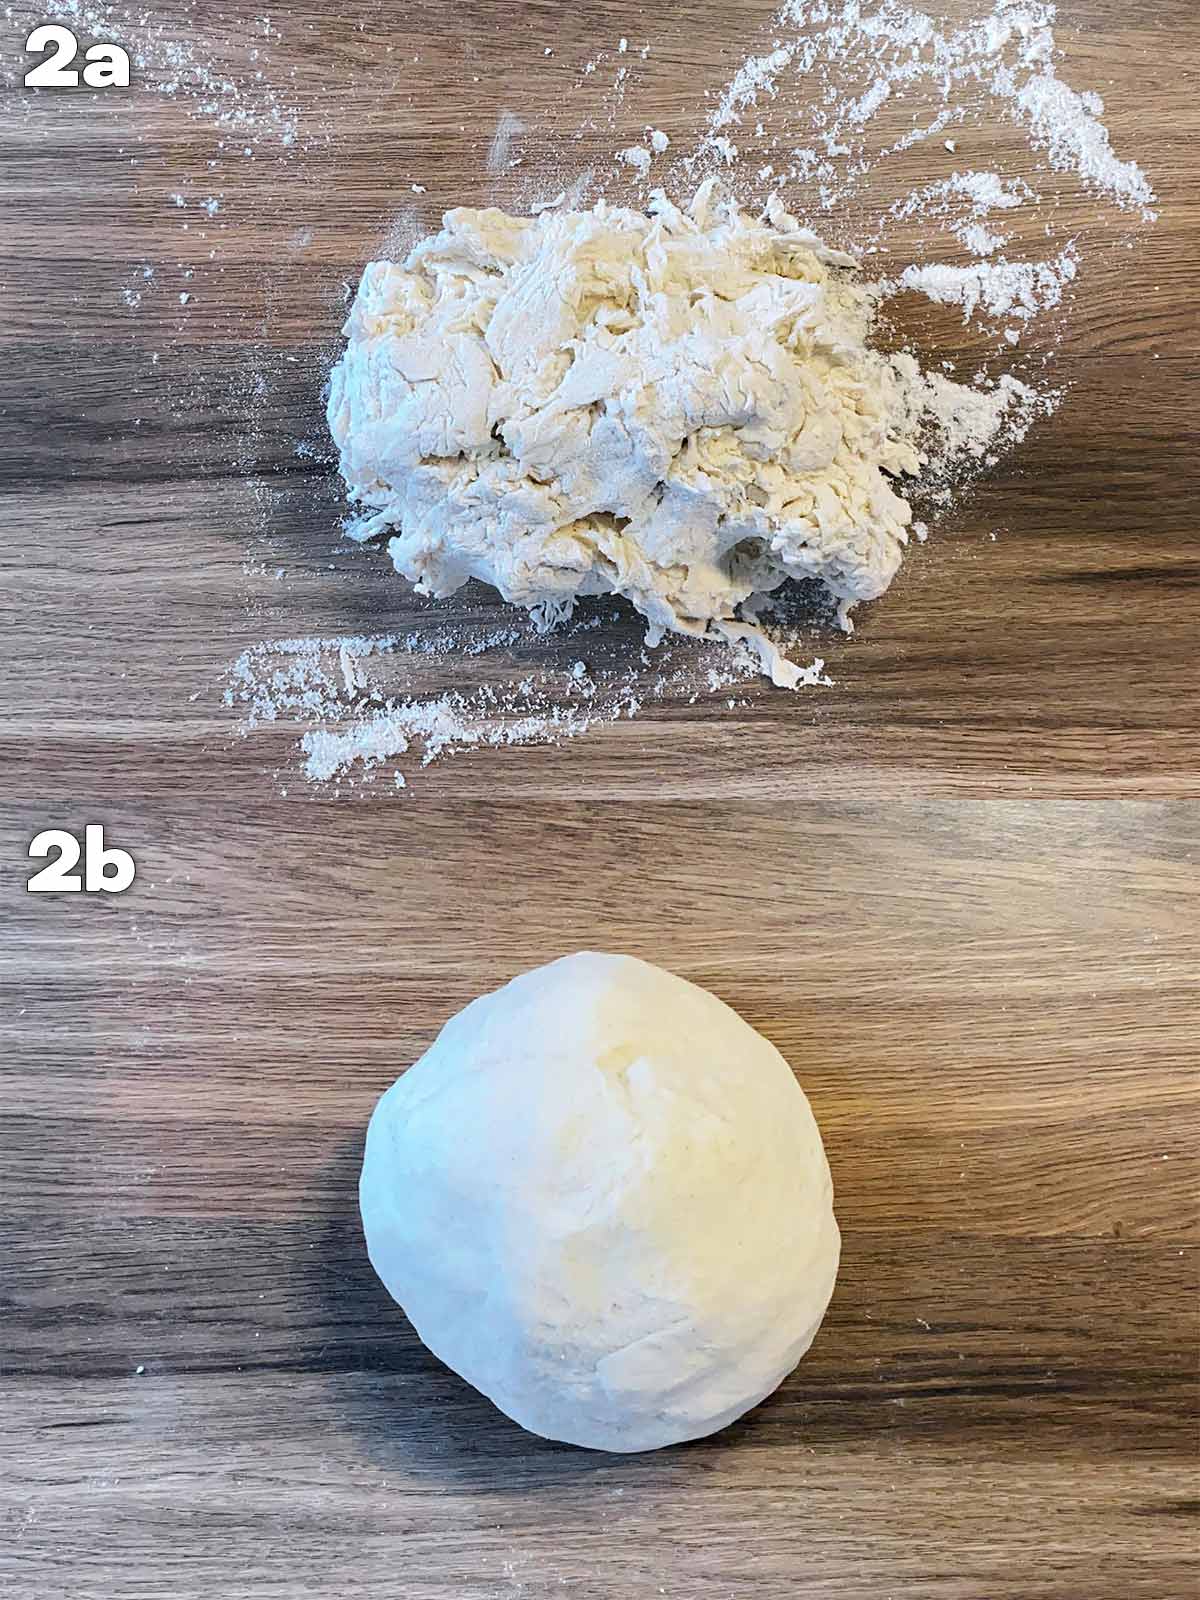
Two: Slowly pull the flour into the water, mixing until a workable dough. Put onto a floured surface (2a) and knead for 10 minutes, until smooth and elastic (2b).
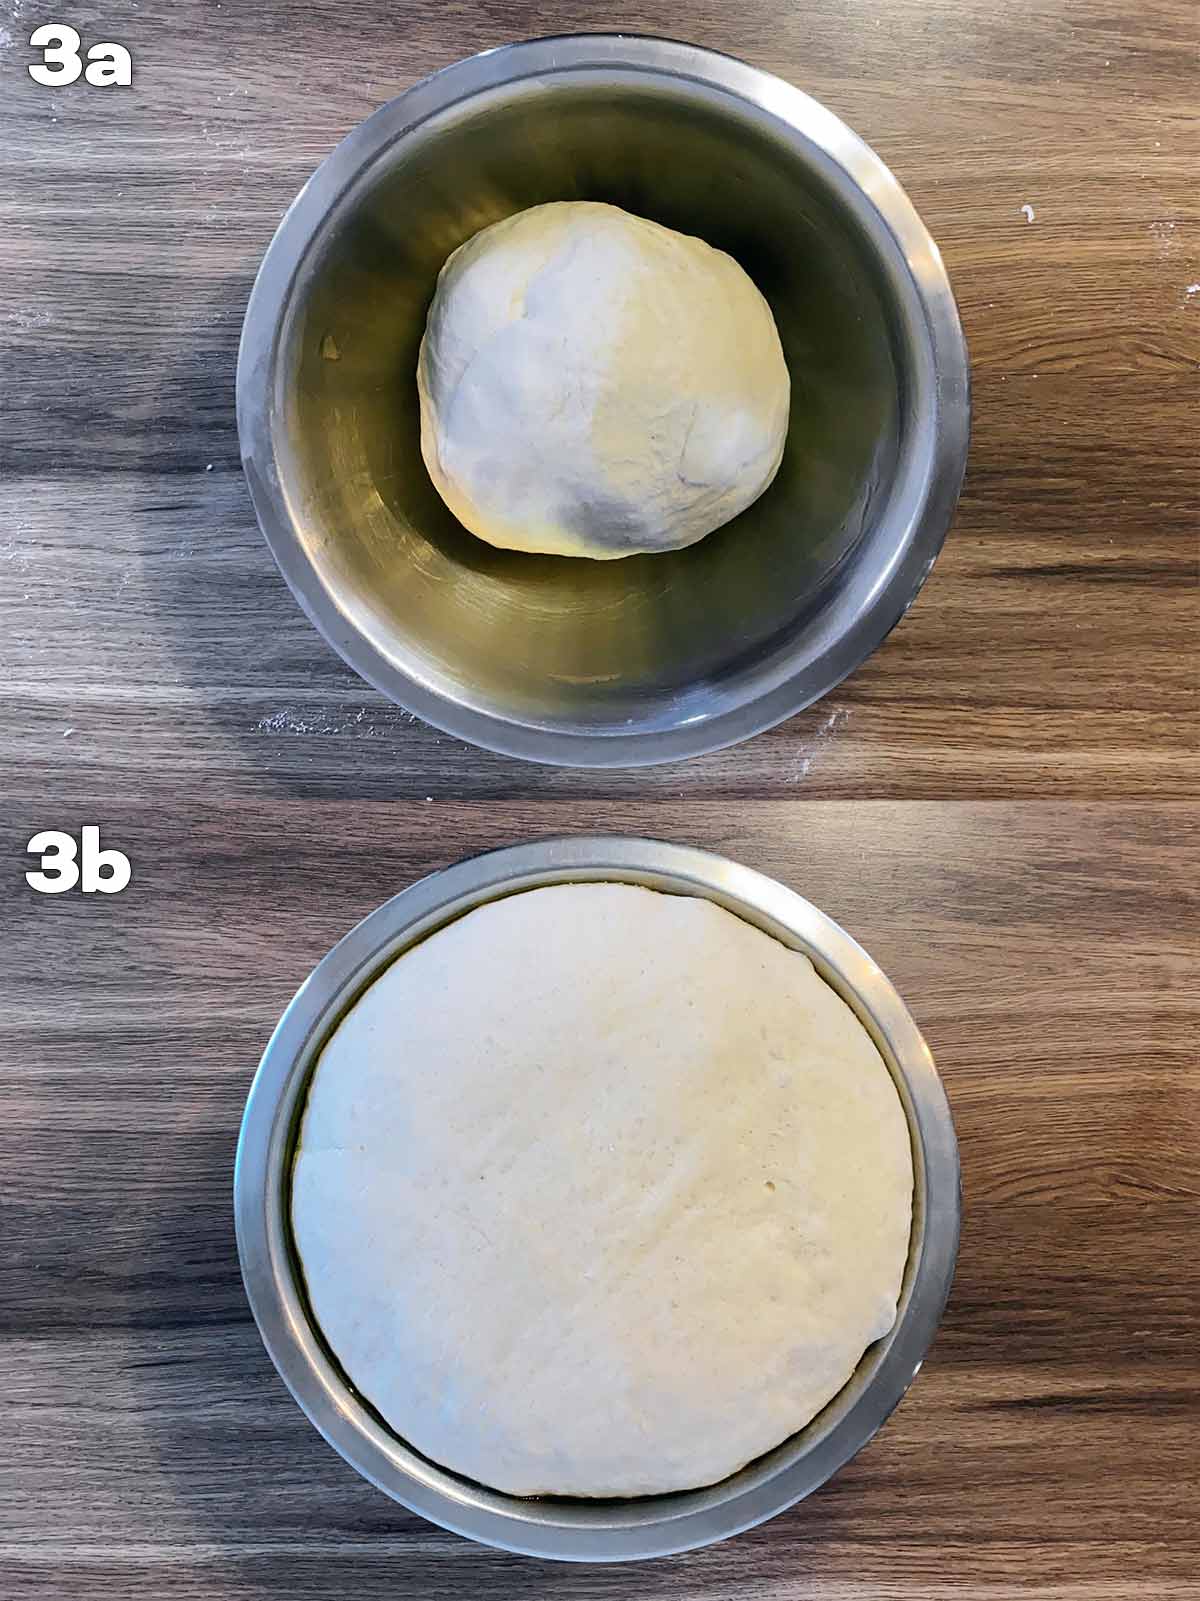
Three: Put the dough into a lightly oiled bowl (3a), cover and put somewhere warm until it has doubled in size, about 1 hour (3b).
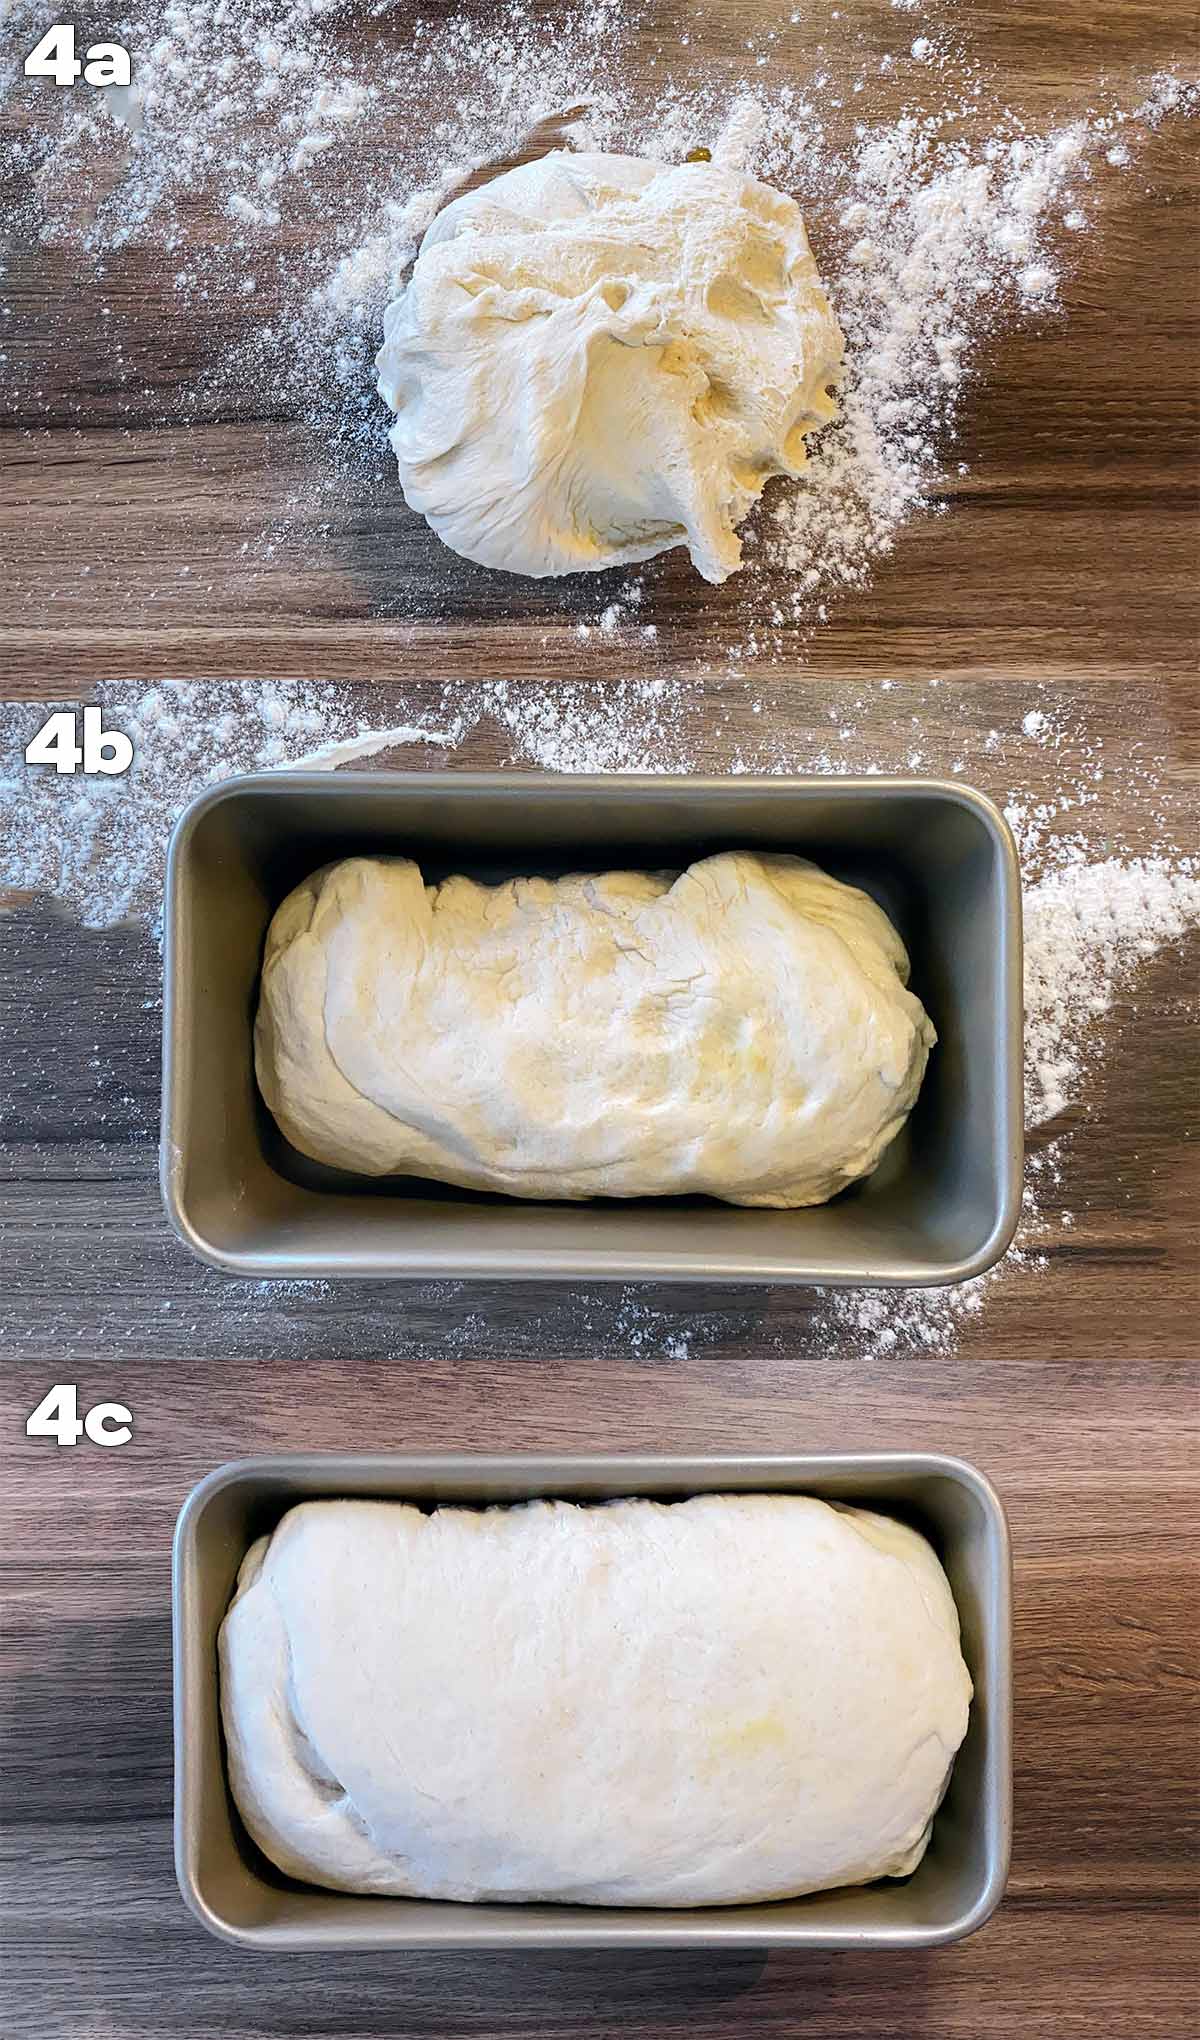
Four: Put the dough back onto a floured surface and push the air out (this is called knocking back) (4a). Shape into an oval and put into a 2 pound (900g) loaf tin (4b). Cover again and put back into the warm place for 45 minutes (4c).
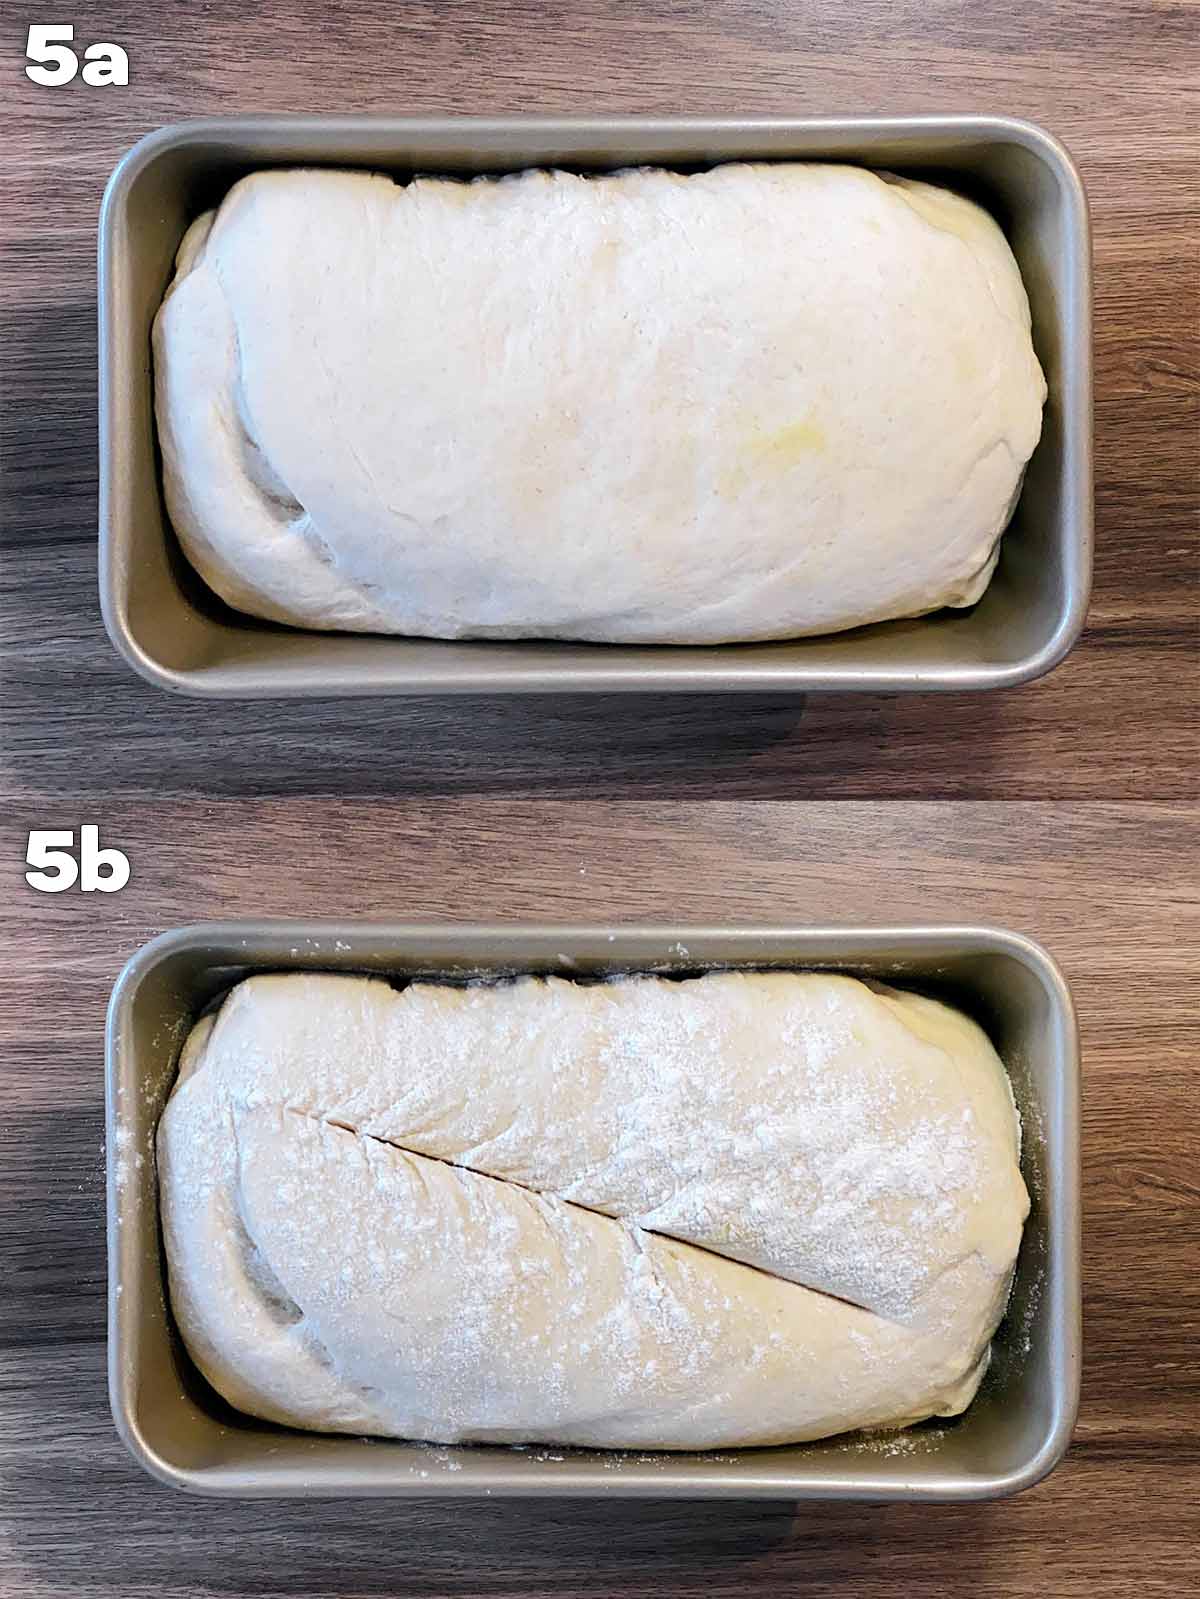
Five: Preheat your oven to 220°C/425°F/Gas 7. Once fully proofed, dust the top with flour (5a) and slash the top with a sharp knife (5b).
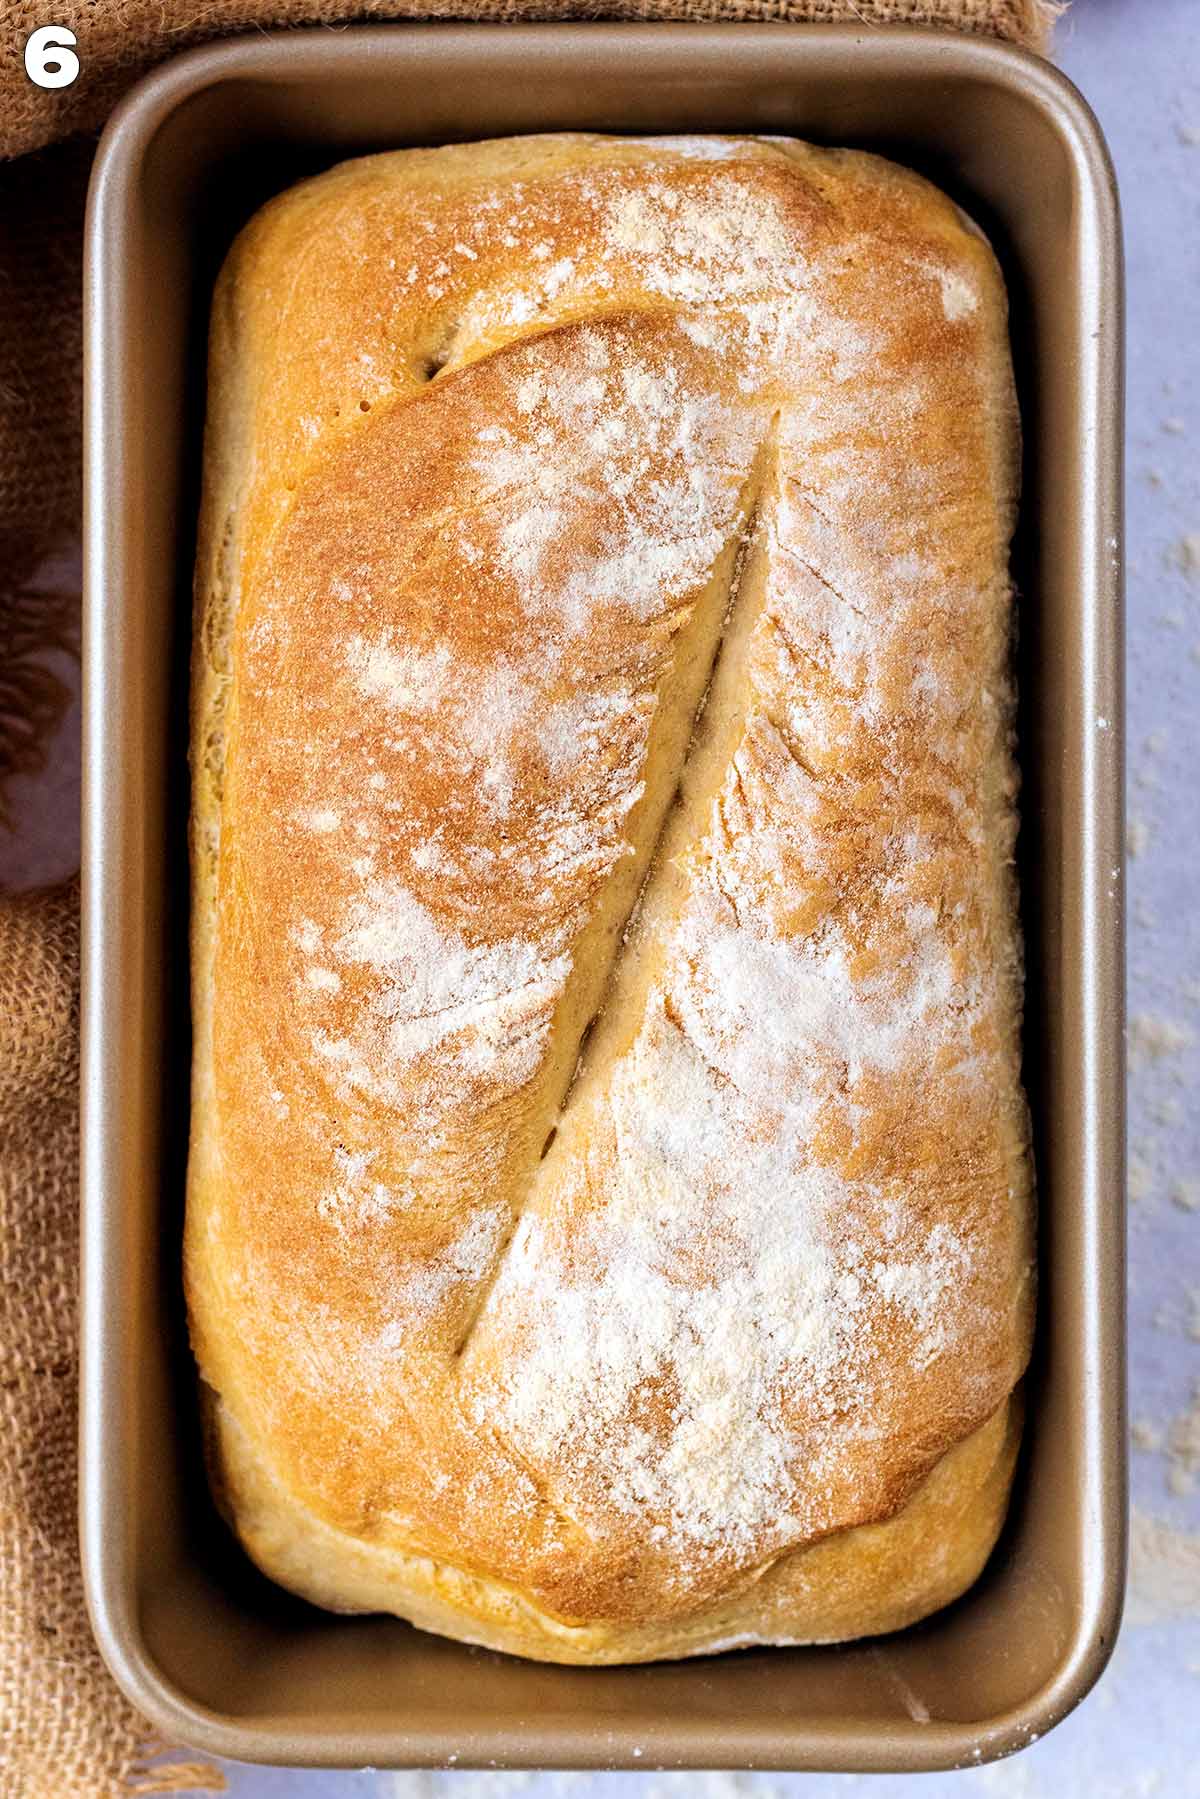
Six: Bake in the oven for 35-40 minutes. Take out of the oven and remove from the tin. Tap the bottom of the loaf and if it sounds hollow, it is ready. Leave to cool on a wire rack.
Why homemade bread?
The sense of satisfaction and accomplishment that comes from making homemade bread is like no other. It is making something totally from scratch, something that millions of people are buying every day and spending a fortune on and adding more plastic to the landfill. I always feel good when I have made my own bread.
But, apart from that, this loaf is really cheap to make. Much cheaper than if you bought it in the supermarket or a bakery. Also, there is no plastic packaging for them to come in. It's a pretty good workout kneading all that dough too.
Also, a slice of this white bread is really sturdy. It's not dense, as it is so light and fluffy. But, it's not flimsy like cheap store bought bread is. Store bought bread has so many ingredients in it, but there are just 4 ingredients in our loaf.
Serving suggestions
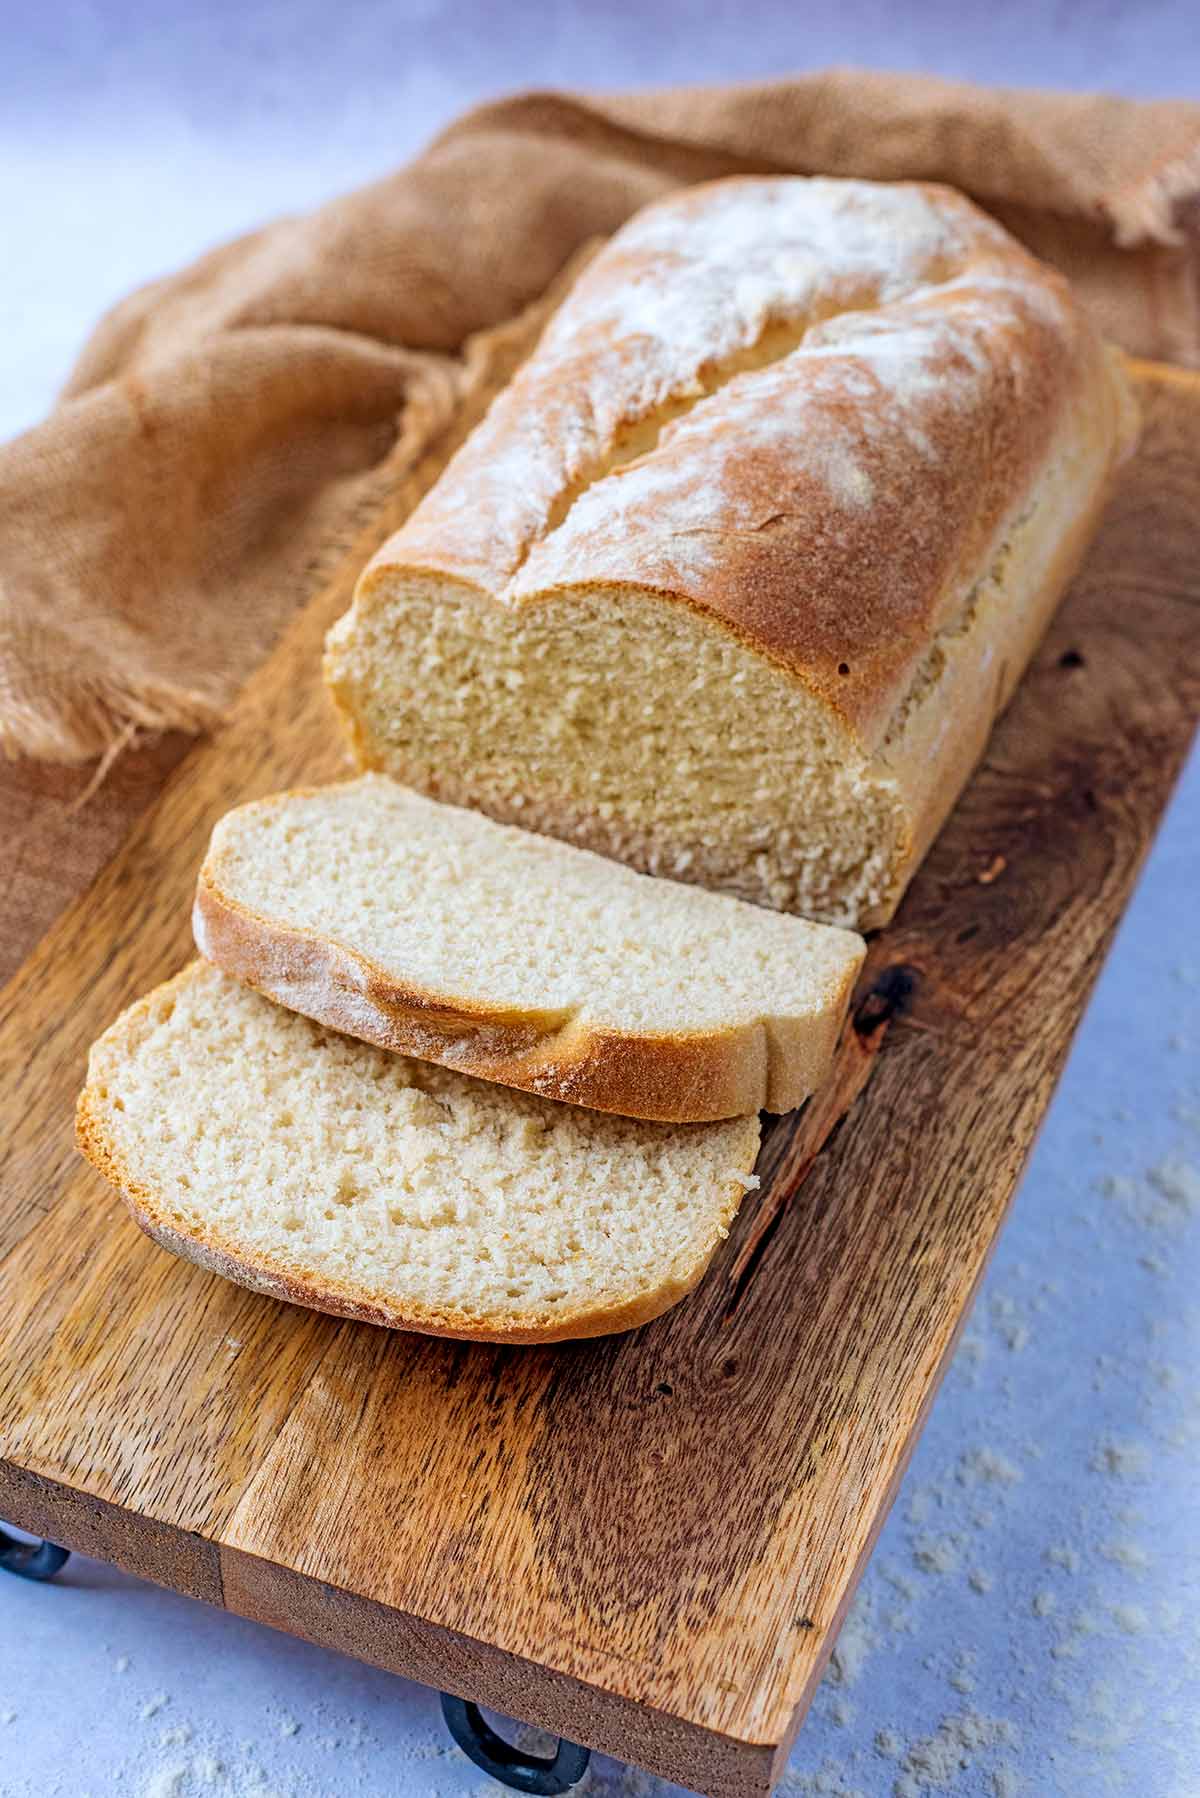
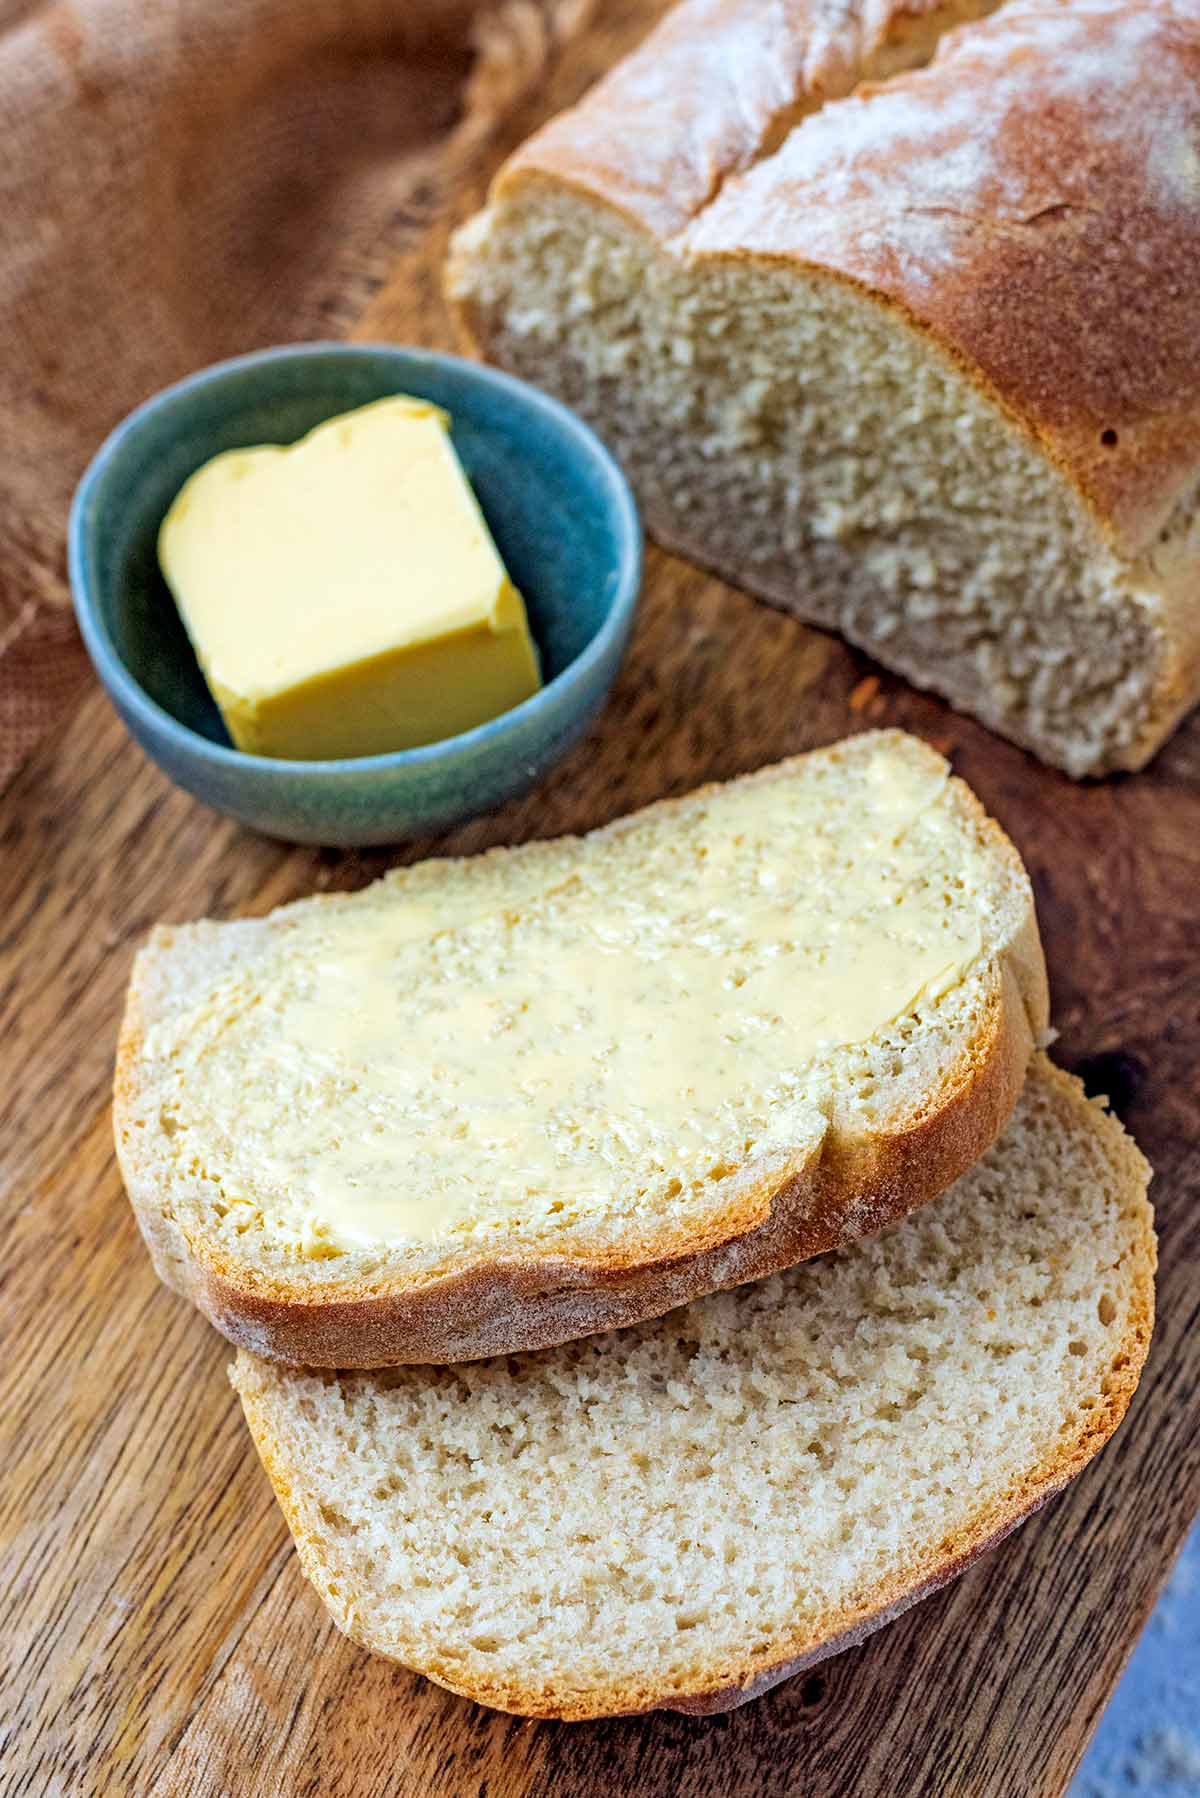
I mean, what can't you do with a slice of bread? However you would normally use sliced store bought bread, you can do exactly the same with this. I have to say, this does make the best toast I have ever had - so that would be my first suggestion of how to use it.
Looking for some toast toppings? Why not try our Homemade Almond Butter, Healthier Nutella or Strawberry Puree.
You also can't beat freshly baked bread dipped in to homemade soup. Knowing that you have cooked the whole meal from scratch yourself. Some of our favourite soups are Kale Soup, Easy Tomato Soup, Potato and Leek Soup, and Creamy Vegetable Soup.
We also love using sliced bread to make Pizza Toasts. Smother some toasted bread with pizza sauce, your favourite pizza toppings and cheese and you have yourself a delicious and quick lunch.
Looking for some ways to use this bread for breakfast? You can't beat avocado and poached eggs on toast. Or, you could use it to make our Healthy French Toast.
Storage
Store: Homemade white bread doesn't keep as long as store bought bread, because it doesn't have the additives in it. Which is why we have made this a fairly small loaf, so we knew we would eat it all. This will stay fresh in an air tight container for up to 2 days.
Freeze: This bread freezes really well. Once cooled, slice and then individually wrap them and then put them in a freezer bag where they will stay fresh for 3 months. Defrost before using.
Extra tips
- Don't be afraid to get your hands in there and mix the dough. Using your hands is the only way to really know the consistency of the dough, as the amount of water needed can vary.
- The dough really needs somewhere warm to rise, as the yeast reacts to warmth, as it's a fairly quick rising dough. You can put it it on a sunny windowsill or in a warm cupboard.
- The cooking time will depend on the temperature of your oven. Some run hot, some run cold - you know your oven best. Use an oven thermometer to make sure it is exact.
- Leave it to cool before serving. I know it is tempting to cut straight in to the bread, but it will be easier to cut once cooled.
- To make this loaf like really pretty, brush it lightly with an egg wash and then sprinkle over some poppy seeds.
Frequently Asked Questions
We really recommend mixing and kneading by hand for the best texture, however you can use a stand mixer if you prefer. Use the hook attachment on the lowest setting for 5 minutes. This will depend on the size of your mixer though.
Yes, you can use plain (all-purpose) flour to make this white loaf, but you won't get the same texture. Strong white bread flour is high in protein, which is what gives it the springy chewy texture.
Yes, this is important, even though it is time consuming. The first proof is so the yeast and gluten can develop and then the second proof is so you get that amazing light and airy loaf. You don't want to over proof it though, as it will have a strong yeasty flavour. If it is under proofed then it will be a dense dough that doesn't have enough volume.
The second proof can take much longer in winter, so be aware of that. You need to look out for signs that it has proofed. The dough will have risen about ½ and inch above the tin and it will have formed a dome. You can also poke it. Seriously! If when you press your finger in, the dough bounces back, then it is under-proofed. On the second proof, your finger should leave an indentation if it is ready to be baked. If you dough collapses when you press it, then it is over-proofed and you will need to re-knead it and shape it and proof it again.
This recipe, and the ingredients, is for a 2lb (900g) loaf tin. If you use a larger tin, the loaf won't have as much height or shape.
The amount of water we have used in this recipe is what works for us. However, you may need a little more or a little less. This will depend on things like the type of flour you have used and the climate in which you are making it (altitude and humidity all play a part). You want a dough that is moist, but still firm after it has been mixed together.
Any easy way to test if you loaf is cooked is to do the tap test. Tap on the base of your loaf and it should sound hollow. Be careful getting it out of the tin though, as it will be very hot.
The key is in how it is cooled. You can leave it to cool in the loaf tin for 10 minutes, but then it needs to be transferred to a cooling rack to carry on cooling. This prevents condensation from forming in the pan and giving a soggy bottom of loaf.
If it is burnt, or the crust is really hard, then chances are your oven was too hot. Some ovens run hot, and some run cold. It's best to have an oven thermometer to ensure this cooks perfectly.
If your bread looks cooked, but when you cut into it, it is raw, then your oven was too hot and it cooked the outside quicker than the inside. See above for tips about the oven being too hot.
If your white bread is really dense, then chances are it was under-proofed.
Yes, you can, however it will be much more of a dense loaf. We prefer to use half wholemeal and half white instead.
Yes, you certainly can. After the first proof and the dough has been knocked back, split the dough in to 10 rolls and put them on a lightly oiled baking tray and cover with clingfilm for the second proof. They won't need as long to proof, maybe just 30 minutes. They will then just need to be baked for 20 minutes.
More bread recipes
If you’ve tried this easy white bread recipe, let us know how you got on in the comments below.
Tag us in your creations on Instagram @hungryhealthyhappy - Use the hashtag #hungryhealthyhappy too.
Recipe
Easy White Bread
Ingredients
- 500 g (4 cups) Strong white bread flour
- 7 g (0.25 oz) Fast action yeast
- 1 teaspoon Sea salt
- 350 ml (1.5 cups) warm water
Instructions
- Put 500 g Strong white bread flour, 7 g Fast action yeast and 1 teaspoon Sea salt in a large mixing bowl. Make a well in the middle and pour 350 ml warm water into it.
- Slowly pull the flour into the water, mixing until a workable dough. Put onto a floured surface and knead for 10 minutes, until smooth and elastic.
- Put the dough into a lightly oiled bowl, cover and put somewhere warm until it has doubled in size, about 1 hour.
- Put the dough back onto a floured surface and push the air out (this is called knocking back). Shape into an oval and put into a 2 pound (900g) loaf tin. Cover again and put back into the warm place for 45 minutes.
- Preheat your oven to 220°C/200°C(fan)/425°F/Gas 7.
- Once fully proofed, dust the top with flour and slash the top with a sharp knife.
- Bake in the oven for 35-40 minutes. Take out of the oven and remove from the tin. Tap the bottom of the loaf and iff it sounds hollow, it is ready. Leave to cool on a wire rack.
Recipe Tips
- Don't be afraid to get your hands in there and mix the dough. Using your hands is the only way to really know the consistency of the dough, as the amount of water needed can vary.
- The dough really needs somewhere warm to rise, as the yeast reacts to warmth, as it's a fairly quick rising dough. You can put it it on a sunny windowsill or in a warm cupboard.
- The cooking time will depend on the temperature of your oven. Some run hot, some run cold - you know your oven best. Use an oven thermometer to make sure it is exact.
- Leave it to cool before serving. I know it is tempting to cut straight in to the bread, but it will be easier to cut once cooled.
- To make this loaf like really pretty, brush it lightly with an egg wash and then sprinkle over some poppy seeds.
Nutritional Information
The nutritional information provided is approximate and is calculated using online tools. Information can vary depending on various factors, but we have endeavoured to be as accurate as possible.
As all appliances vary, cooking times are a guide. Please note that by changing the serving size, the cooking time may also need to be altered.






Erika says
Homemade bread is one of my absolute favorite foods to bake! This looks so warm and delicious!
Marlynn says
We've been trying to make as much at home as possible, including all of our sandwich bread, and I have to say that this recipe is a keeper! So easy and it turned out great!
Andrea says
Homemade bread is the best bread. This white bread looks amazing. Can't wait to make it.
Natalie says
Oh, the texture looks amazing. I never used strong flour for bread. I'll definitely give this a try.
Gina says
Well this trumps any store bought white bread for sure! Love the satisfaction of baking my own and how easy it is to bake!
Toni says
Thanks so much for this easy to follow recipe! It turned out so good! My family loved it.
Savita says
Super easy to make and delicious too.
Claudia Lamascolo says
I loved the ease of this recipe and it was super delicious even the bread was so light!
Danielle Wolter says
My goal for 2021 was to start making bread. I have not done it yet lol. This is the perfect easy recipe for me to get started!
sonia says
The homemade bread is really good.
You can smell it all over the house
It's true it gives a lot of satisfaction