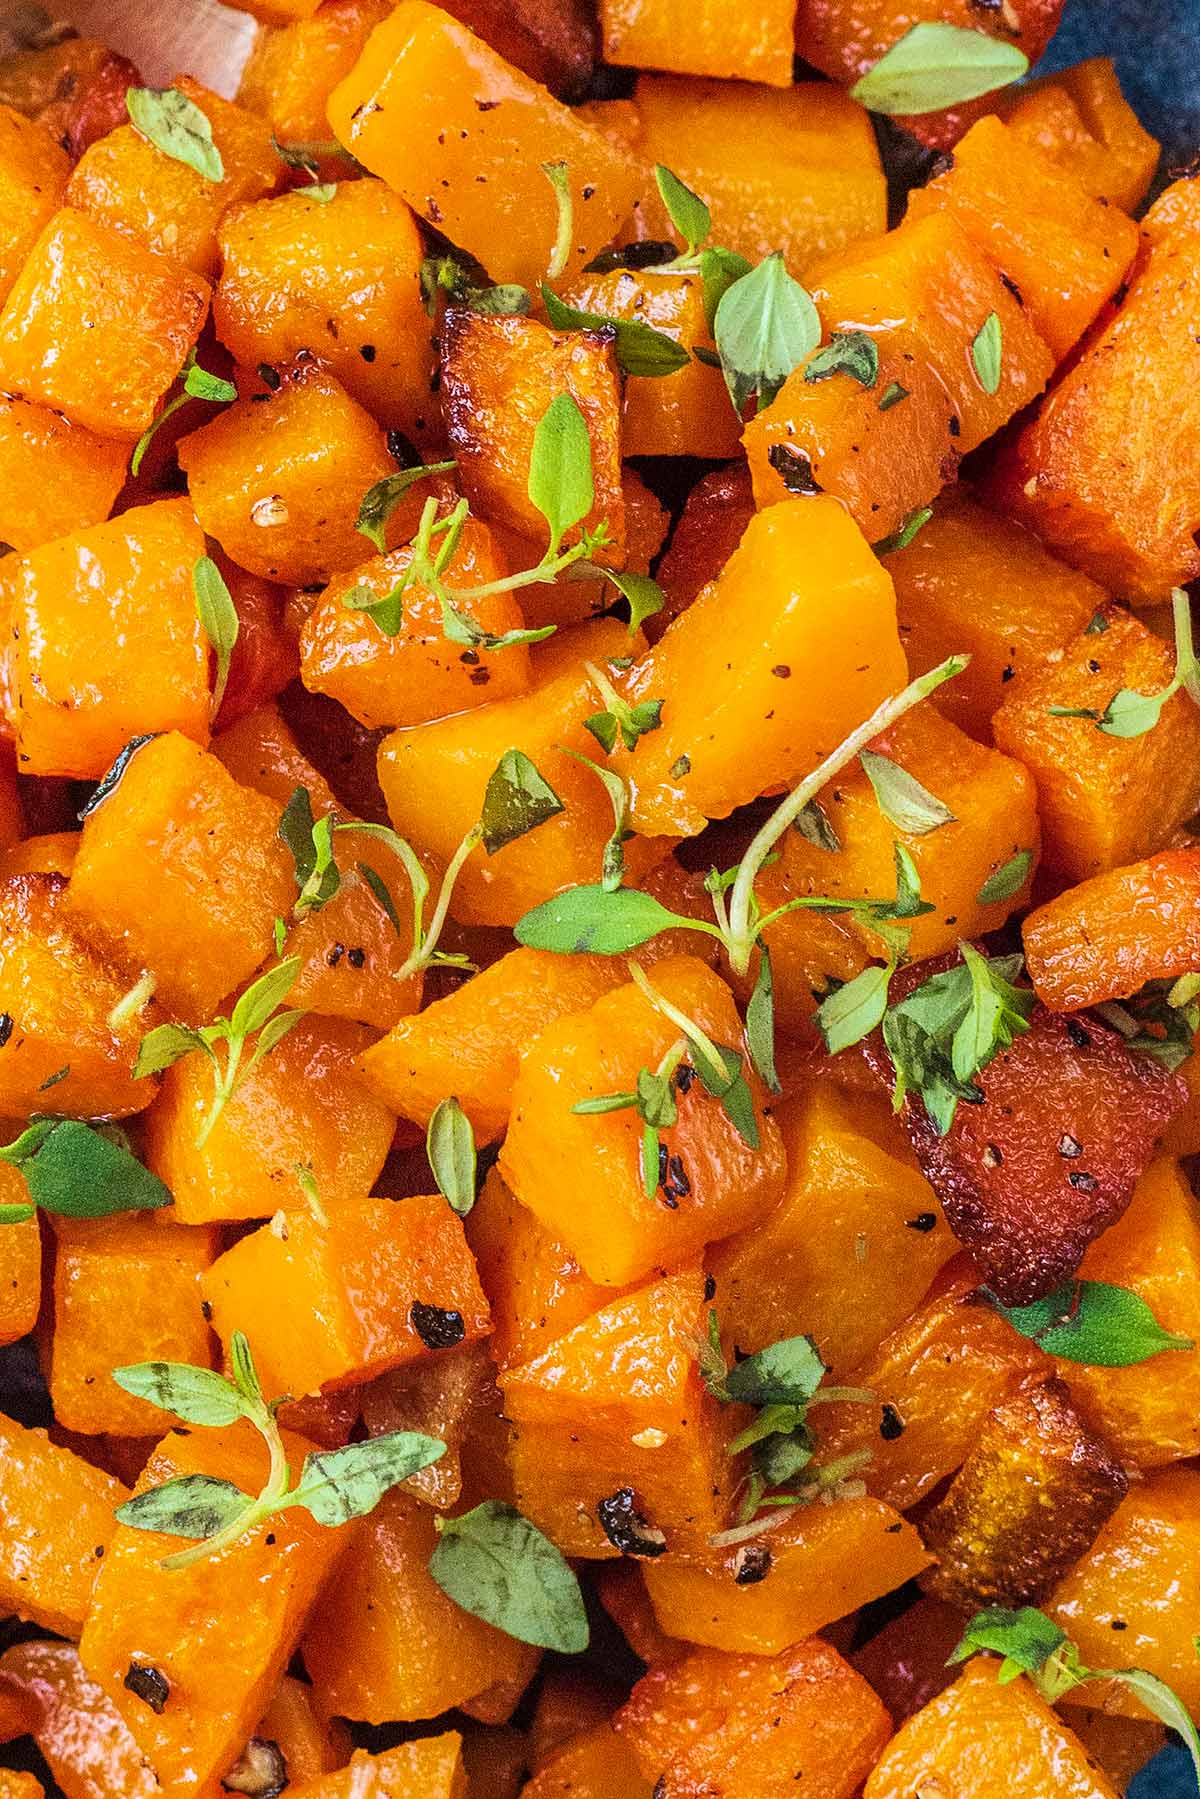
Crispy cubes of sweet and slightly nutty butternut squash make a delicious side or a simple addition to a salad or pasta dish. Roasted Butternut Squash takes just minutes to prepare and is easy to adapt with different seasonings. It's vegan and gluten free and you will love the creamy centre and caramelised edges.
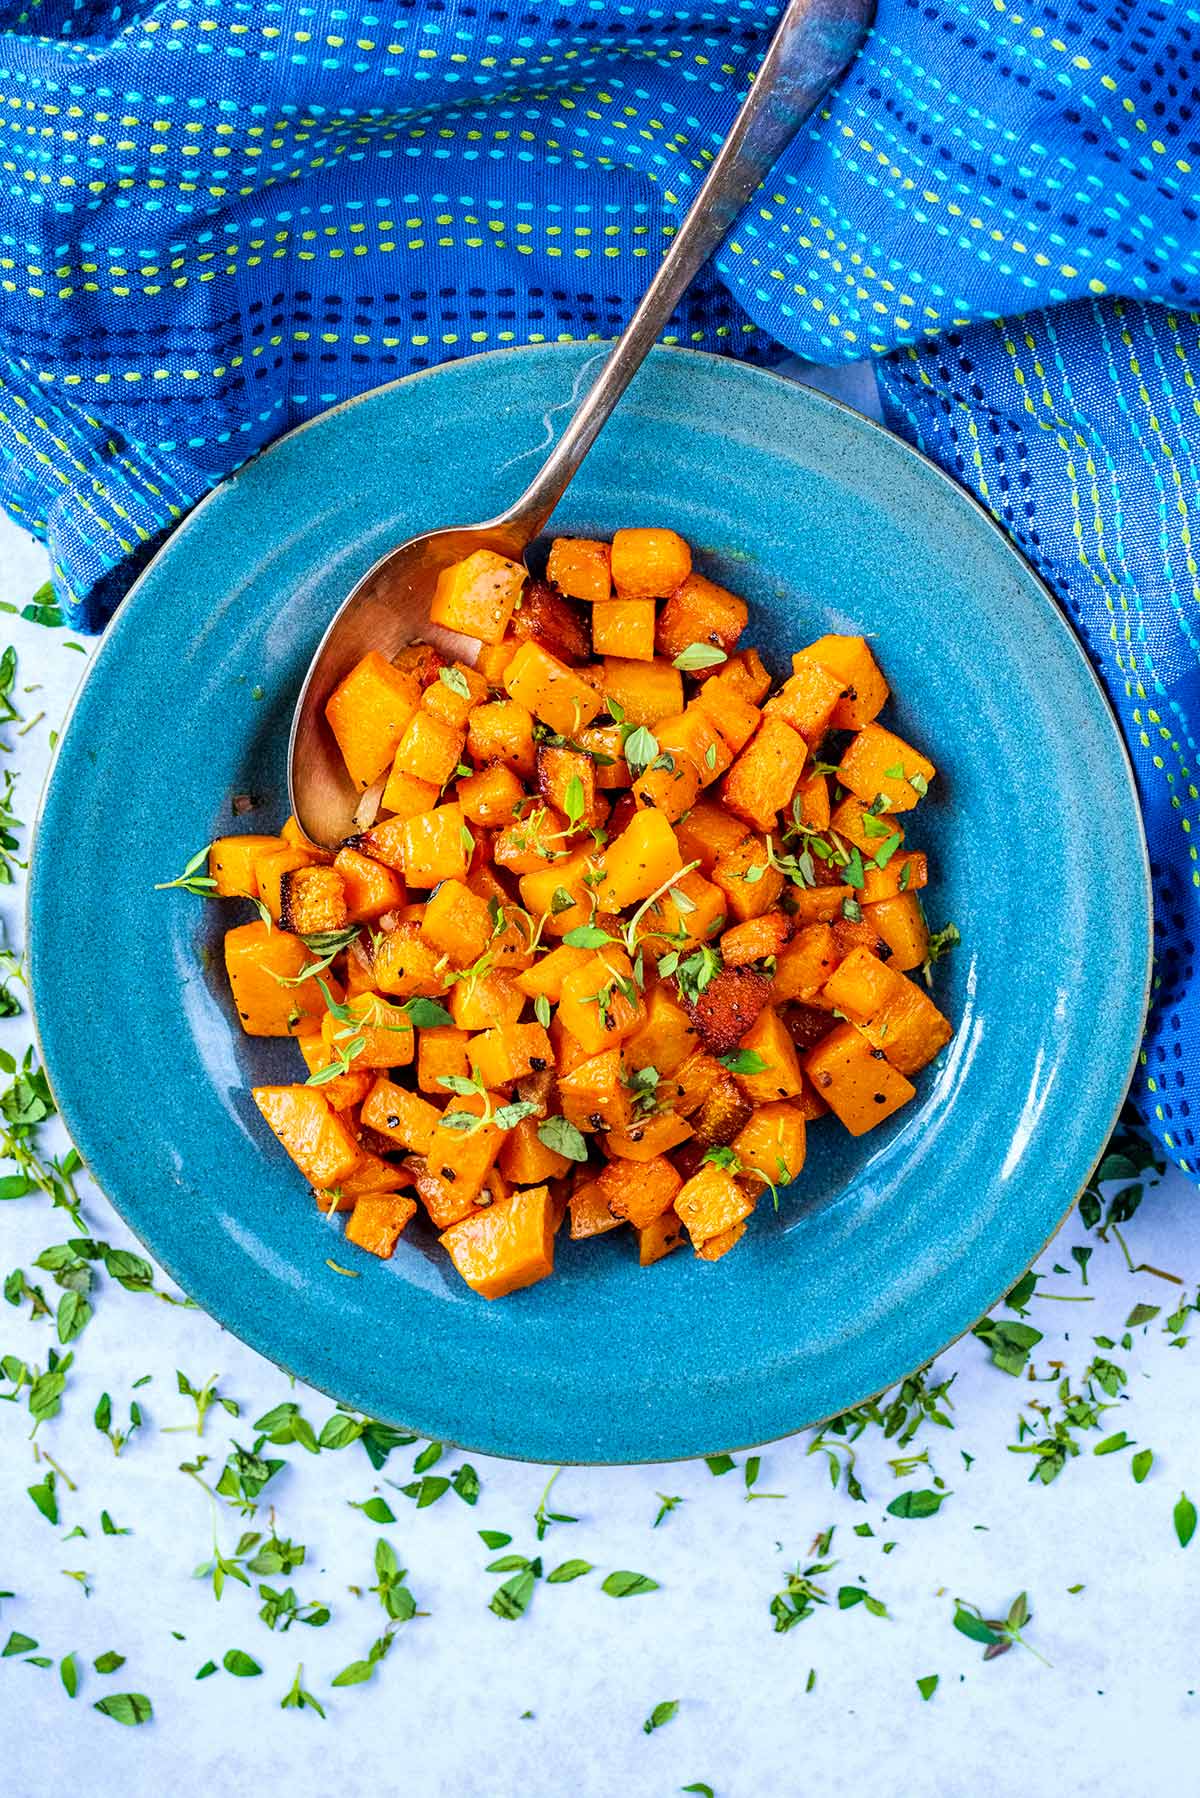
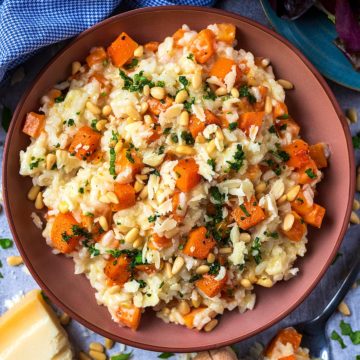
We LOVE butternut squash, but we think it is such an underrated ingredient. It's delicious and versatile, which is why you have seen it so often on our blog. When we aren't making Butternut Squash Risotto or Sweet Potato and Butternut Squash Soup, we love just roasting it up to snack on or add to salads.
That sweet and creamy centre with the crisp and caramelised edges is total healthy comfort food. There is so much that you can do with it and so many different ways you can season it. If you haven't tried our Stuffed Butternut Squash, then you need to give that a try too.
Jump to:
Why you will love it
- Quick - Apart from the time it takes roasting in the oven (essential for that crispiness), this is a really quick recipe to throw together. It takes just a couple of minutes if you are used to cutting up butternut squash, and only a couple of minutes more if you are new to butternut squash.
- Simple - Just 4 ingredients go in to making roasted butternut squash. Healthy comfort food doesn't have to be complicated.
- Stores well - This is a good recipe for batch cooking and it is always part of our Sunday night food prep to make the week ahead that little bit easier. It can be stored in the fridge and freezer and be added to different meals throughout the week. More on storage instructions below.
- Adaptable - We have included the recipe for our basic roasted butternut squash that is seasoned with just salt and pepper, but it can be SO much more than that. Below we have shared our favourite seasonings that go perfectly with butternut squash.
Ingredients needed
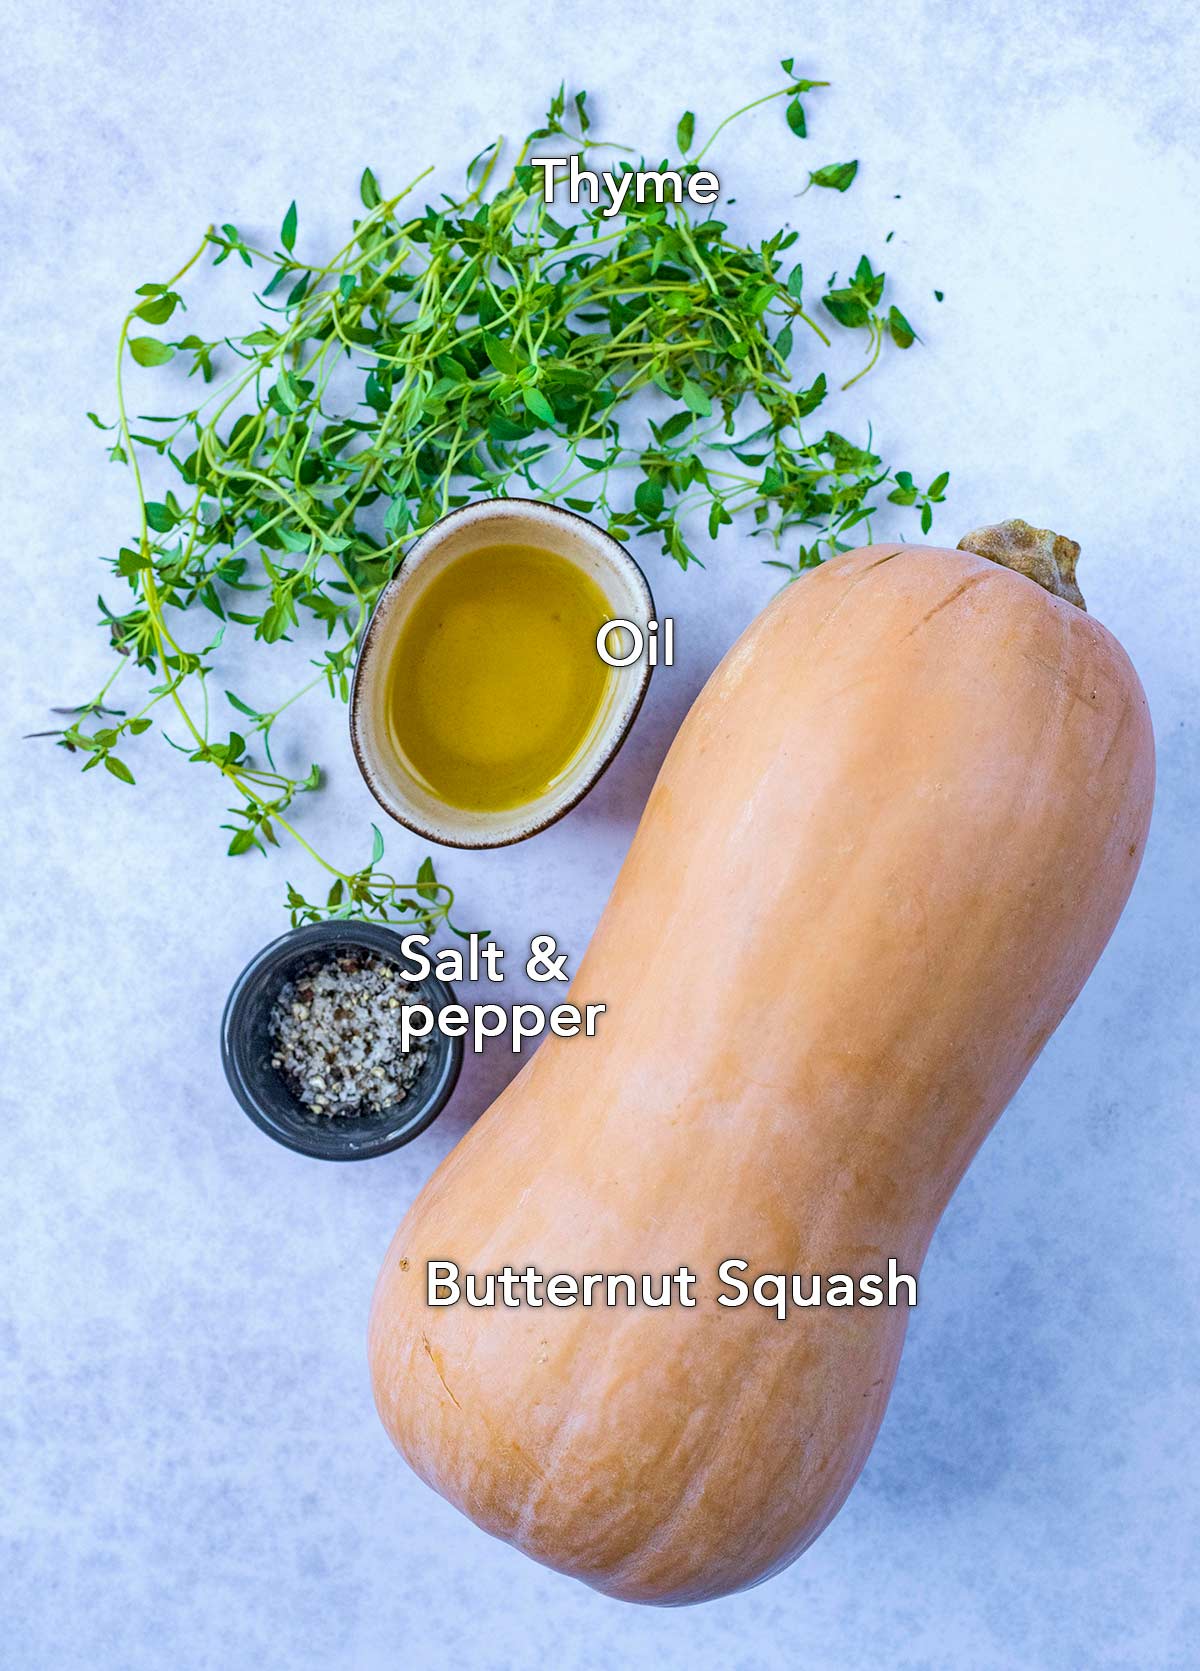
- Butternut squash - This is the star of the dish and roasting it gets it perfectly crispy. You could use this same method for sweet potato, but this recipe is all about butternut squash. We have lots of tips below on how to cut butternut squash, so don't be intimidated. It's easy!
- Oil - This is what is going to help the butternut squash get nice and crispy. We used olive oil - try to use the best quality that you can, as you really will be able to tell the difference.
- Salt and pepper - If you want to keep it simple, then this is the only seasoning you need. Good quality sea salt and black pepper.
- Herbs - We love to sprinkle some fresh herbs on top just before serving to lighten the whole thing up. This is a comforting side dish perfect for autumn, but that doesn't mean we can't add a bit of lightness to it, right? Whilst sage is usually the herb paired with butternut squash, we think thyme goes really well with it.
A full ingredients list with measurements is in the recipe card below.
Step by step
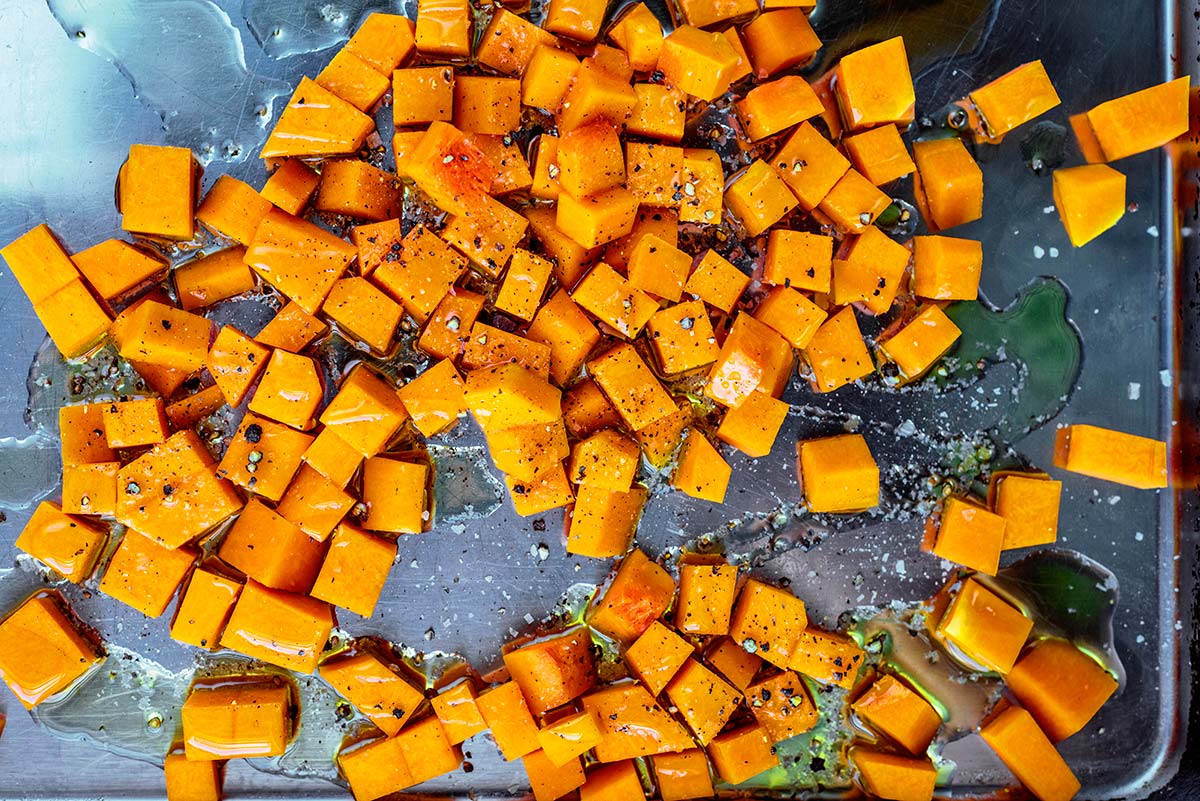
One: Chop the butternut squash and put it on a large baking try and add the oil and salt and pepper. Mix well and put in a preheated oven at 190°C/375°F/Gas 5 for 25-30 minutes, until the edges are crispy.
Two: Transfer to a plate/bowl and sprinkle with fresh herbs.
Health benefits of butternut squash
Not only is this a low in calorie side dish, but it is nutrient dense too. It is a great source of fibre, potassium, vitamins C and A as well as magnesium. Most people think that butternut squash is a vegetable, but it is actually a fruit.
Butternut Squash is very low in calories and contains no saturated fats or cholesterol. It is a good source of dietary fibre and it is often recommended by dietitians to help in the control of cholesterol. It is high in Vitamins A and B and has plenty of natural polyphenolic flavonoid compounds. They are also high in minerals such as iron, zinc, copper, calcium, potassium, and phosphorus.
How to chop butternut squash
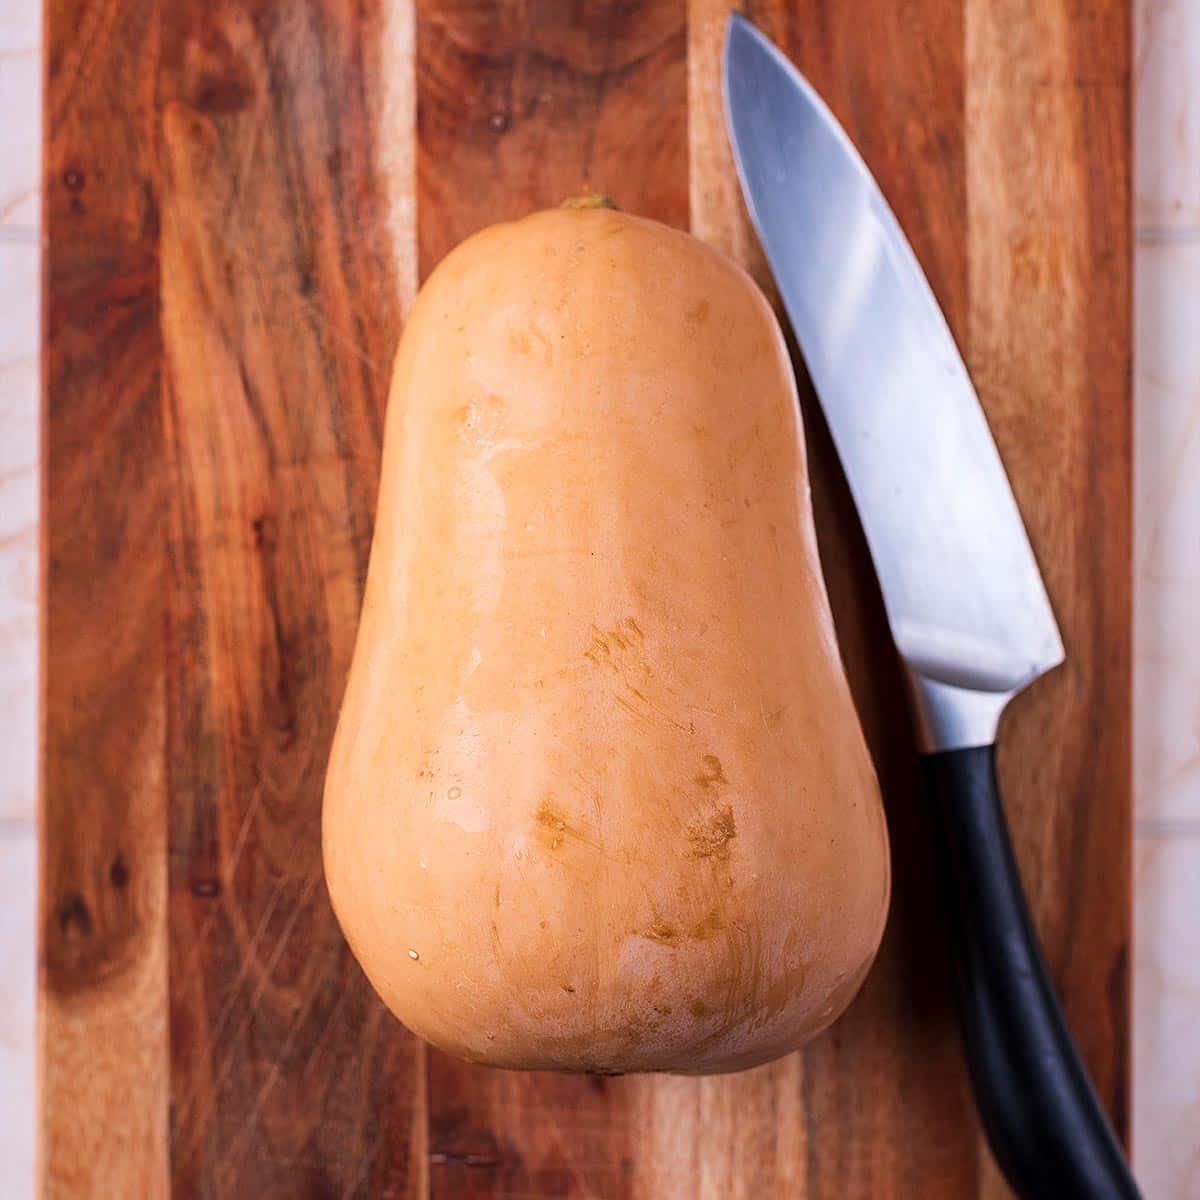
I know they look a bit intimidating, especially if you have not chopped one up before, but it is actually pretty easy. First you want to chop off the top and bottom ends of the squash, so that both ends are flat.
Slice it in half around the middle and using a heavy duty peeler or knife, peel off the skin in downwards strokes. You want to peel until you see orange flesh (no green lines left).
Once you have peeled both halves, slice the flatter half in two to reveal the seeds. Take a spoon and scoop out the seeds (keep them to roast too - great as a snack). Chop the butternut squash in to cubes.
For a full tutorial, see this comprehensive guide on How To Peel and Cut A Butternut Squash.
Variations
Seasoning - Everything is better with garlic, right? If we are going to add some garlic flavour to roasted butternut squash, then we go with garlic granules rather than freshly crushed garlic. This is so it doesn't burn when roasting.
If you want to go the sweet route, then a little maple syrup and cinnamon is the way to go. It really helps with the caramelised edges and it tastes more like dessert than a side dish. Just don't add the herbs.
We kept it simple with just salt and pepper, but you could also use smoked paprika, cayenne, Mexican seasoning or an Italian dried herb blend.
Herbs - We love thyme with butternut squash, but you could also add some chopped fresh parsley before serving. Sage is usually what is paired with butternut squash, but if we are using that then we chop it and mix it in before roasting.
Cheese - We kept this vegan, however if you want to take this roasted butternut squash to the next level then we suggest topping it with some cheese. Shavings of parmesan or crumbled feta work well.
What to serve it with
If we can manage to stop ourselves from snacking on all of it straight from the baking tray, then we like to save some to add to salads and pasta dishes. Have you tried our Roasted Butternut Squash Salad or Roasted Butternut Squash Pasta?
This is so simple and delicious, that is makes a great side dish and it goes with almost anything. We love serving it alongside our Lemon and Herb Chicken with Couscous, Pesto Salmon or Caprese Chicken. You could also keep it simple and serve it alongside Roast Chicken and The Perfect Roast Potatoes.
Frequently Asked Questions
Yes, this really is a nutrient dense side dish, not only because of the health benefits listed above, but because of the minimal added ingredients too. There is also just 105 calories per portion.
Yes, you can use pre-chopped butternut squash that you would find bagged in the supermarket. However, we don't recommend using frozen butternut squash as it just won't roast as well.
We love to make a big batch of this to add to meals throughout the week. You can put it in an air tight container and store it in the fridge for up to 4 days.
Yes, this freezes really well. We like to flash freeze it (lay on a baking tray and put the tray in the freezer) and then transfer the frozen cubes in to a freezer bag. It will keep in the freezer for up to 3 months.
You can either add it to a frying pan to heat through, or put it back in the oven for 15-20 minutes until warmed. You can reheat it in the microwave, but we find it gets a bit too soggy and fall apart.
Yes, this recipe is naturally vegan and butternut squash is a popular ingredient in vegan cooking.
Yes, you can make this in advance. You can chop up the butternut squash and mix it with the oil and seasoning and then leave it in a bowl in the fridge until you are ready to roast it. It might need 5-10 minutes longer in the oven if it has come out of the fridge. You could also cook it in advance and reheat it using the instructions below.
Yes, this recipe will work for any other hard squash. Something like courgette (zucchini) will be too wet and won't get as crispy, although it would still be delicious.
Extra tips
• Use a sharp knife when cutting the butternut squash. It will make it a lot easier.
• Make sure that you use a large baking sheet, as the butternut squash cubes need enough room to be able to get crispy. If they are all too close together then it will steam rather than roast.
• You know your oven best, and they all cook at different temperatures. If you know that your oven cooks things quickly, then check on these 5-10 minutes before the cooking time is up. Equally, if your oven is a little on the slow side, then they might need 5-10 minutes more in the oven to be perfectly cooked.
• Add a bit of crunchy texture by sprinkling over some pine nuts before serving.
• Don't throw the butternut squash seeds away. Wash and dry them and then mix with some olive oil and seasoning and then roast them in the oven for 10-15 minutes, stirring half way through. A delicious crunchy snack and no waste.
More butternut squash recipes
If you’ve tried this roasted butternut squash recipe, let us know how you got on in the comments below.
Tag us in your creations on Instagram @hungryhealthyhappy - Use the hashtag #hungryhealthyhappy too.
Recipe
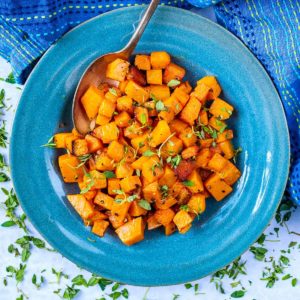
Roasted Butternut Squash
Ingredients
- 600 g (1.3 lb) Butternut squash - peeled and diced
- 1.5 tablespoon Olive oil
- 1 pinch Sea salt and ground black pepper
- 5 g (0.75 tablespoon) Fresh thyme - chopped
Instructions
- Preheat your oven to 190°C/170°C(fan)/375°F/Gas 5.
- Chop 600 g Butternut squash into cubes and put it on a large baking try and add 1.5 tablespoon Olive oil and 1 pinch Sea salt and ground black pepper. Mix well and put into the oven for 25-30 minutes, until the edges are crispy.
- Transfer to a plate/bowl and sprinkle with 5 g Fresh thyme.
Recipe Tips
- Use a sharp knife when cutting the butternut squash. It will make it a lot easier.
- Make sure that you use a large baking sheet, as the butternut squash cubes need enough room to be able to get crispy. If they are all too close together then it will steam rather than roast. We used these baking trays.
- You know your oven best, and they all cook at different temperatures. If you know that your oven cooks things quickly, then check on these 5-10 minutes before the cooking time is up. Equally, if your oven is a little on the slow side, then they might need 5-10 minutes more in the oven to be perfectly cooked.
- Add a bit of crunchy texture by sprinkling over some pine nuts before serving.
- Don't throw the butternut squash seeds away. Wash and dry them and then mix with some olive oil and seasoning and then roast them in the oven for 10-15 minutes, stirring half way through. A delicious crunchy snack and no waste.
Nutritional Information
The nutritional information provided is approximate and is calculated using online tools. Information can vary depending on various factors, but we have endeavoured to be as accurate as possible.
As all appliances vary, cooking times are a guide. Please note that by changing the serving size, the cooking time may also need to be altered.




Toni says
I seriously loved how easy this is to make! It is so good!
Lyn says
Love this roasted butternut squash recipe! I make it for my meal prep and then use it throughout the week! A simple recipe with tons of information to make it easy for any level cook.
Michelle says
Loved how easy it was to prepare and make this butternut squash dish! Roasting it really brought out its natural sweetness... will make it again!
Ritisha Gupta says
Butternut squash is one of my winter favorites! This looks like such a comforting meal. Definitely will be making as the weather cools down!
Annissa says
Love this healthy and simple recipe! Great veggie treat for the entire family!
Chrissie Baker says
roasted butternut squash is one of my favorite go to winter veggies. Always looking for new ways to try it
Alejandra says
This is a great side dish! I’m sure it tastes delicious with thyme added too, I’m going to try this for dinner!
Eliza from BENSA Bacon Lovers Society says
What a fantastic recipe featuring one of my favorite veggies. I can't wait to try your butternut squash risotto, too!
Jenny says
I'm always scared to slice open squash, but your tutorial makes it seem less intimidating! I love the creamy center and crispy edges from this cooking method.
Andrea says
This butternut squash is perfect my family. We love roasted vegetables.
Shadi Hasanzadenemati says
This was amazing and such a treat! Thank you!
Nathan says
I love how simple this butternut squash is to prepare! Anything with less than 5 ingredients is already a win if you ask me. Will definitely be giving this a try!