


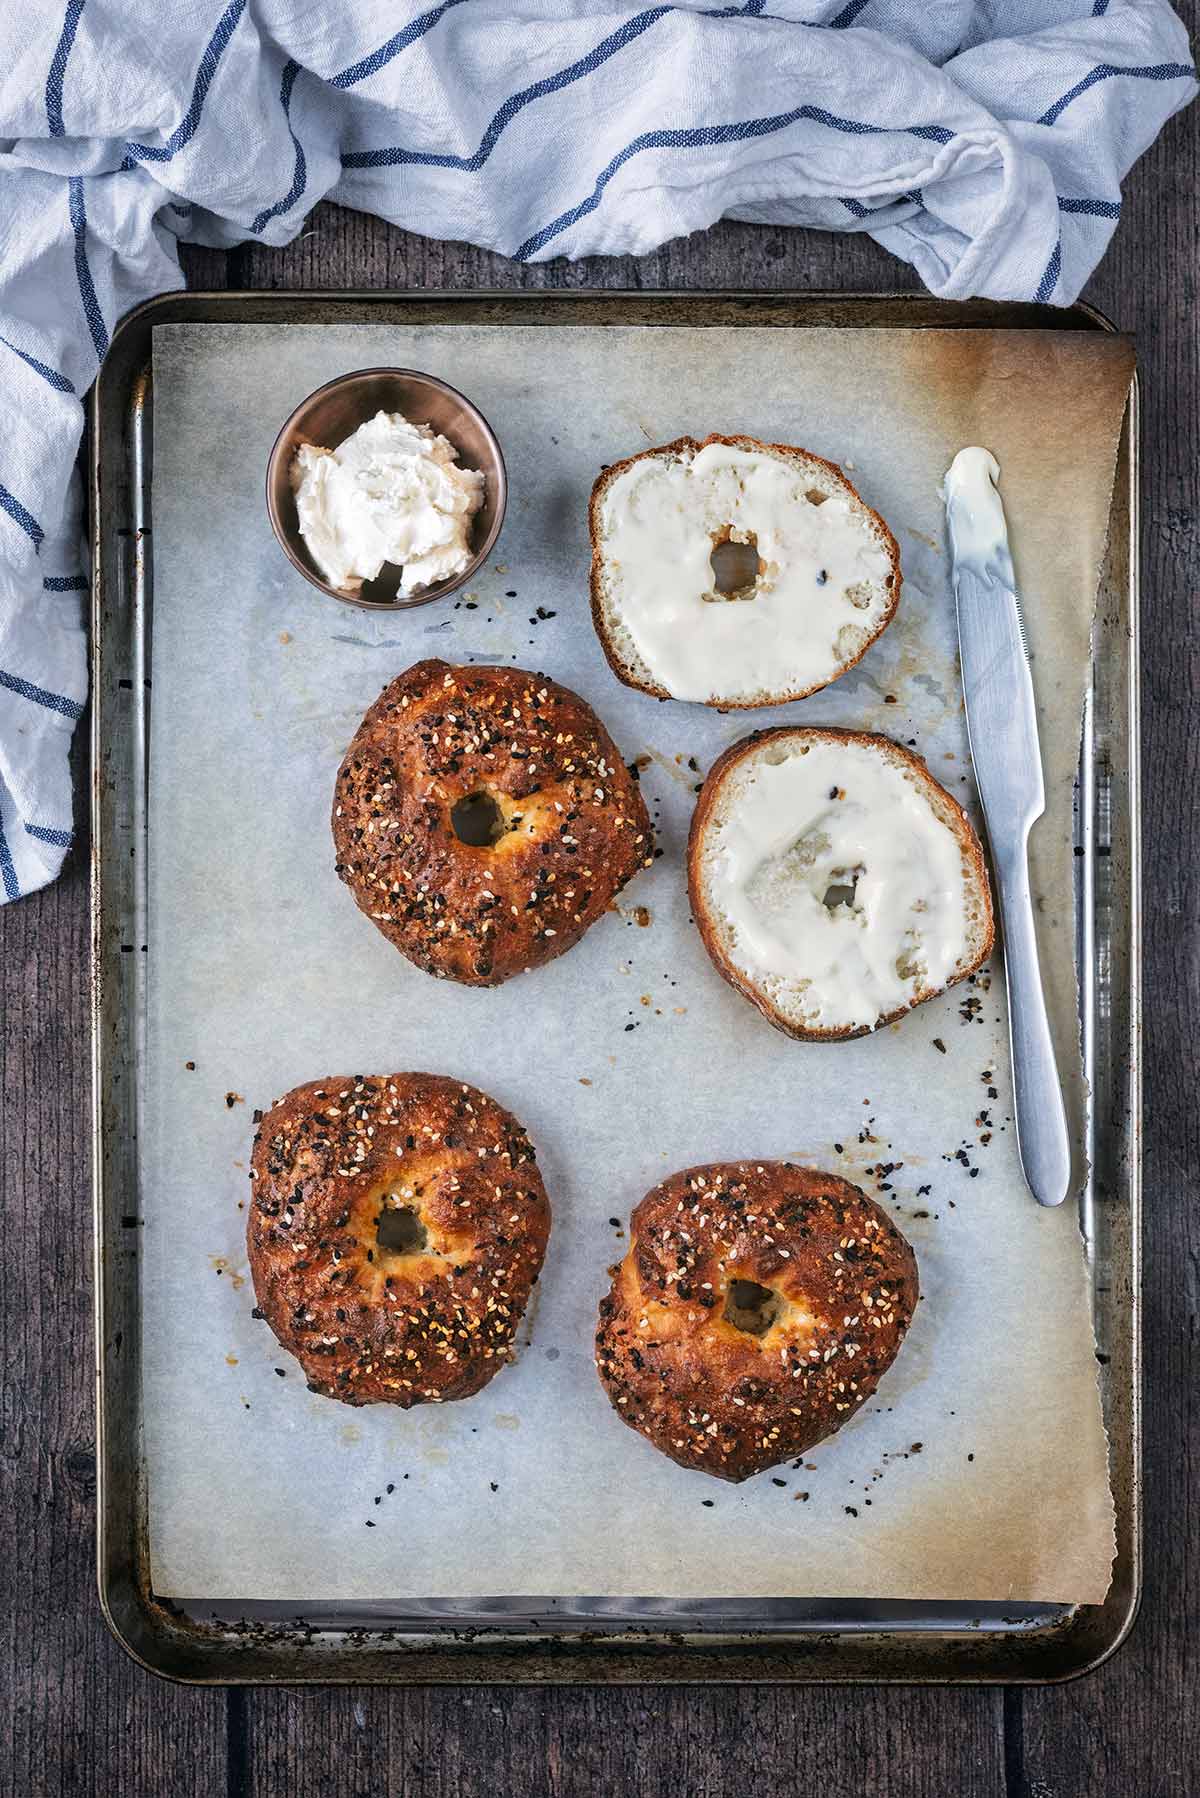
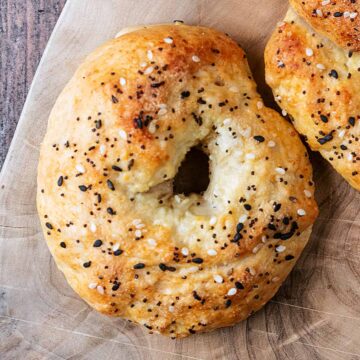
These easy Greek Yogurt Bagels are soft, chewy and made with just four simple dough ingredients. There is no yeast, no boiling and no lengthy proving time, making them perfect when you want homemade high protein bagels without spending hours in the kitchen - these are ready in just 30 minutes.
Would you like to save this post?
Simply mix flour, Greek yogurt, baking powder and salt, shape the dough into bagels, then finish them with egg wash and everything seasoning. In around 30 minutes, you will have four warm, golden bagels ready for breakfast, lunch or snacking.
You just can't beat homemade bread. My kids love making it too, and the simple combination of flour and yogurt (like my Homemade Flatbreads) is easy enough that my kids can have no problems.
The best thing about these Greek yogurt bagels is how easy to customise with different add-ins they are.
Looking for more Greek yogurt recipes? Why not try our juicy Greek Yogurt Chicken, popular Greek Yogurt Coleslaw or our delicious Greek Yogurt Chocolate Mousse?
Jump to:
Why You Will Love Them
- No yeast or proving required.
- Made with everyday ingredients.
- Ready in around 30 minutes.
- Easy to customise with different toppings.
- Great for breakfast, sandwiches or snacks.
Ingredients and Substitutions
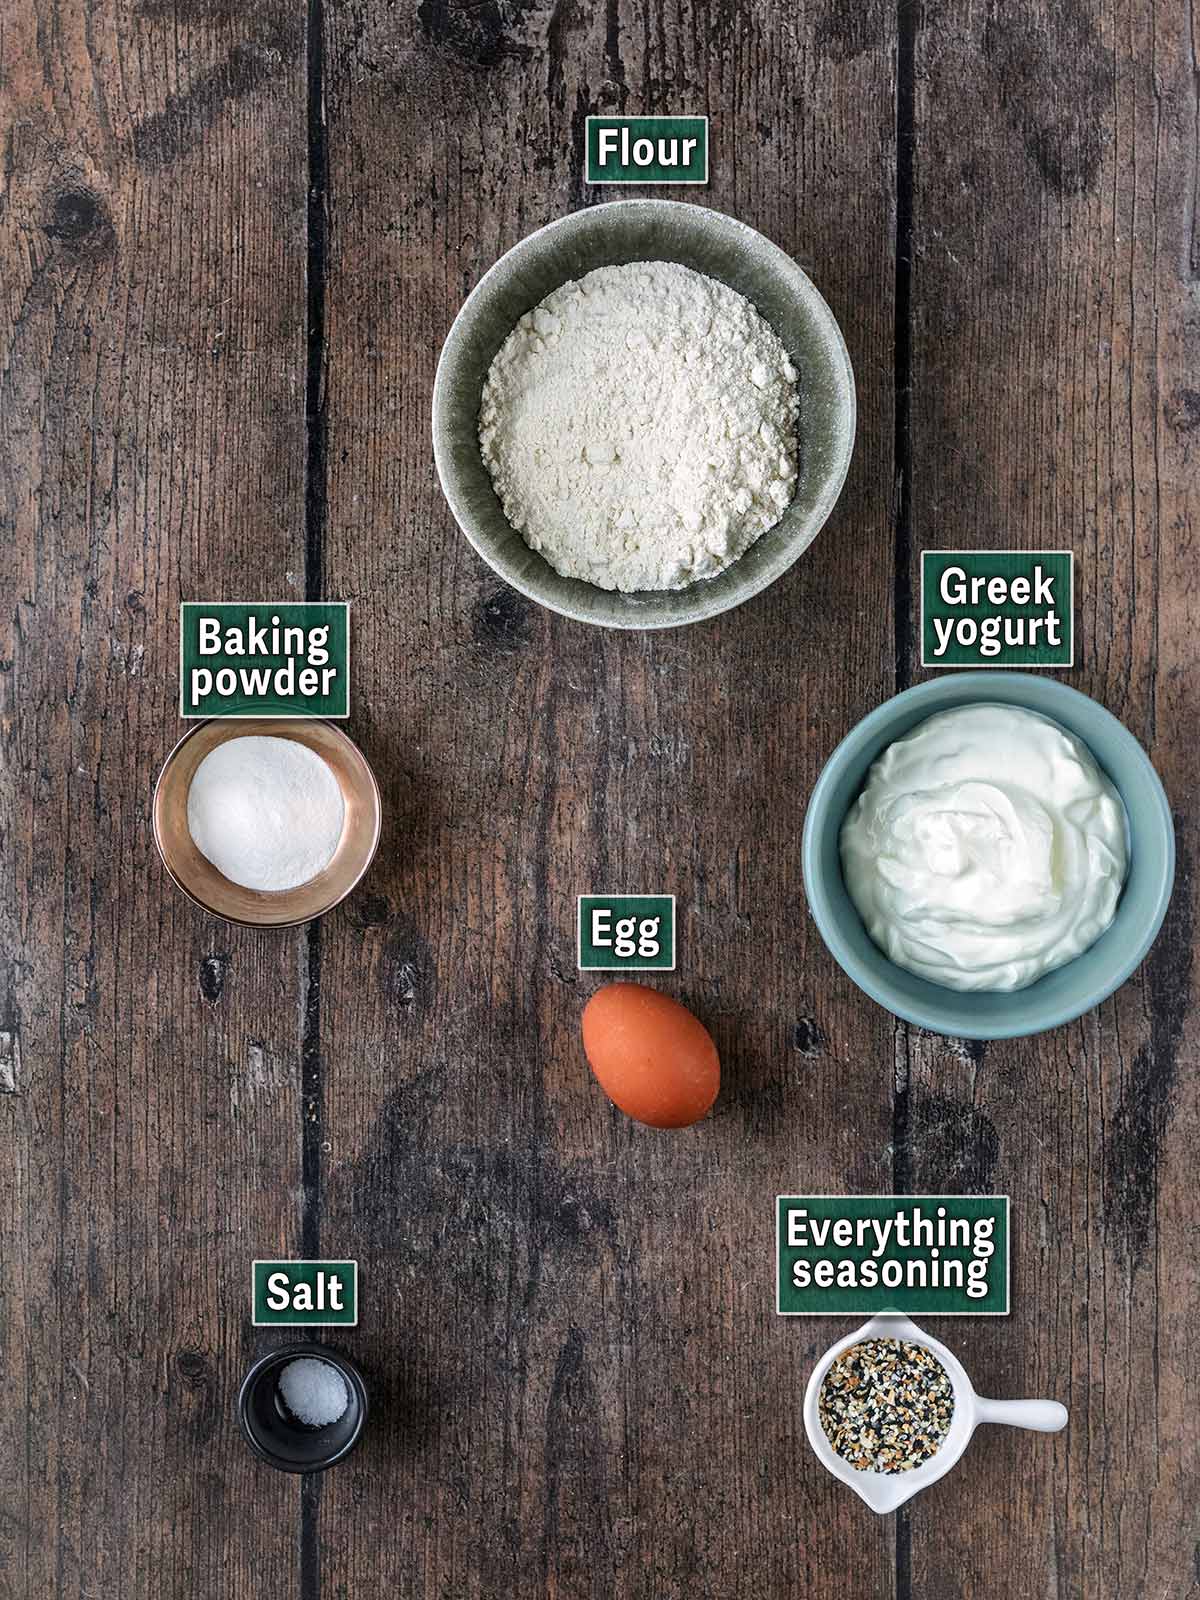
A full ingredients list, along with US Customary and Metric measurements, can be found in the recipe card at the end of this post.
- Flour - Plain flour (all purpose flour).
- Yogurt - We used fat free Greek yogurt. A higher fat percentage can be used too. Thick natural yogurt may work, but you will probably need additional flour. Avoid very thin or pourable yogurt.
- Baking powder - This is to help them rise and get nice and fluffy.
- Salt
- Topping - Egg helps to get them golden and Everything Bagel Seasoning adds lots of flavour.
Variations
Sesame/Poppy Seed - Replace the everything seasoning with white sesame seeds, black sesame seeds or a mixture of both or poppy seeds.
Cheese - Mix a small handful of grated mature Cheddar or Parmesan into the dough. Sprinkle additional cheese over the tops before baking. A cheddar jalapeño mix works well too.
Garlic and Herb - Add ½ teaspoon of garlic powder and 1 teaspoon of dried mixed herbs to the flour mixture.
Cinnamon Raisin - Leave out the savoury topping and mix cinnamon and raisins into the dough. Brush the tops with egg and sprinkle with a little cinnamon sugar before baking.
How To Make Greek Yogurt Bagels
Prep: Preheat your oven to 200°C/180°C(fan)/400°F/Gas 6. Line a large baking sheet with baking paper. Whisk the egg.
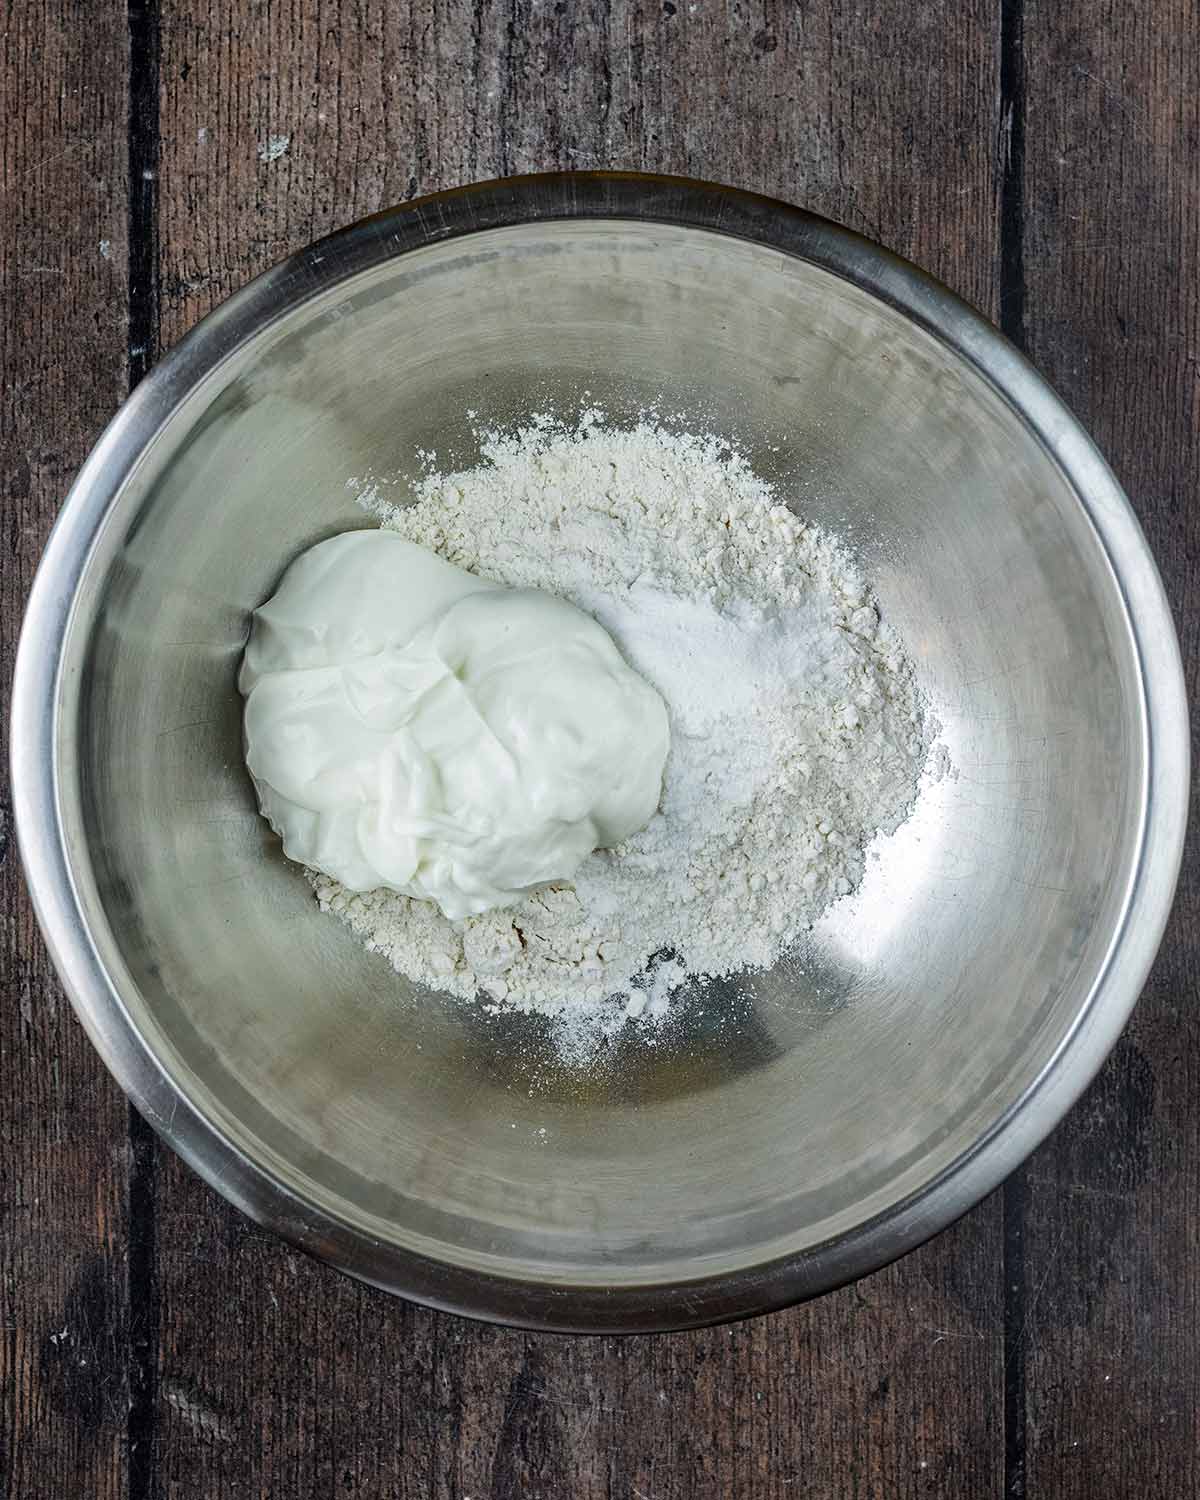
- Step 1: In a large bowl, add the flour, baking powder, salt and yogurt.
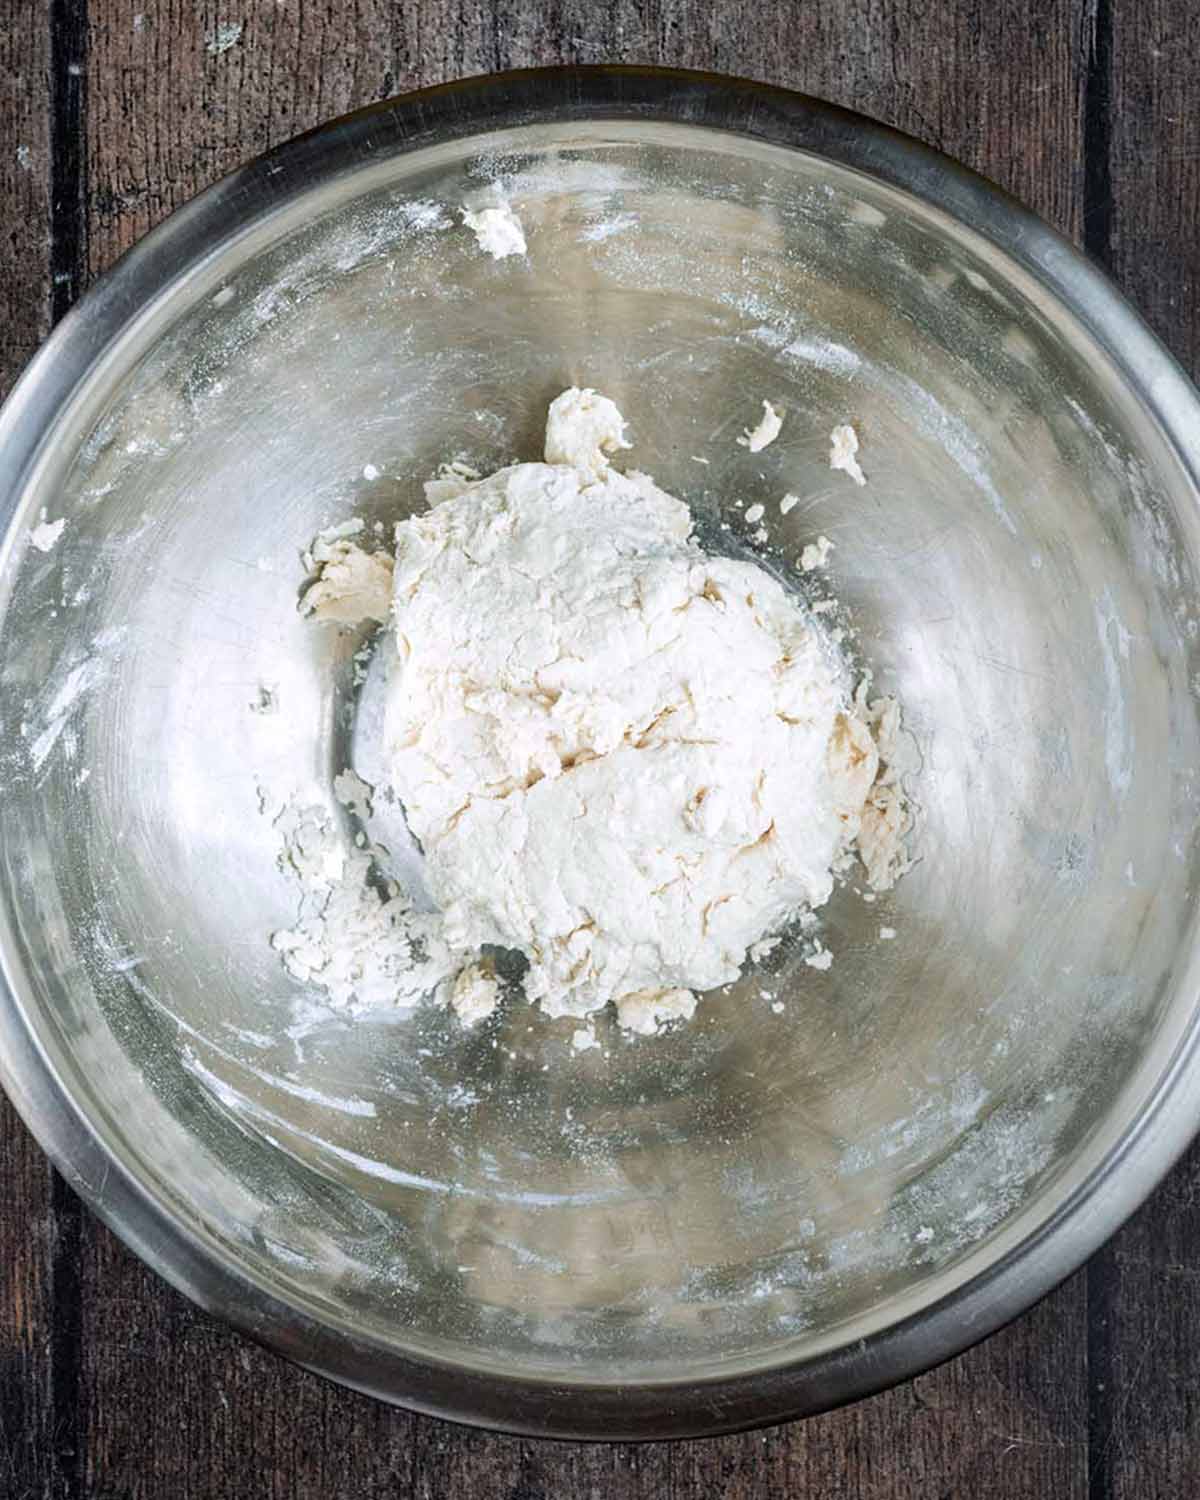
- Step 2: Mix with a spatula at first, then use your hands to bring everything together.
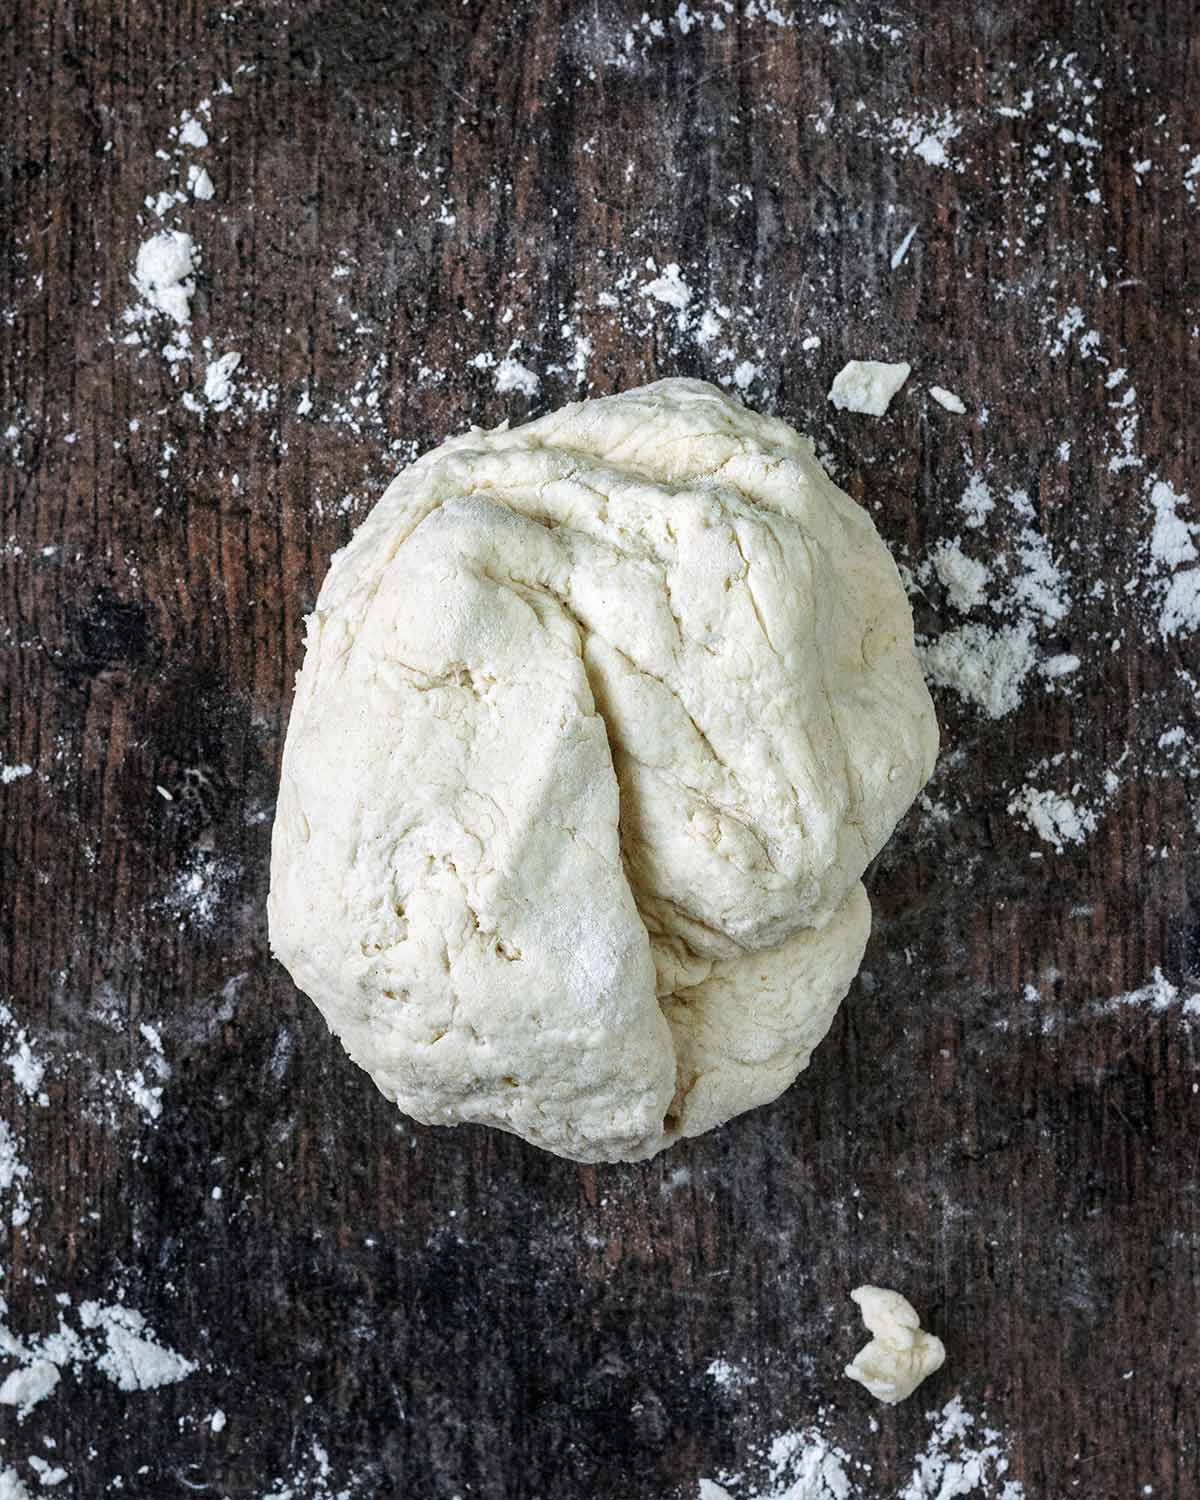
- Step 3: Dust your work surface with flour and knead the ball of dough for a few minutes.
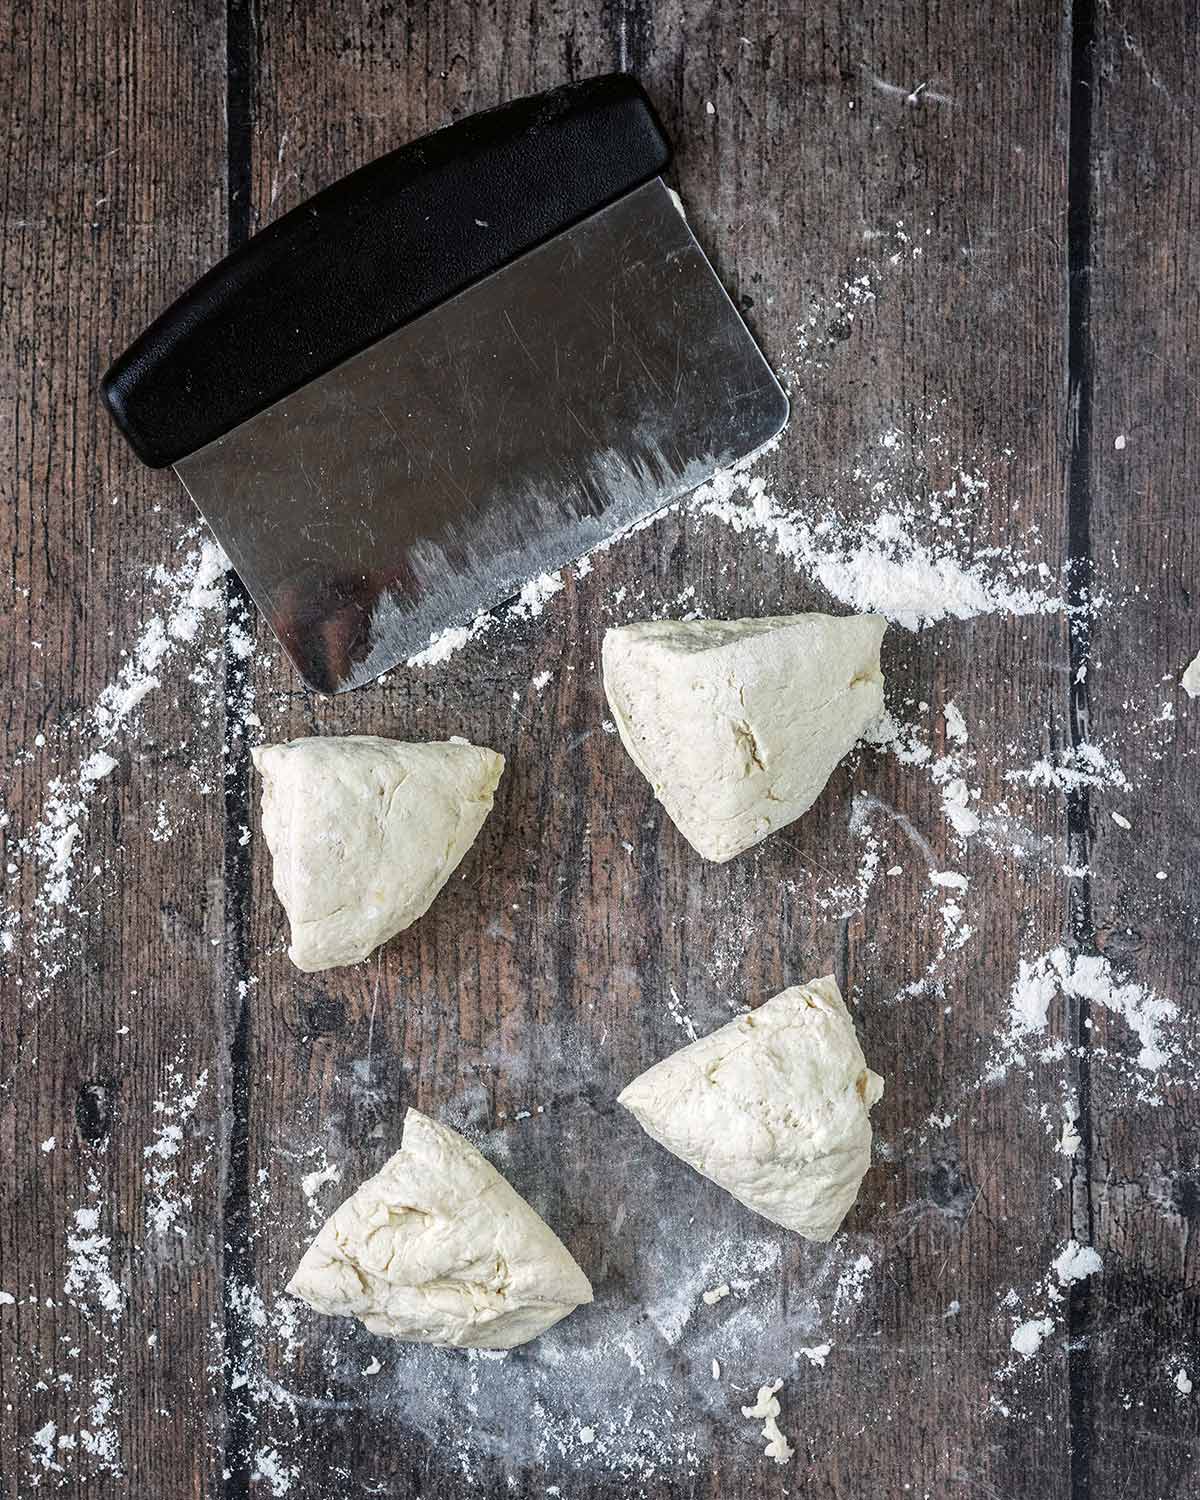
- Step 4: Cut the ball of dough into four equal parts.
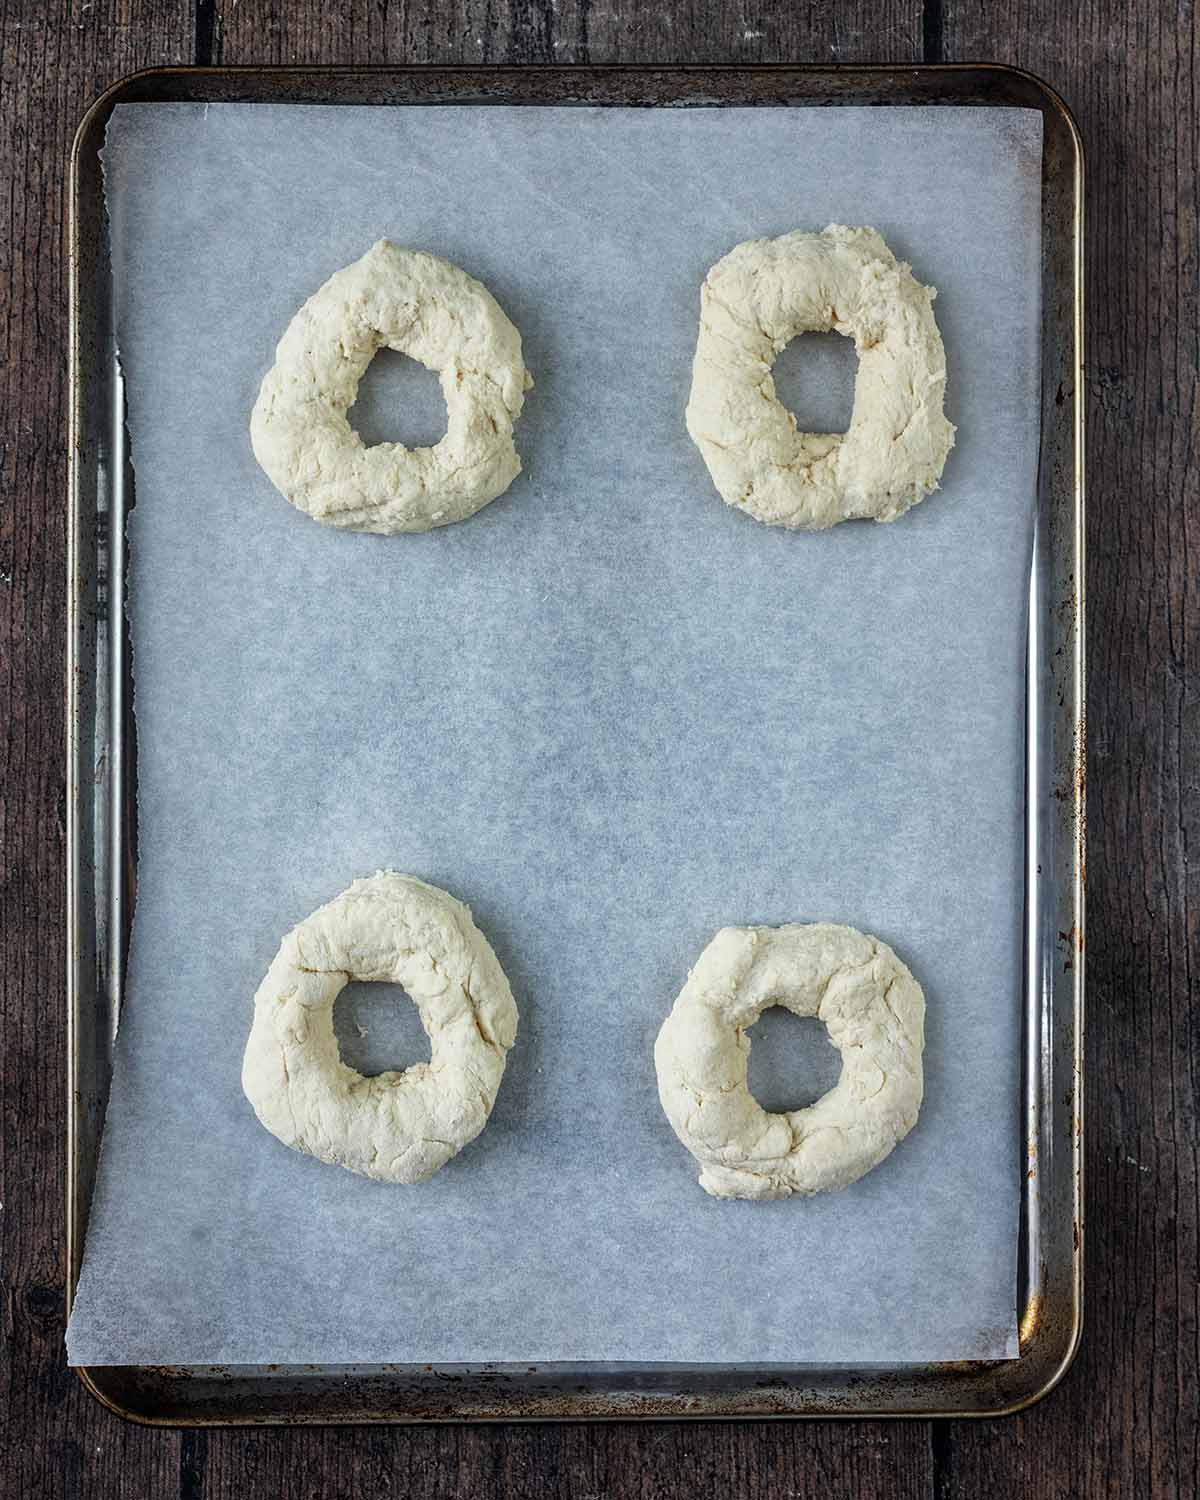
- Step 5: Roll each piece into a ball. Push a hole through each ball and form into a bagel shape.
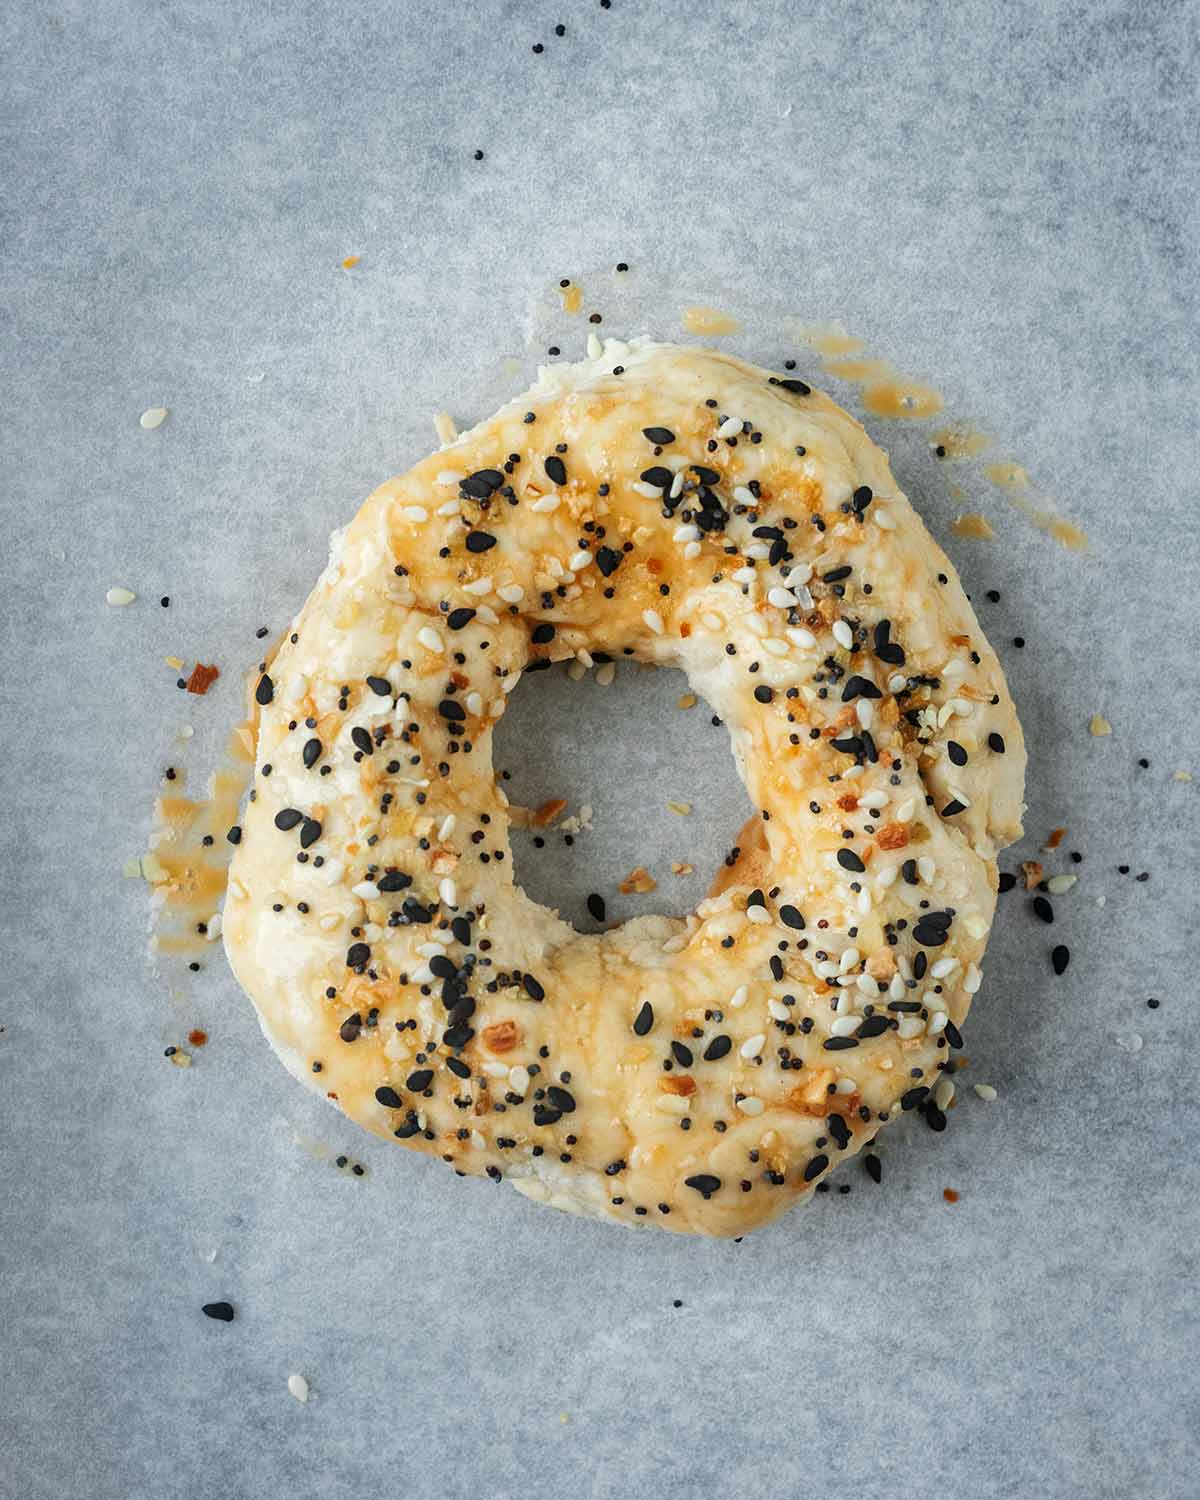
- Step 6: Brush the egg over each bagel and sprinkle over the seasoning.
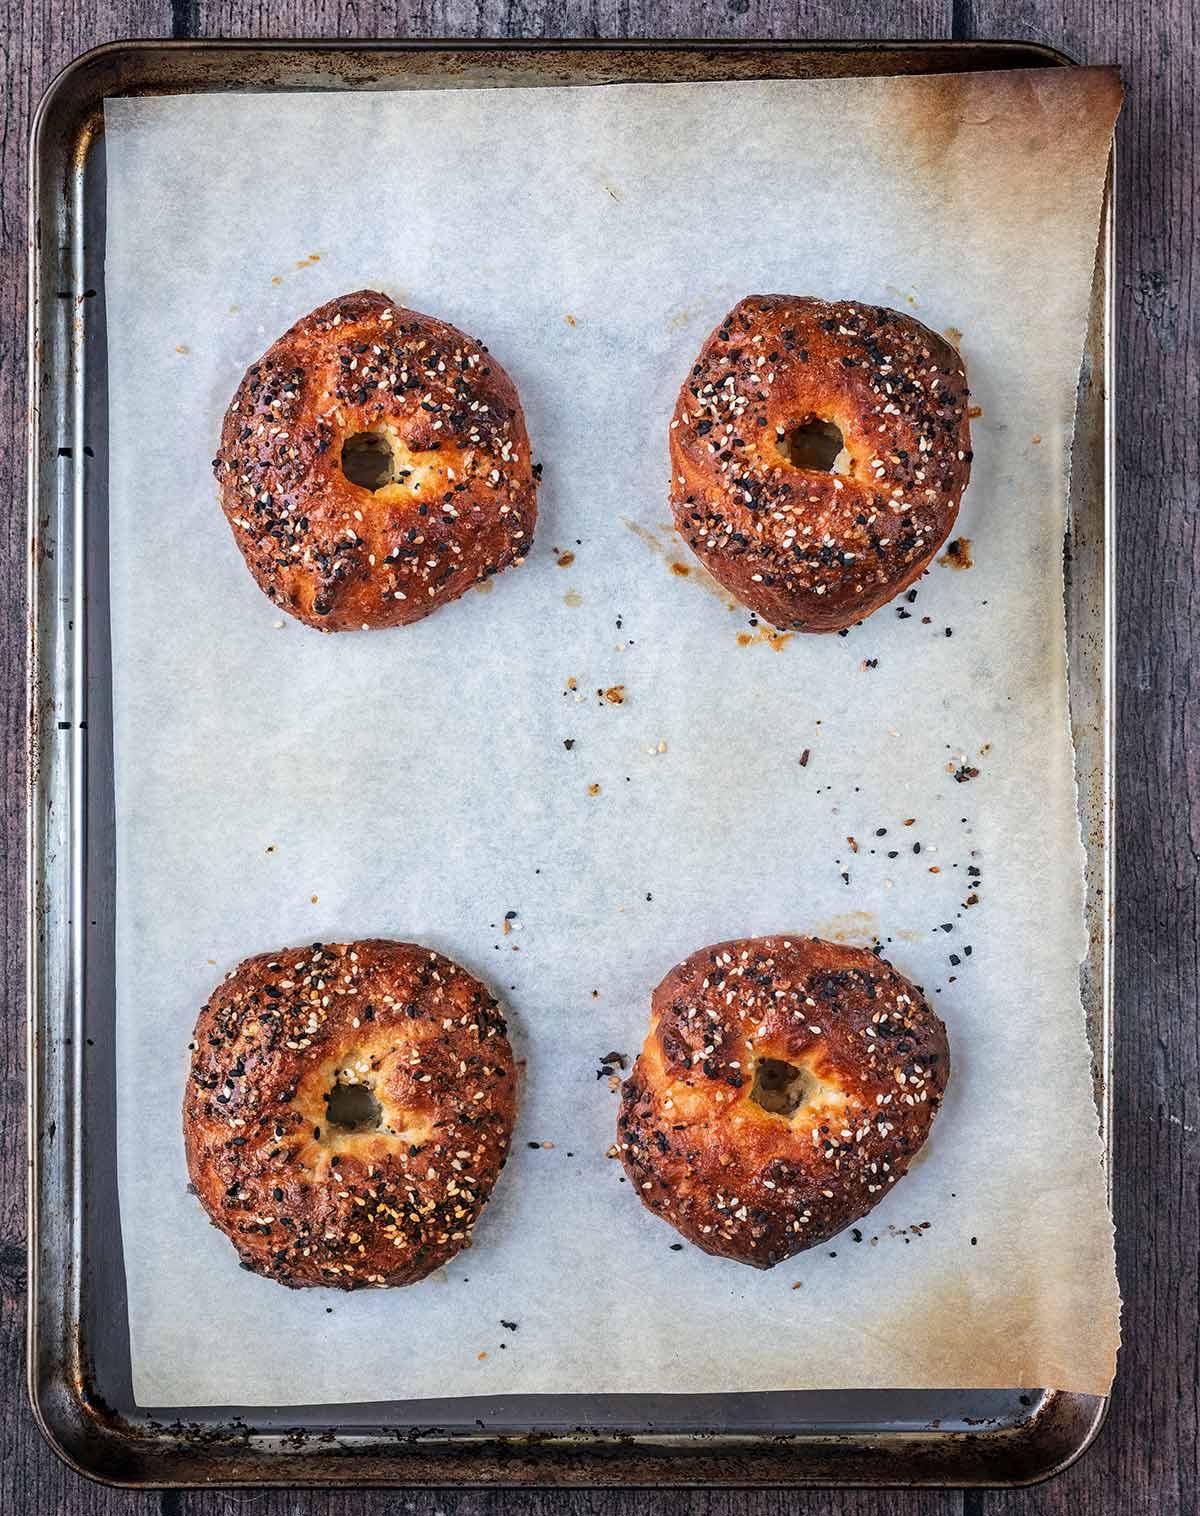
- Step 7: Bake for 20 minutes.
Serving Suggestions
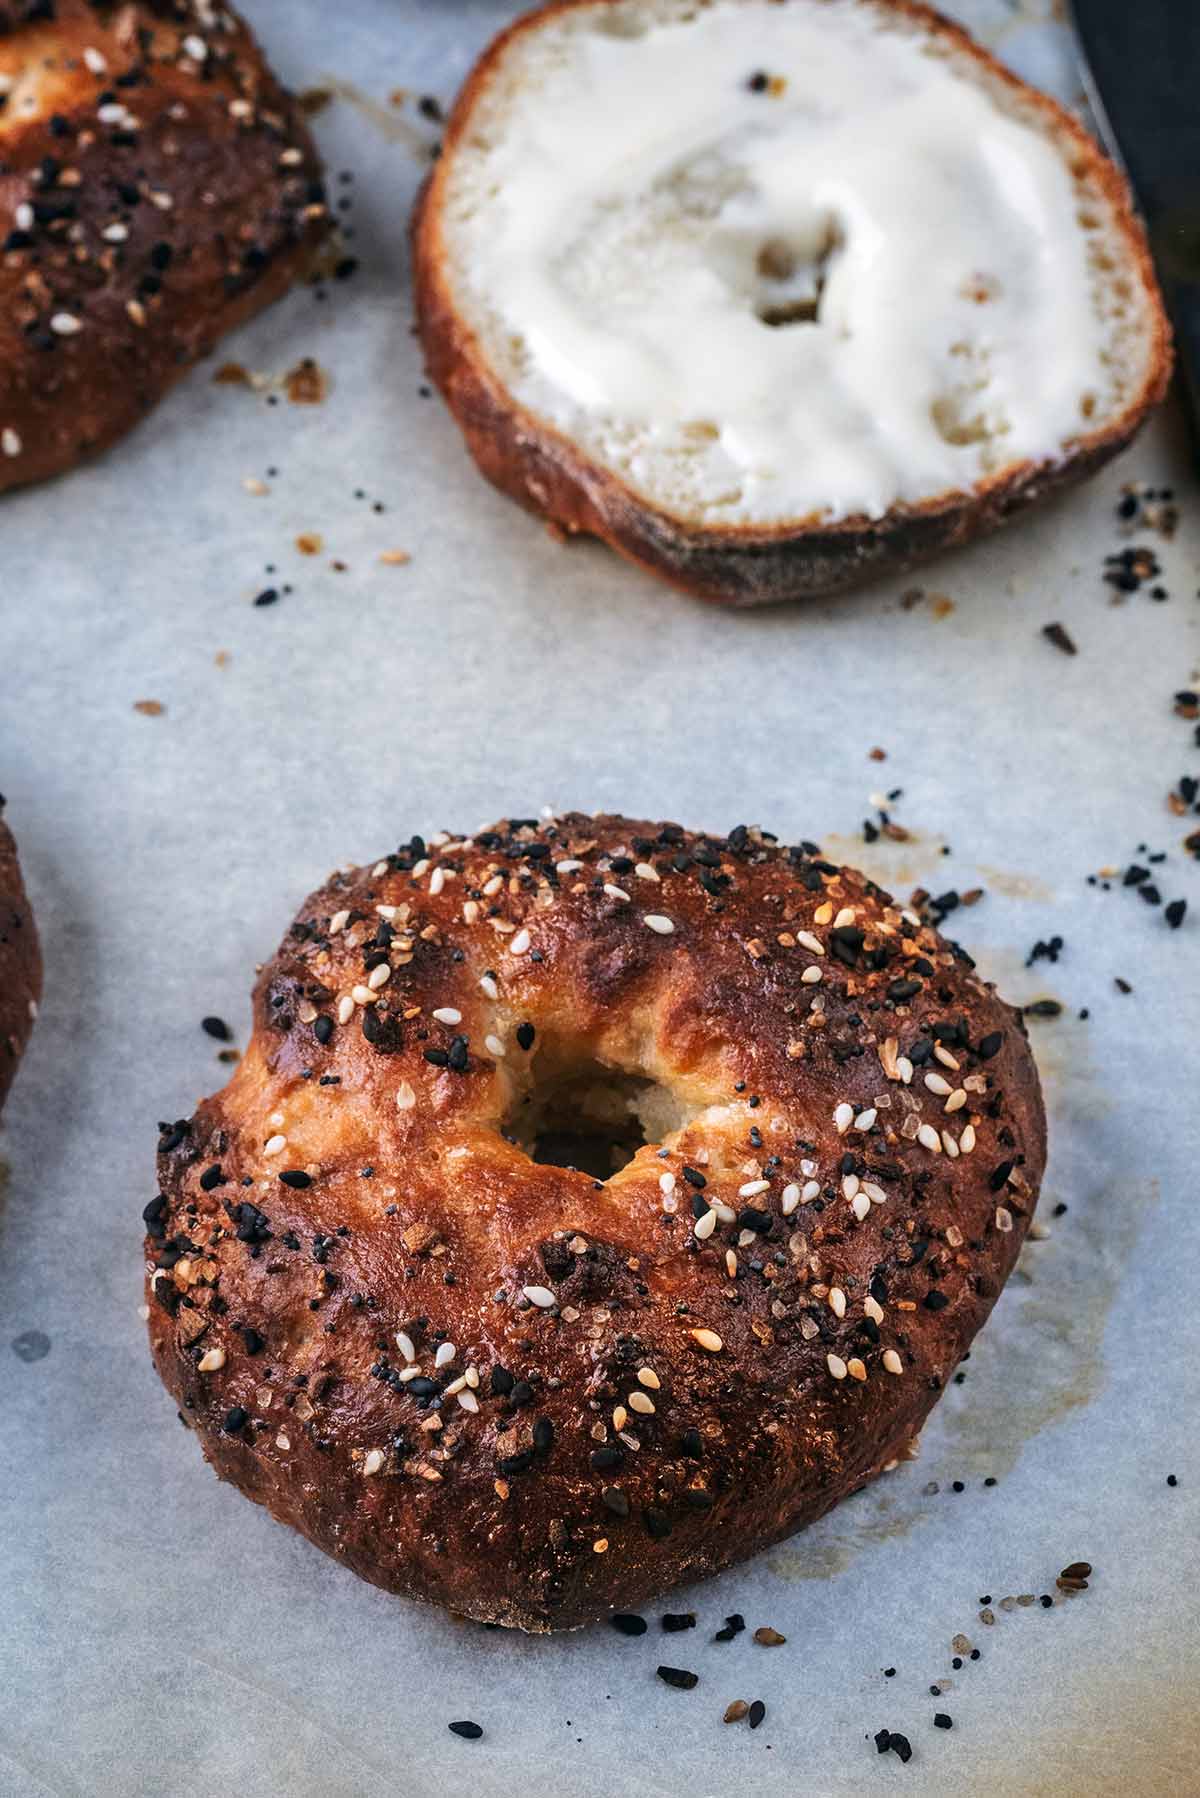
Serve the bagels warm or lightly toasted with:
- Butter, honey or jam. Have you tried my 10 Minute Chia Seed Jam?
- Cream cheese and smoked salmon
- Avocado, tomato and a poached egg
- Scrambled eggs and crispy bacon
- Hummus and roasted vegetables
- Ham, cheese and mustard
- Peanut butter and sliced banana
- High Protein Chicken Salad or High Protein Tuna Salad
They can also be used as mini pizza bases. Slice the bagels in half, add tomato sauce and cheese, then grill until bubbling. Check out my Pizza Bagel post.
Greek Yogurt Bagel Storage
Store - Allow the bagels to cool completely before storing them. Keep them in an airtight container at room temperature for up to 2 days. For slightly longer storage, keep them in the refrigerator for up to 4 days, although refrigeration may make them a little firmer.
Reheat - Reheat or toast the Greek yogurt bagels before serving to restore their softer texture.
Freeze - These bagels freeze really well, so I always have some stashed in my freezer for easy meals for my kids. Once completely cool, slice them in half and place them in a freezer-safe bag or container. Freeze for up to 3 months.
They can be toasted directly from frozen, or left to defrost at room temperature before reheating. Placing a small piece of baking paper between the halves will prevent them from sticking together.
Dannii's Top Tips
- Use thick Greek yogurt - A thick, full-bodied Greek yogurt produces the easiest dough to handle. Thin or runny yogurt may require additional flour.
- Adjust the flour gradually. If the dough is too sticky, add extra flour one tablespoon at a time. Adding too much can make the finished bagels dry or dense.
- Knead only until the dough is smooth and combined. Excessive kneading can make the bagels tough.
- Make the centre hole larger than you think. The dough expands while baking, so create a reasonably wide hole. A very small hole may close completely in the oven. If it does close, then you can put a wooden spoon in it when it has come out of the oven and swirl it round a bit to expand the hole whilst the Greek yogurt bagel is still warm.
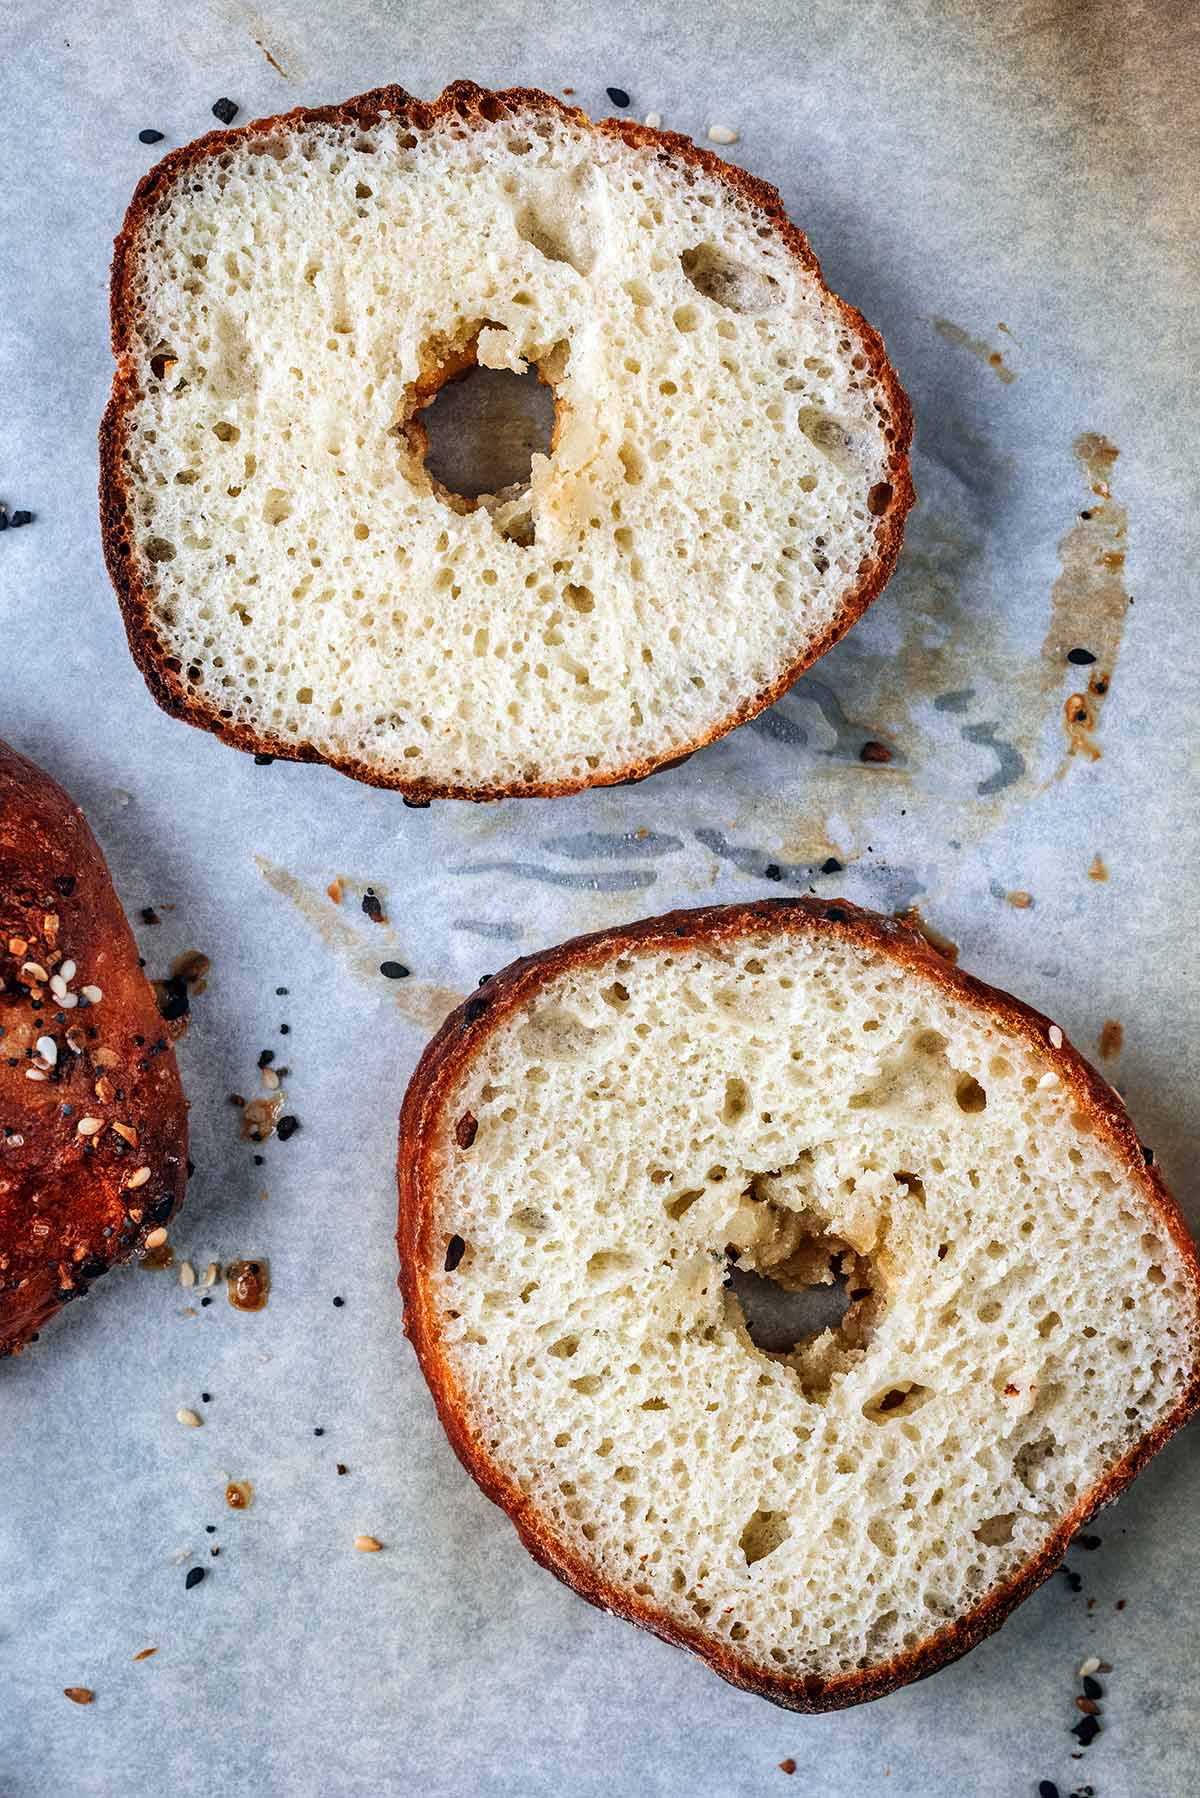
- The Greek yogurt bagels may appear slightly doughy if sliced immediately. Letting them rest for at least 10 minutes helps the crumb set properly.
- The bagels should be golden, firm and lightly browned underneath. If they still feel very soft after 20 minutes, bake them for another 2-5 minutes.
Frequently Asked Questions
Yes. Replace the plain flour and baking powder with approximately 125g self-raising flour. You can still add the salt for flavour.
The moisture content of Greek yogurt varies between brands. Add flour gradually until the dough is manageable, but keep it soft rather than making it completely dry.
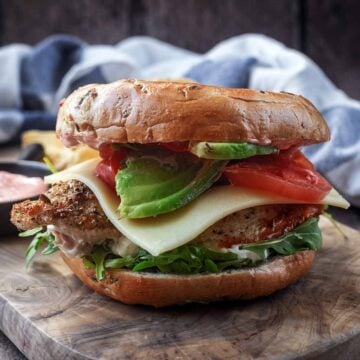
Recipes With Bagels



If you've tried this Greek yogurt bagel recipe, let us know how you got on in the comments below.
Tag us in your creations on Instagram @hungryhealthyhappy - Use the hashtag #hungryhealthyhappy too.
Recipe
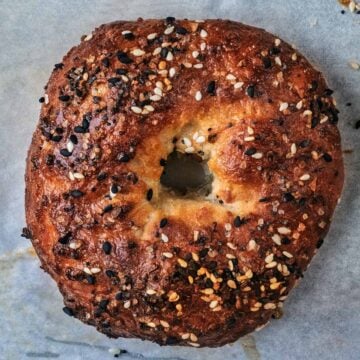
Greek Yogurt Bagels (4 Ingredient)




Recipe Video
Ingredients
- 125 g (1 cup) of Plain flour - (all-purpose)
- 200 g (1 cup) of 0% fat Greek yogurt
- 2 teaspoon of Baking powder
- 1 pinch of Fine sea salt
- 1 Egg - whisked
- 3 teaspoon of Everything Seasoning
Instructions
- Preheat your oven to 200°C/180°C(fan)/400°F/Gas 6. Line a large baking tray with baking paper. Whisk 1 Egg.
- In a large mixing bowl, add 125 g of Plain flour, 2 tsp of Baking powder, 1 pinch of Fine sea salt and 200 g of 0% fat Greek yogurt.
- Mix with a spatula at first, then use your hands to bring everything together.
- Dust your work surface with flour and knead the ball of dough for a few minutes.
- Cut the ball of dough into four equal parts.
- Roll each piece into a ball. Push a hole through each ball and form into a bagel shape.
- Brush the egg over each bagel and sprinkle over 3 tsp of Everything Seasoning.
- Bake for 20 minutes.
Recipe Notes
- Use thick Greek yogurt - A thick, full-bodied Greek yogurt produces the easiest dough to handle. Thin or runny yogurt may require additional flour.
- Adjust the flour gradually. If the dough is too sticky, add extra flour one tablespoon at a time. Adding too much can make the finished bagels dry or dense.
- Knead only until the dough is smooth and combined. Excessive kneading can make the bagels tough.
- Make the centre hole larger than you think. The dough expands while baking, so create a reasonably wide hole. A very small hole may close completely in the oven. If it does close, then you can put a wooden spoon in it when it has come out of the oven and swirl it round a bit to expand the hole whilst the Greek yogurt bagel is still warm.
- The Greek yogurt bagels may appear slightly doughy if sliced immediately. Letting them rest for at least 10 minutes helps the crumb set properly.
- The bagels should be golden, firm and lightly browned underneath. If they still feel very soft after 20 minutes, bake them for another 2-5 minutes.
Nutritional Information
Where nutritional information is provided, it is approximate and calculated using online tools. Values can vary depending on the ingredients and brands used, but we endeavour to be as accurate as possible.
All timings are a guide and may vary depending on the ingredients, equipment and, where relevant, the appliance used. Changing the serving size may also affect the time needed.

Gab says
I haven't made bagels before as seemed overwhelming but thought I'd give these a go as seemed straightforward and I'm so glad I did! Easy to follow and the recipe notes were really helpful. I'm so impressed with how well they came out, even my kids and fussy husband asked for one and everyone enjoyed them. Saved to my favourites. Thank you for sharing all these recipes, we are eating much better for it :)
Bev says
So easy to make, great recipe to follow. I made with vegan Greek yogurt and added extra 25g (plus a couple of tablespoons when kneading) of flour. Can't wait to try more flavour combinations!