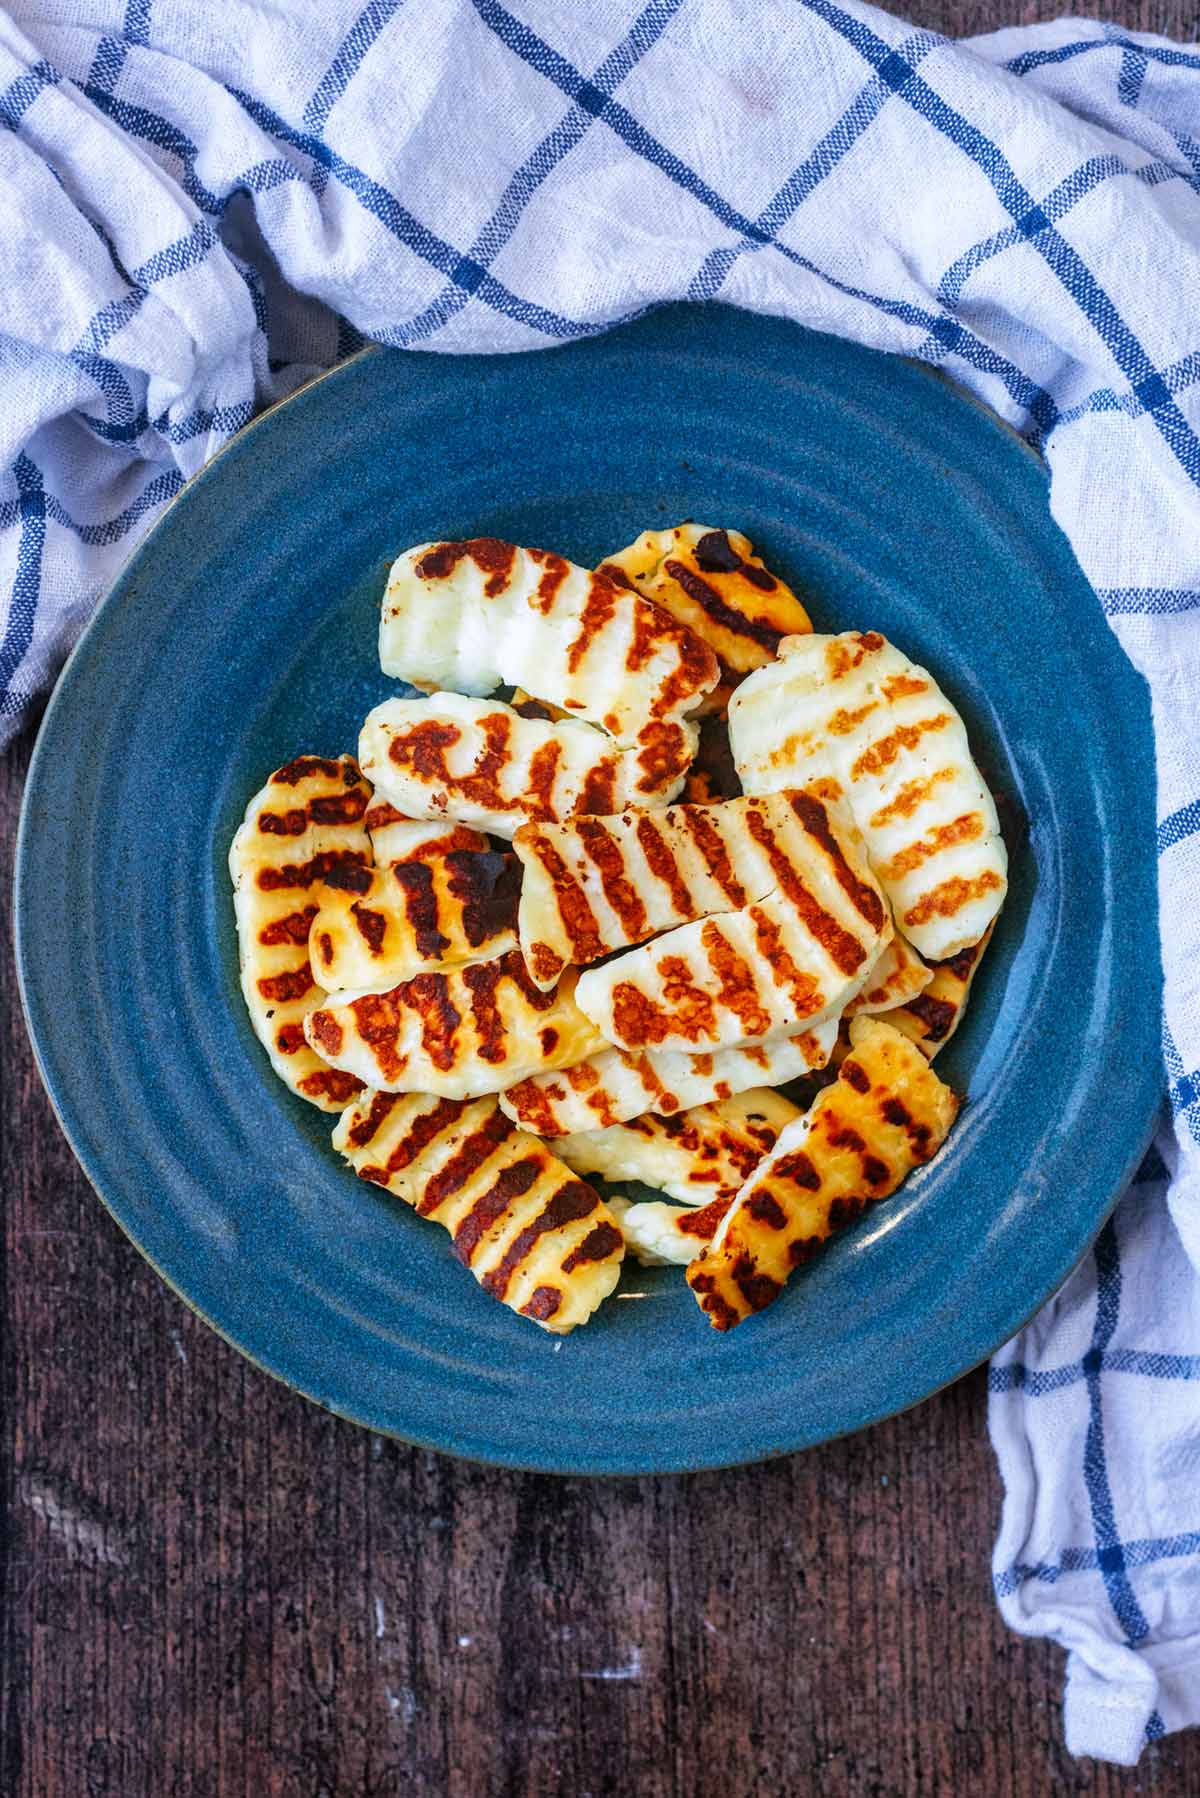
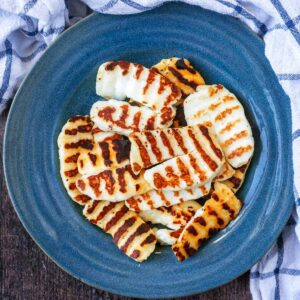
Follow this easy method for How To Cook Halloumi so you get perfect results every time. Soft and salty halloumi with slightly crunchy edges is SO easy to make and this fried halloumi has lots of uses too.
About this pan fried halloumi recipe
We are a little bit halloumi obsessed - it might just be the BEST cheese and one of the main reasons we couldn't be vegan! Perfectly salty and although it doesn't taste of much raw, when cooked it has the most incredible flavour and texture. It's known as the squeaky cheese for a reason.
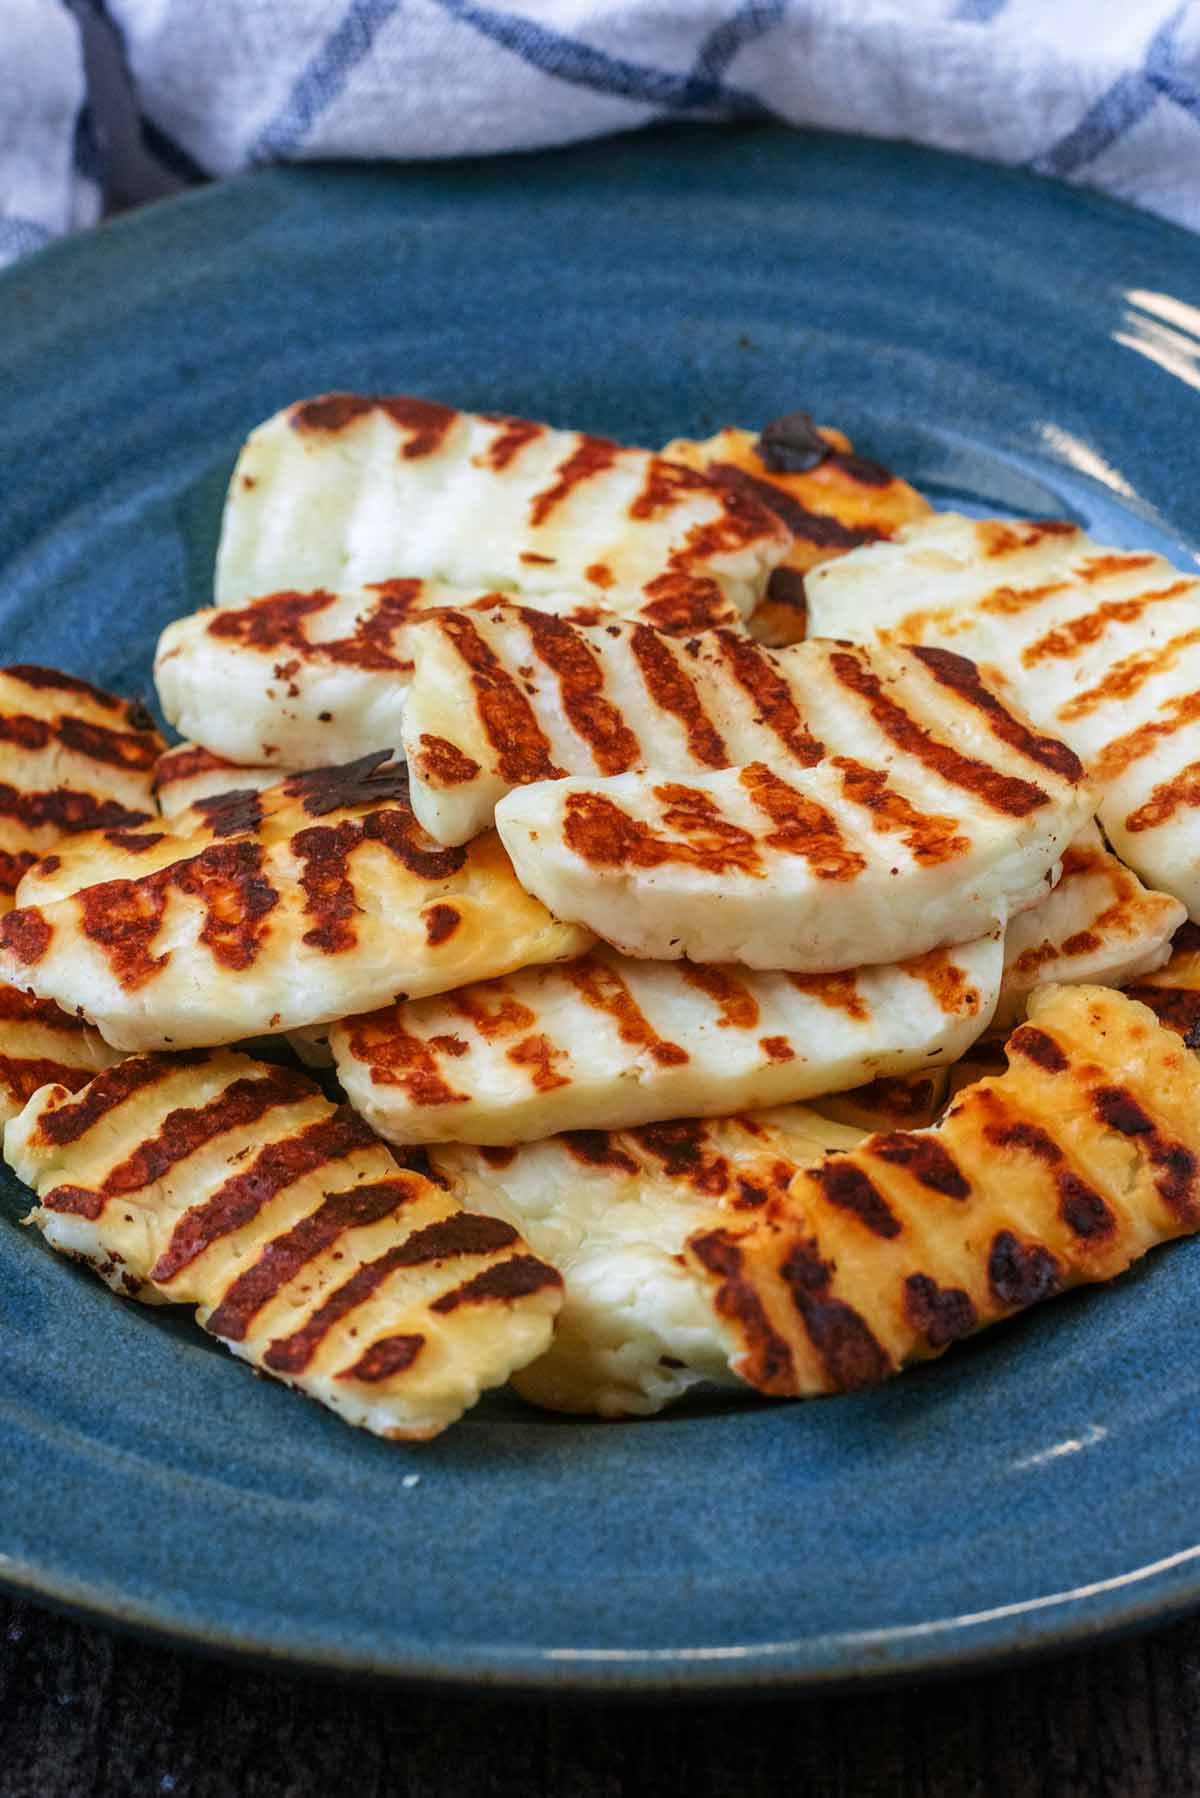
If you have ever wondered how to cook halloumi cheese, then this post is full of all the tips and tricks you need for perfectly cooked halloumi every time. Frying halloumi in a dry pan is the best way, as it keeps it nice and soft inside, but a little charred on the outside.
If you are looking for other delicious cheese recipes, then why not try our quick 2 Minute Nacho Cheese Sauce, healthy Mac and Cheese or our easy Cauliflower Cheese?
Jump to:
Ingredients and substitutions
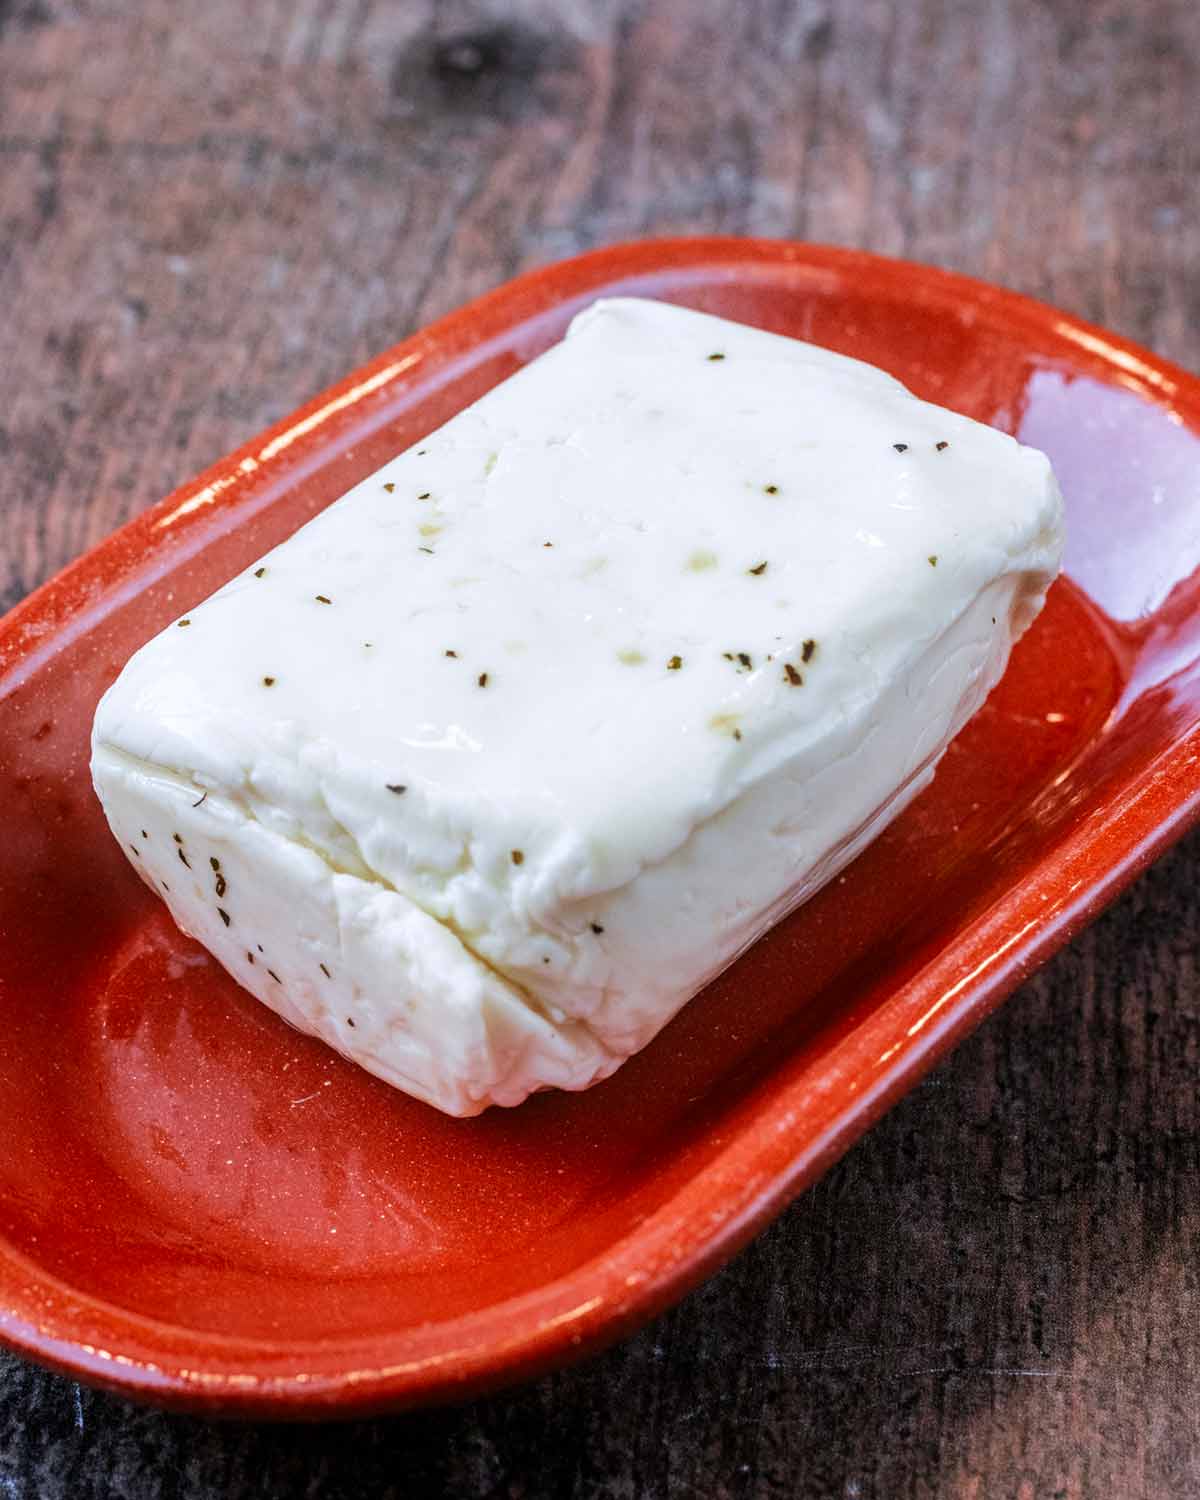
- Halloumi - This is the only ingredient you will need for the best way to cook halloumi. No oil needed!
You will find halloumi in the cheese aisle of pretty much every supermarket. Halloumi is a Cypriot cheese made from sheep's, goat's or cow's milk. It is a unique cheese, because unlike other cheese, it retains it's shape when cooked and doesn't melt.
A full ingredients list with measurements is in the recipe card below.
How to fry halloumi - Step by step
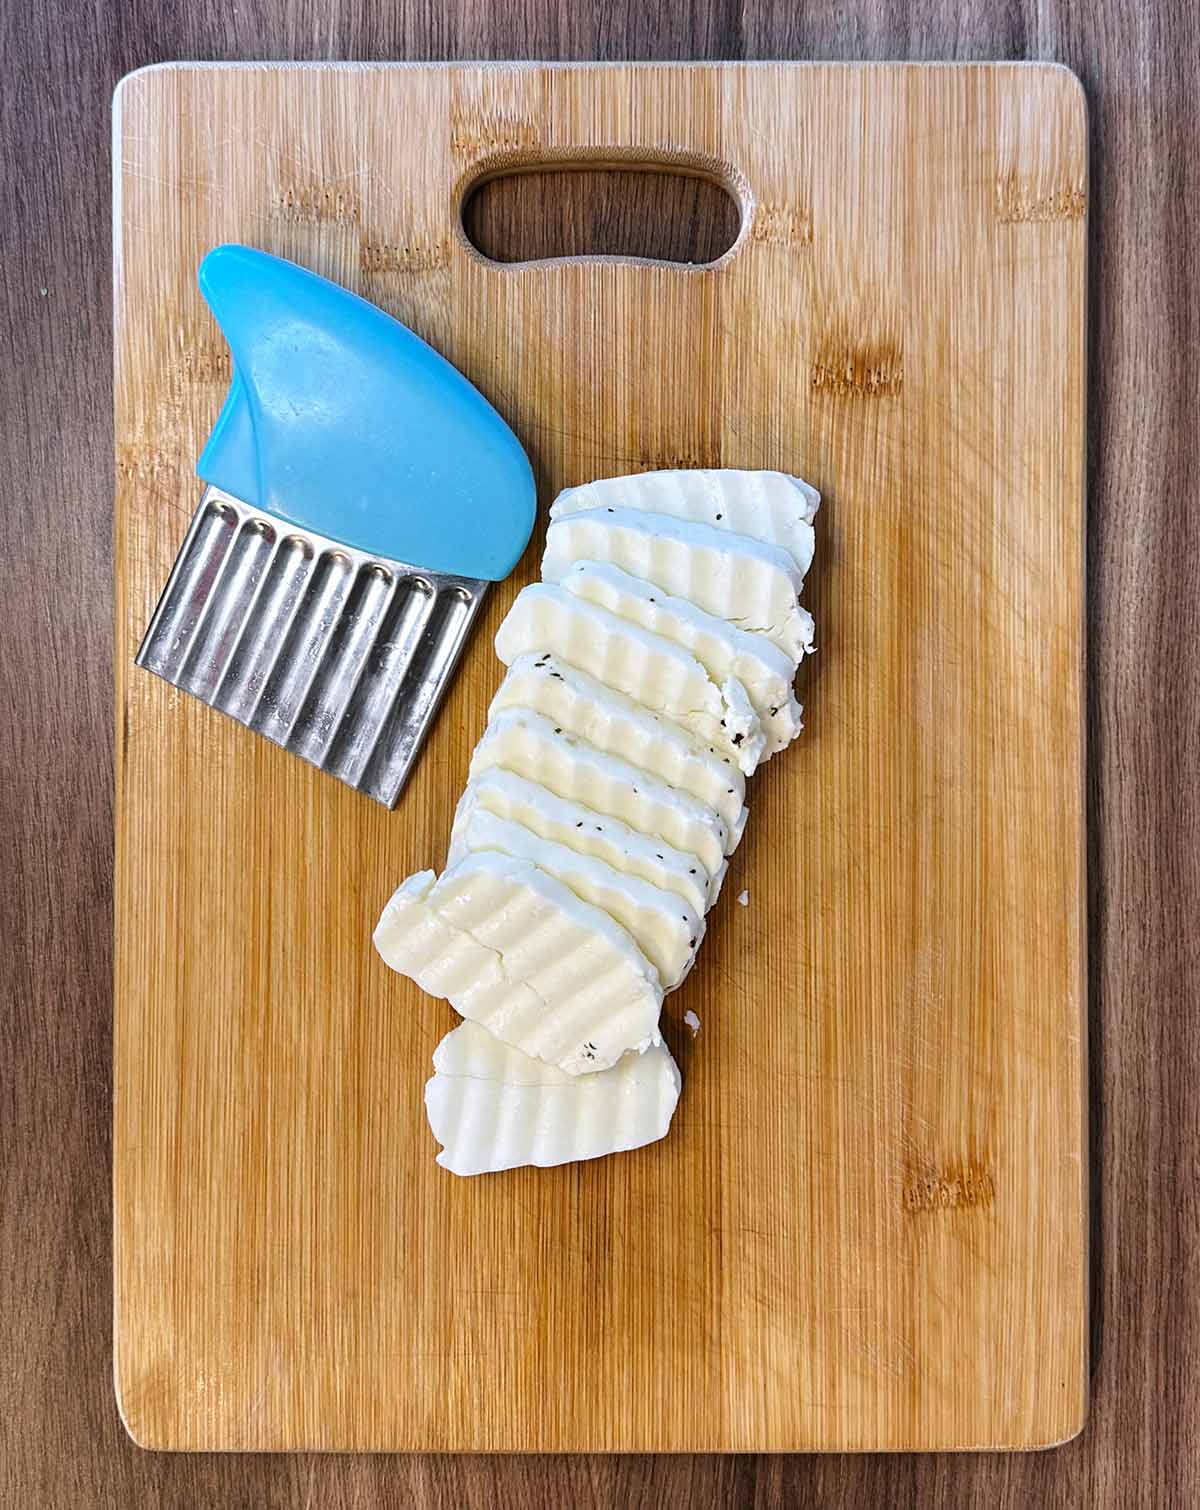
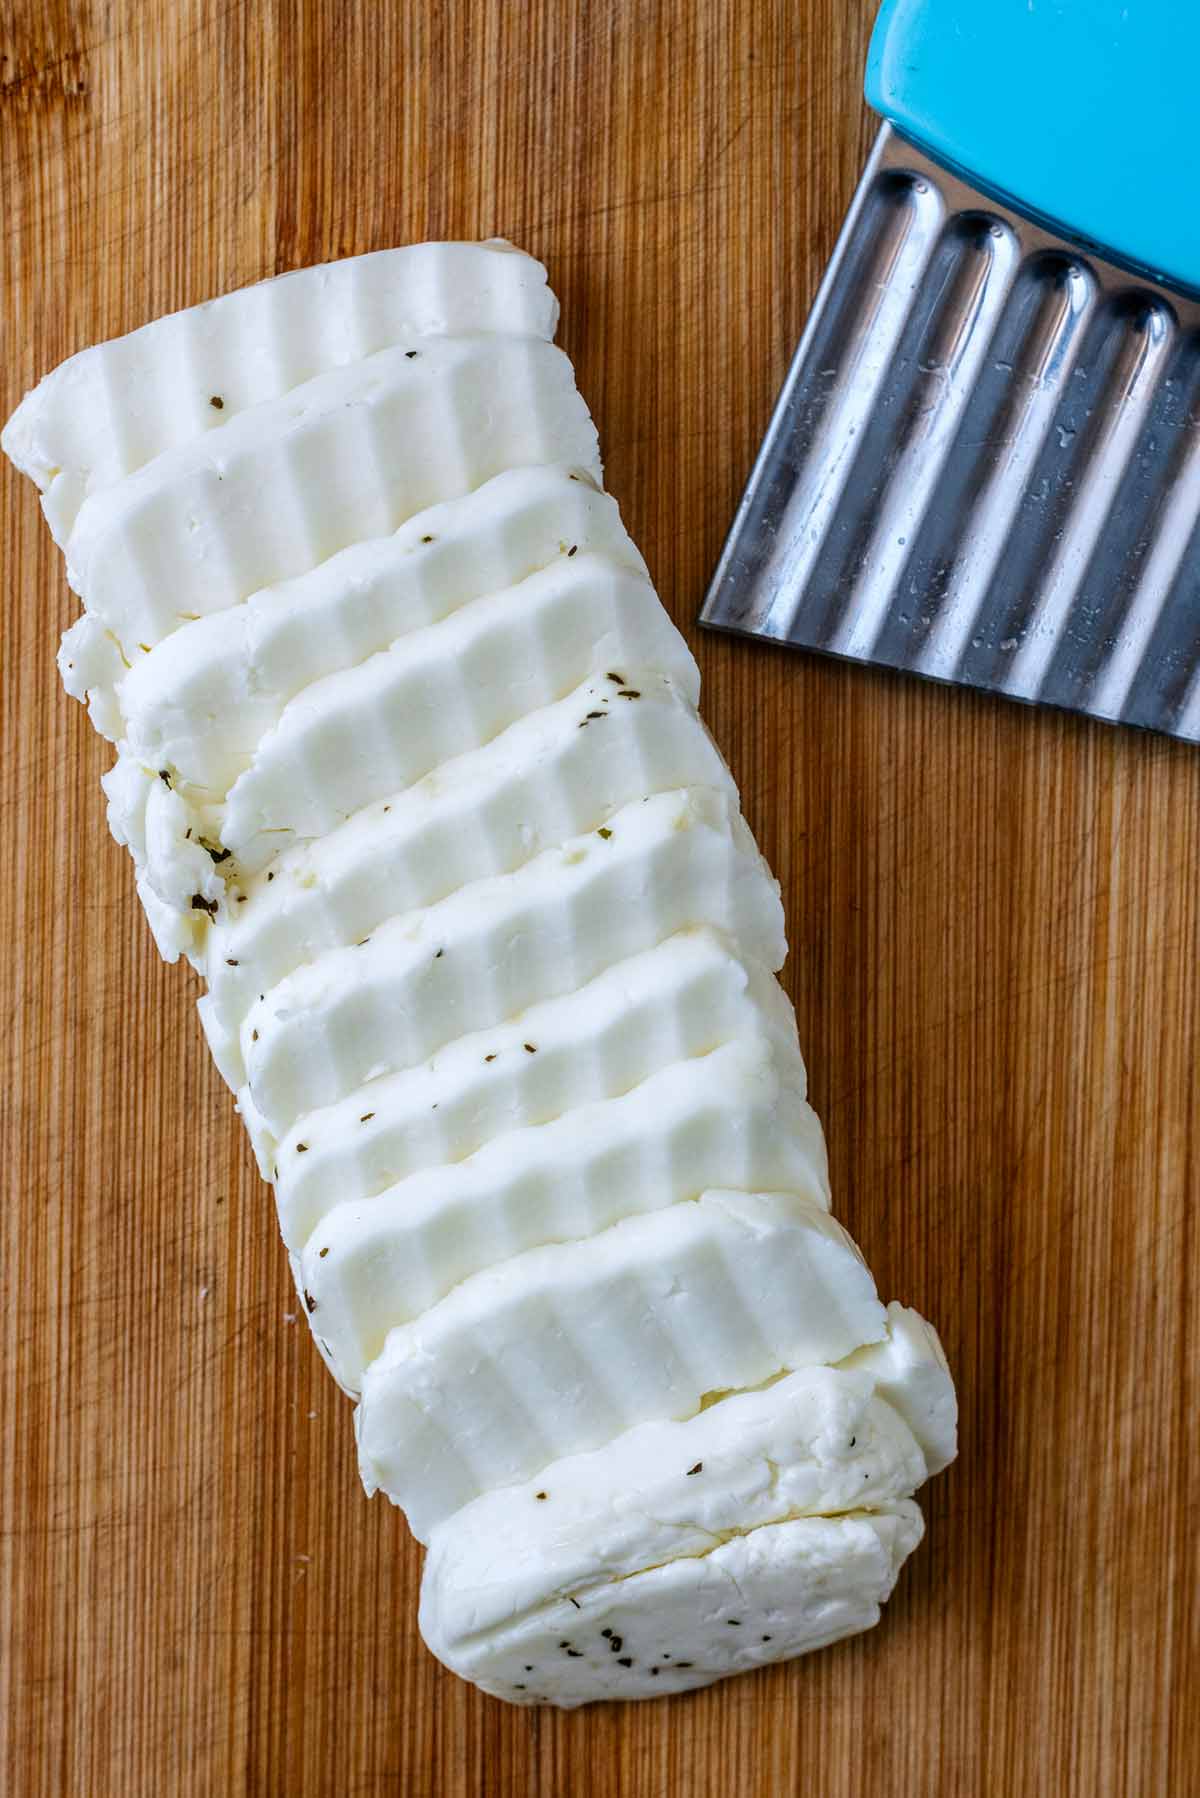
One: First you will need to slice the halloumi. Don't slice it too thin, otherwise it will fall apart and also be too dry. About 1cm/0.5 inch thick slices are best. We used a crinkle cutter for ours, give give those grill line effects.
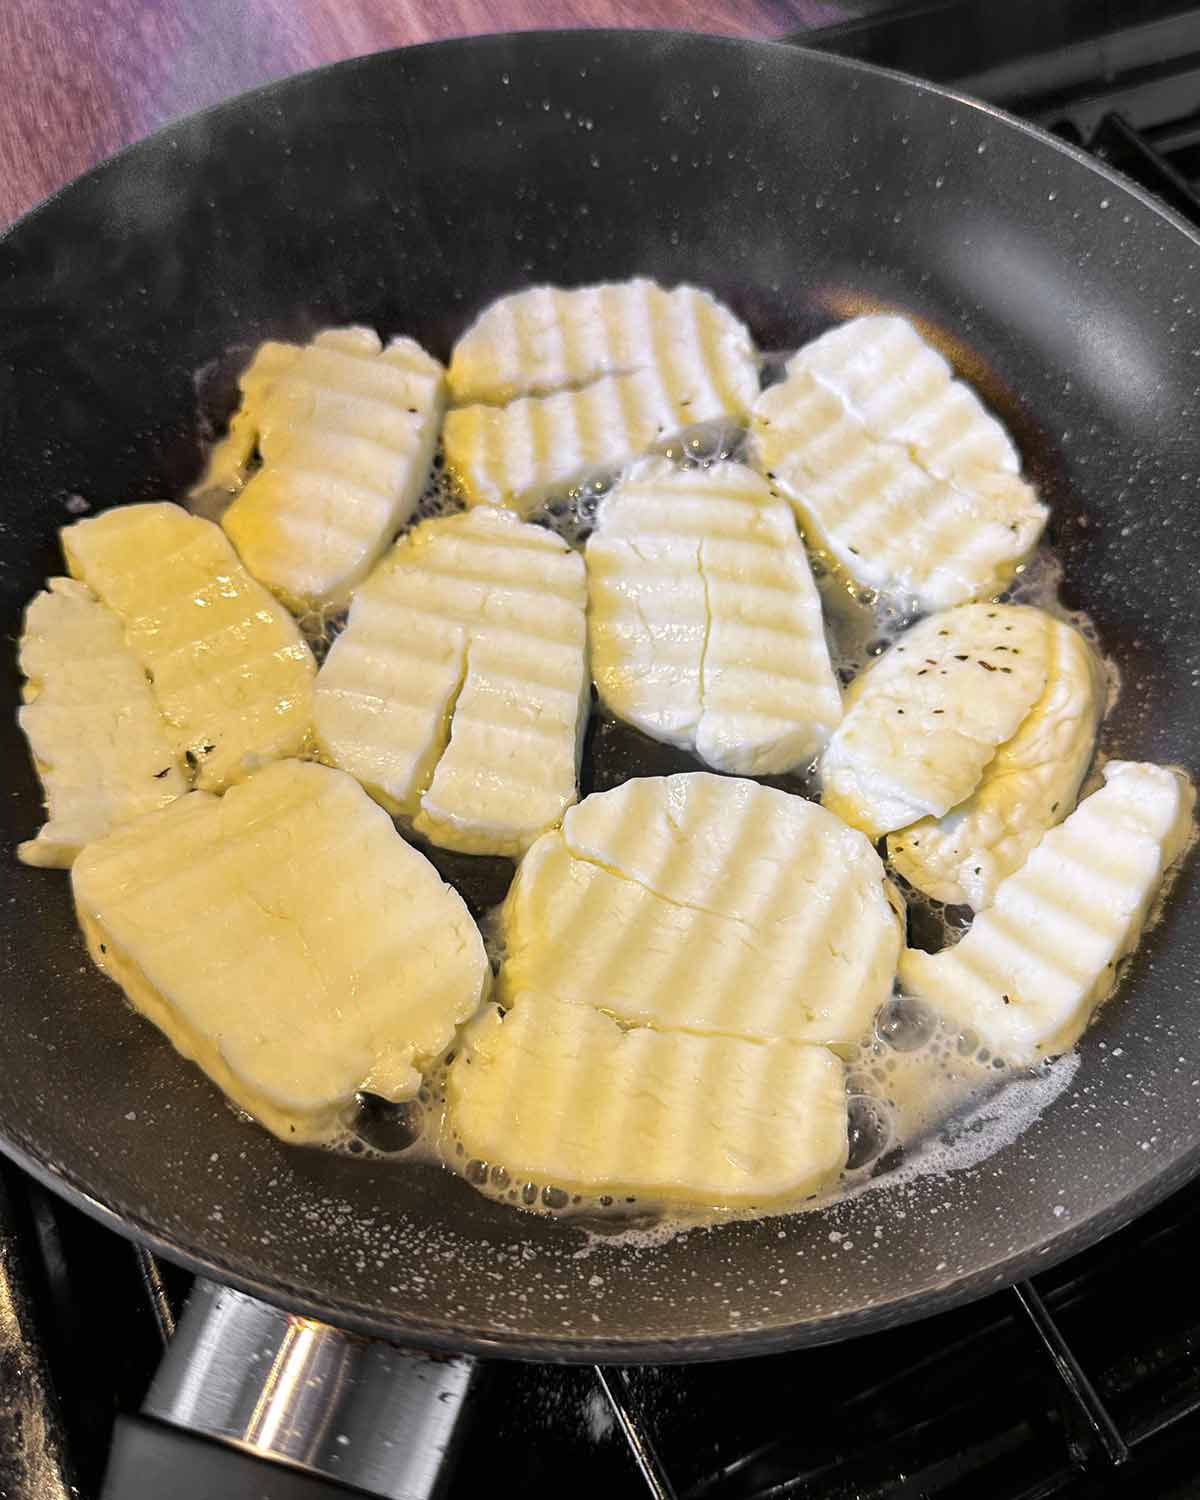
Two: Put the halloumi in a non-stick frying pan (no oil is needed). You need to cook it until it releases all the liquid and then that liquid evaporates. This will take about 2-3 minutes.
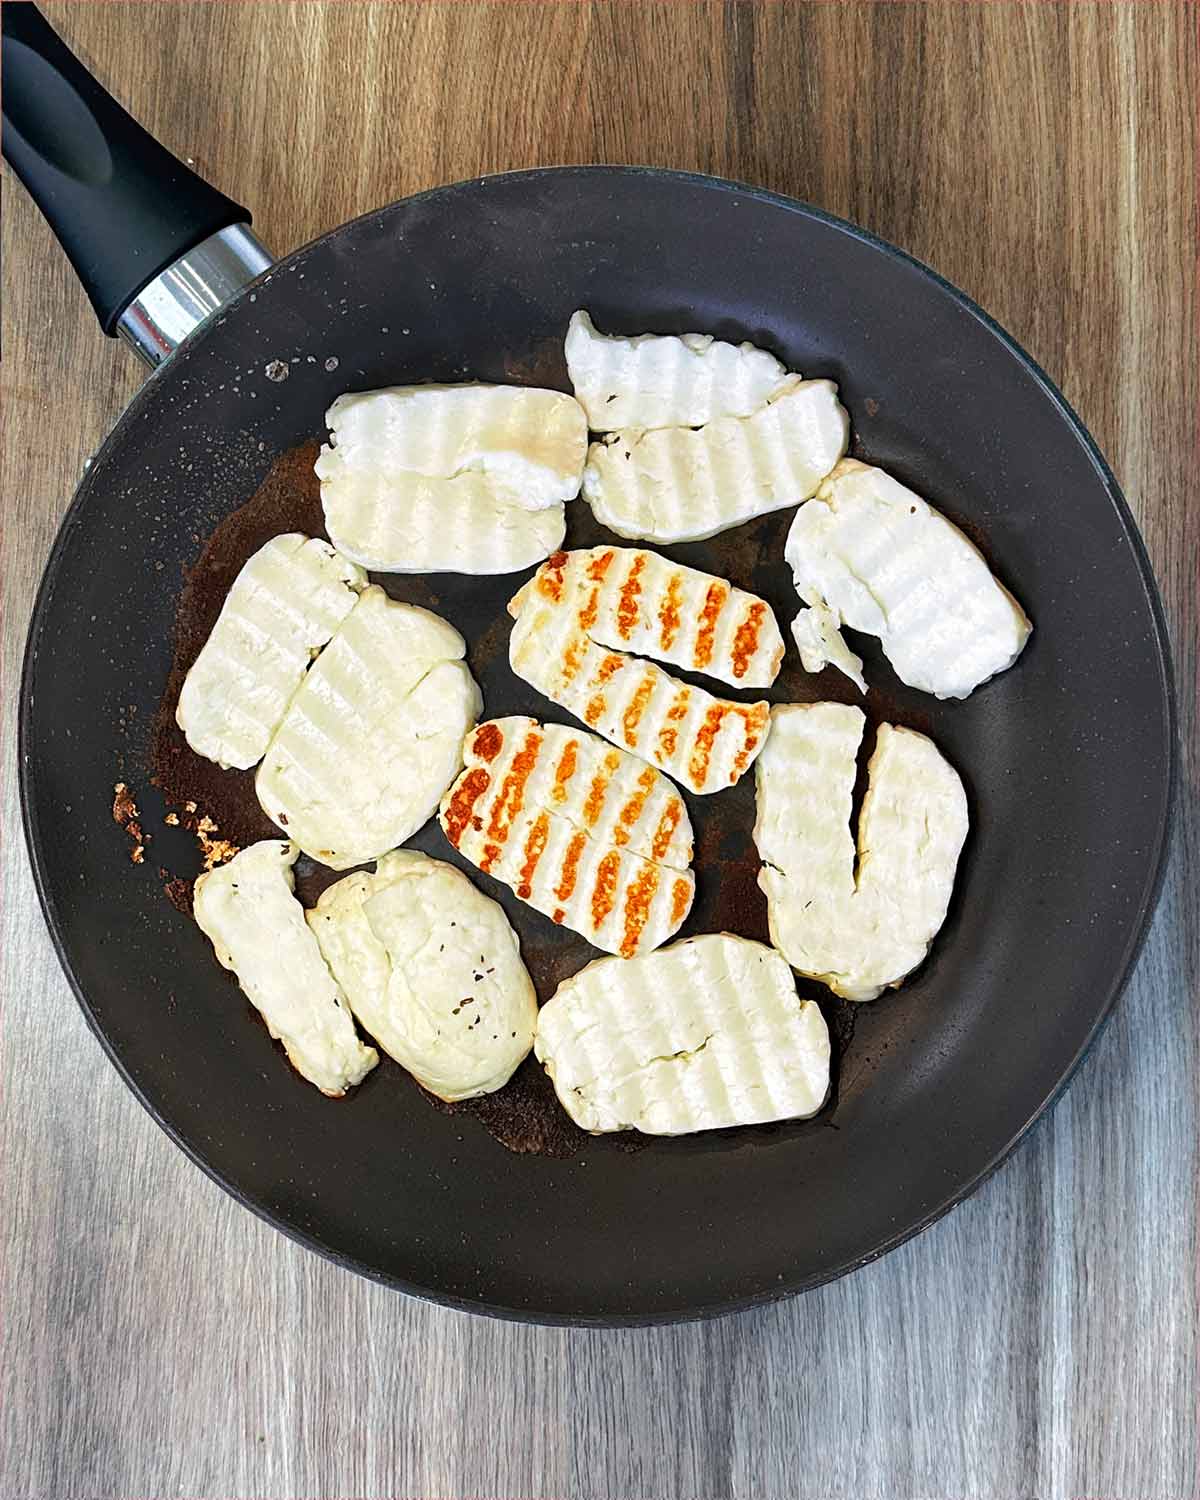
Three: As you can see in the pan, all the liquid has gone and it has left a golden brown colour in the pan which is how you know the halloumi is ready to flip. The halloumi underneath will be the same golden colour.
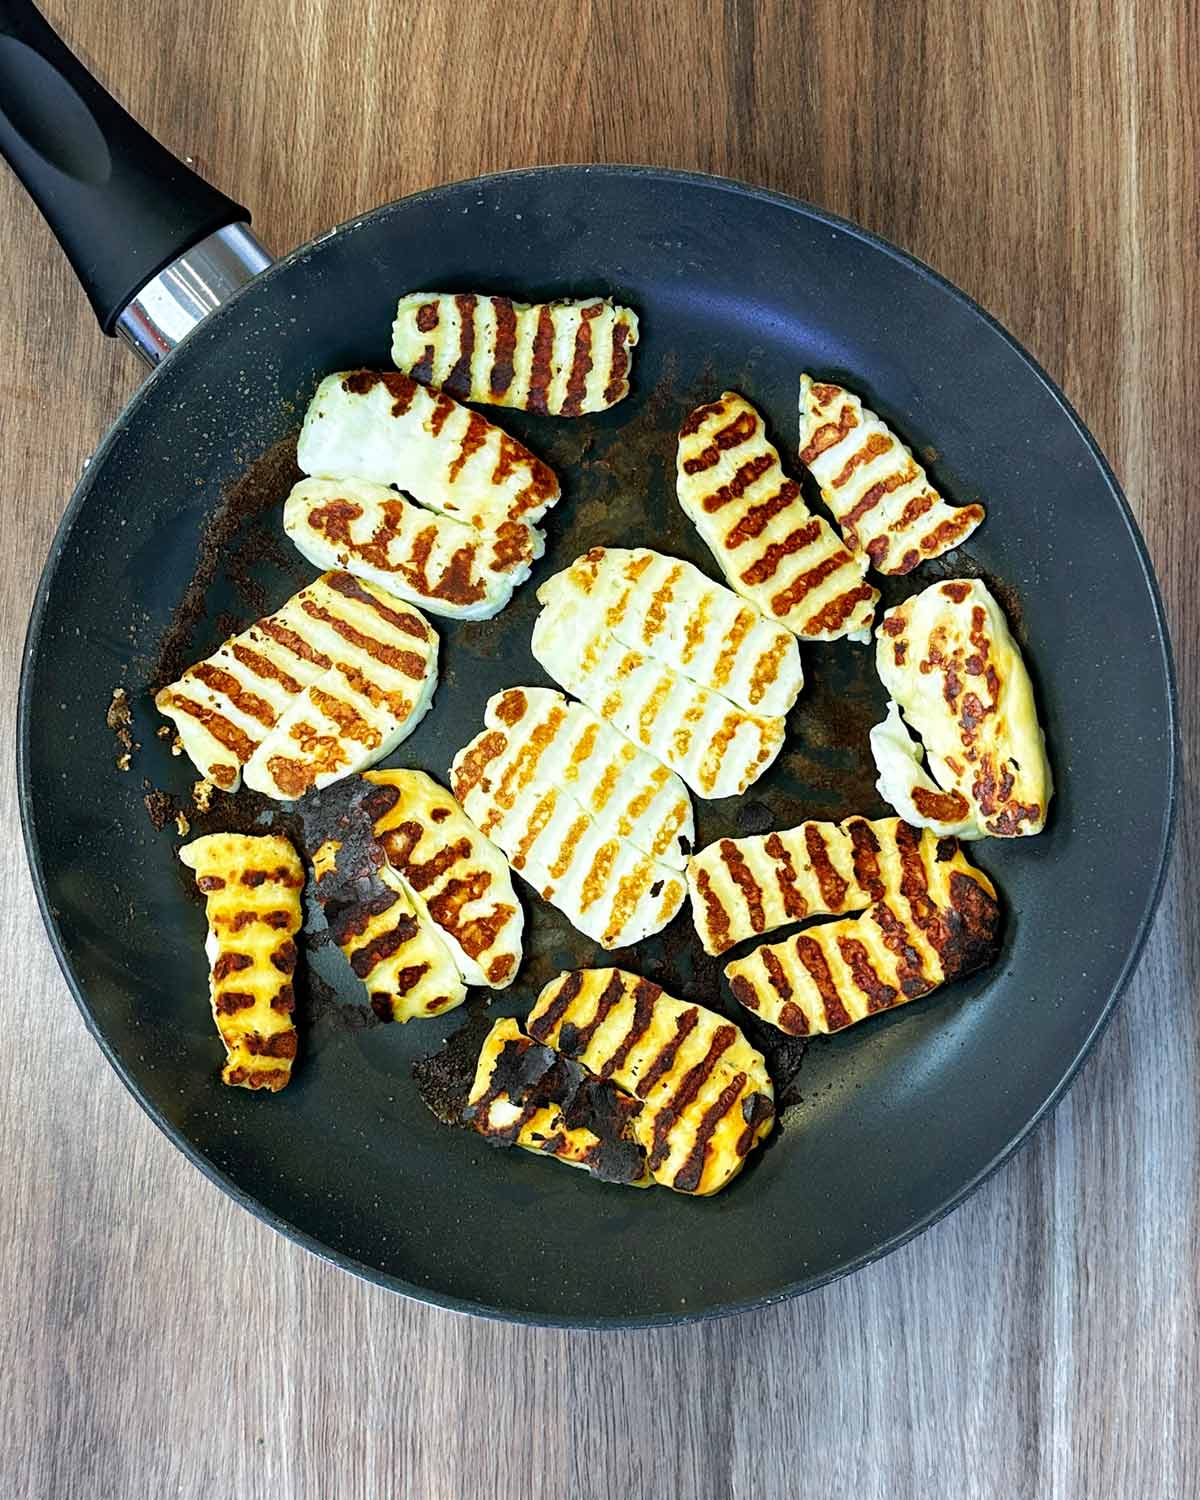
Four: This side of the halloumi will cook a lot quicker, as the liquid has already been released. It should only take about 1 minute this side.
Variations
Now you have learnt how to cook halloumi, you might want to know the different ways you can make it. If you wanted to add some flavour to the halloumi whilst frying it, then we are BIG fans of hot honey halloumi.
Put the halloumi slices in a bowl with honey, lemon juice and red chilli flakes and marinate for 30 minutes and then follow our recipe.
You could also just sprinkle some smoked paprika on it before cooking.
Did you know that you can air fry halloumi too? It's so easy! Just follow our recipe for Air Fryer Halloumi.
You can also bake halloumi in the oven. Not our first choice, but if the oven is already on because you are cooking something else then it's a good way to save energy.
Put the halloumi slices on a line baking tray and then drizzle with a little olive oil. Put in the oven at 200°C/180°C(fan)/400°F/Gas 6 for 12-15 minutes, turning halfway through.
You could also make our Baked Halloumi Fries.
Serving suggestions
The best thing about frying halloumi, is that there are SO many different ways to eat it. I mean, we would happily just eat it straight from the pan, but we do try to save some to add to actual meals.
We love it in a kebab or on a salad (like our Roasted Vegetable Cous Cous Salad), sandwich or burger. But we also have lots of recipes that use halloumi. Why not try one of these:
- Halloumi Salad
- Halloumi Fajitas
- Greek Halloumi Wraps
- Halloumi Pasta with Roasted Tomatoes
- Creamy Halloumi Curry
- Halloumi and Roasted Red Pepper Sandwich
It is also a delicious addition to our Greek Meze Platter.
Storage
Store: Halloumi is best eaten straight away, as it doesn't taste as nice once it has cooled and the texture isn't great either.
Reheat: Whilst you could reheat it in the microwave for 30 seconds, we wouldn't recommend it as it won't have the best texture.
Extra Tips
- You have to use a non-stick pan for this recipe, as we are not using any oil to fry the halloumi in, so you need to make sure it won't stick.
- Make sure you don't overcook the halloumi, otherwise it will become rubbery and dry.
- Sometimes the halloumi closest to the middle of the pan cooks quickest, so you might want to rotate the halloumi around the pan towards the end of cooking each side so that it cooks evenly.
- Any leftover raw halloumi can be stored in a bowl of salty water in the fridge for up to 2 weeks.
Frequently Asked Questions
Halloumi is usually rolled in dried herbs like mint or parsley before being packaged, so that is the black dots you will see. This is because traditionally, the cheese used to be kept in mint leaves to keep it fresh.
No, you can just use a regular knife. We have used one as we were using a flat frying pan, rather than a griddle pan, so used a crinkle cut knife to give the grill lines.
To stop your halloumi getting rubbery, make sure that you cut the slices thicker. You also need to make sure that you are not over-cooking it and that you are eating it straight away.
On a medium heat, you will need to fry it for about 3 minutes on the first side and then 1 minute on the second side.
Yes, you can, but we are not a huge fan of that. However, if you are going to eat it raw then the best way to do that is to make a watermelon salad and then grate some raw halloumi over it.
More cheese recipes
If you’ve tried this fried halloumi recipe, let us know how you got on in the comments below.
Tag us in your creations on Instagram @hungryhealthyhappy - Use the hashtag #hungryhealthyhappy too.
Recipe
How to Cook Halloumi
Ingredients
- 225 g (8 oz) Halloumi
- Honey - (optional)
Instructions
- First you will need to slice the halloumi. Don't slice it too thin, otherwise it will fall apart and also be too dry. About 1cm/0.5 inch thick slices are best. We used a crinkle cutter for ours, give give those grill line effects.
- Put the halloumi in a non-stick frying pan (no oil is needed). You need to cook it until it releases all the liquid and then that liquid evaporates. This will take about 2-3 minutes.
- once all the liquid has gone it will leave a golden brown colour in the pan which is how you know the halloumi is ready to flip. The halloumi underneath will be the same golden colour.
- This side of the halloumi will cook a lot quicker, as the liquid has already been released. It should only take about 1 minute this side.
Recipe Tips
- You have to use a non-stick pan for this recipe, as we are not using any oil to fry the halloumi in, so you need to make sure it won't stick.
- Make sure you don't overcook the halloumi, otherwise it will become rubbery and dry.
- Sometimes the halloumi closest to the middle of the pan cooks quickest, so you might want to rotate the halloumi around the pan towards the end of cooking each side so that it cooks evenly.
- Any leftover raw halloumi can be stored in a bowl of salty water in the fridge for up to 2 weeks.
Nutritional Information
The nutritional information provided is approximate and is calculated using online tools. Information can vary depending on various factors, but we have endeavoured to be as accurate as possible.
As all appliances vary, cooking times are a guide. Please note that by changing the serving size, the cooking time may also need to be altered.




Harriet Young says
Great tiles for cooking halloumi, thank you. I won’t go wrong now!
TAYLER ROSS says
I love halloumi but I've never tried making it myself. Yours looks perfect and your tips were so helpful!
Sky says
I love how easy your recipe was to follow. I followed it step by step and my halloumi turned out perfect!
Anjali says
This was such a helpful guide to cooking halloumi perfectly every time! Ours turned out great - had a nice texture and tons of flavor!