


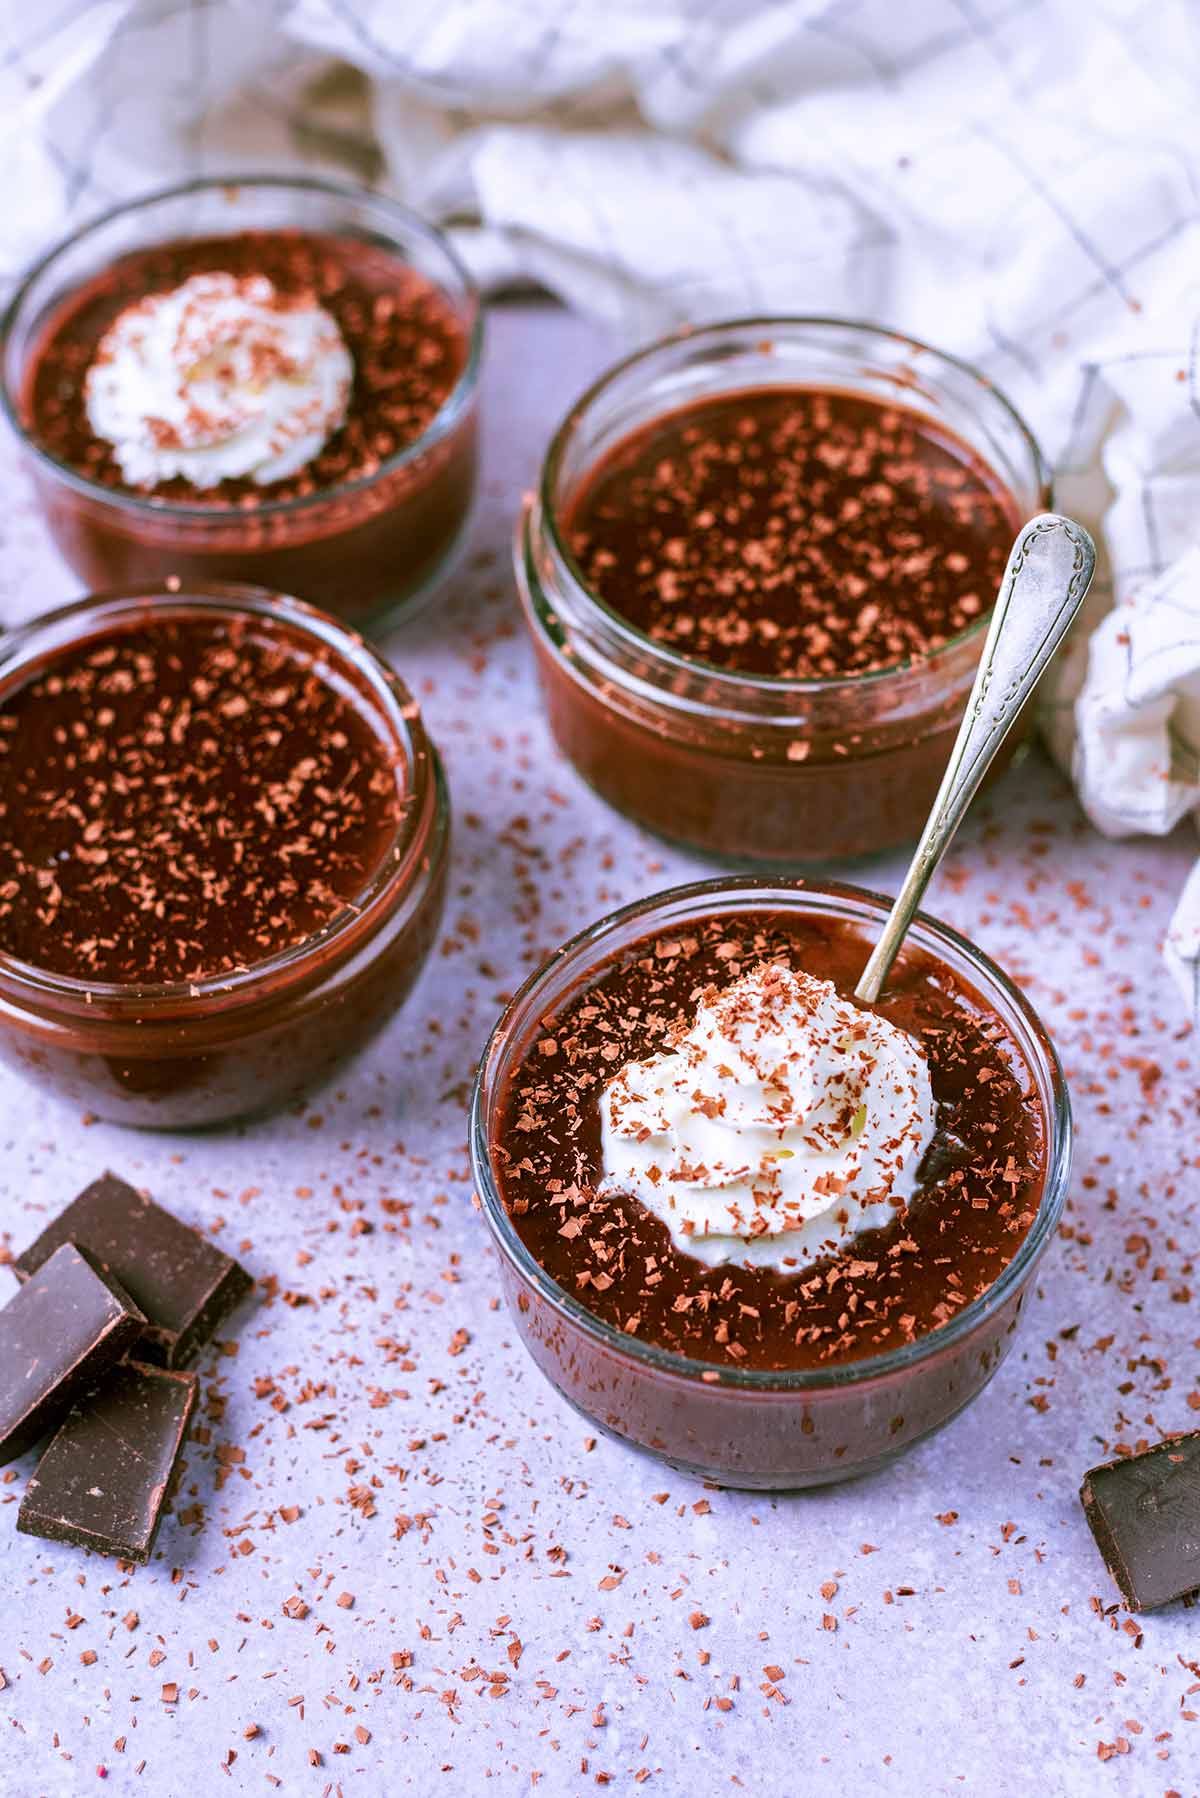
The most deliciously indulgent chocolate pots, perfect for serving up on Valentine's Day or date night, or when you just fancy something a little bit special for dessert. This silky smooth chocolate pot recipe is so easy to make with just 3 ingredients and an optional 4th if you want it coffee flavoured and takes just 5 minutes.

Would you like to save this recipe?
These easy chocolate pots are as simple as heating the milk and cream together and then melting the chocolate in and leaving to set. We have added an extra ingredient of coffee, as we love the combination of chocolate and coffee.
A really impressive, no bake dessert that will wow any dinner guest. A rich and smooth chocolate pot is like a homemade Gu dessert and can be made in advance - it's the ultimate chocolate fix.
If you are looking for more mini chocolate dessert recipes that would be perfect for Valentine's Day, then why not try our Cottage Cheese Chocolate Mousse, Chocolate Chia Pudding, Chocolate Covered Marshmallows or Mint Chocolate Dessert?
Jump to:
Why You Will Love It
- Perfect for date night - This is the ultimate date night dessert and perfect for Valentine's Day. You can scale the recipe up or down too.
- No bake - I love a dessert that doesn't need to go in the oven. Just 5 minute prep time goes into making this, so it's really easy.
- Adaptable - We have flavoured ours with coffee, but there are loads of other options like mint or orange.
- Can be made in advance - You can leave these chocolate pots to set in the fridge overnight, so they are perfect for being made in advance.
Ingredients and Substitutions
A full ingredients list, along with US Customary and Metric measurements, can be found in the recipe card at the end of this post.
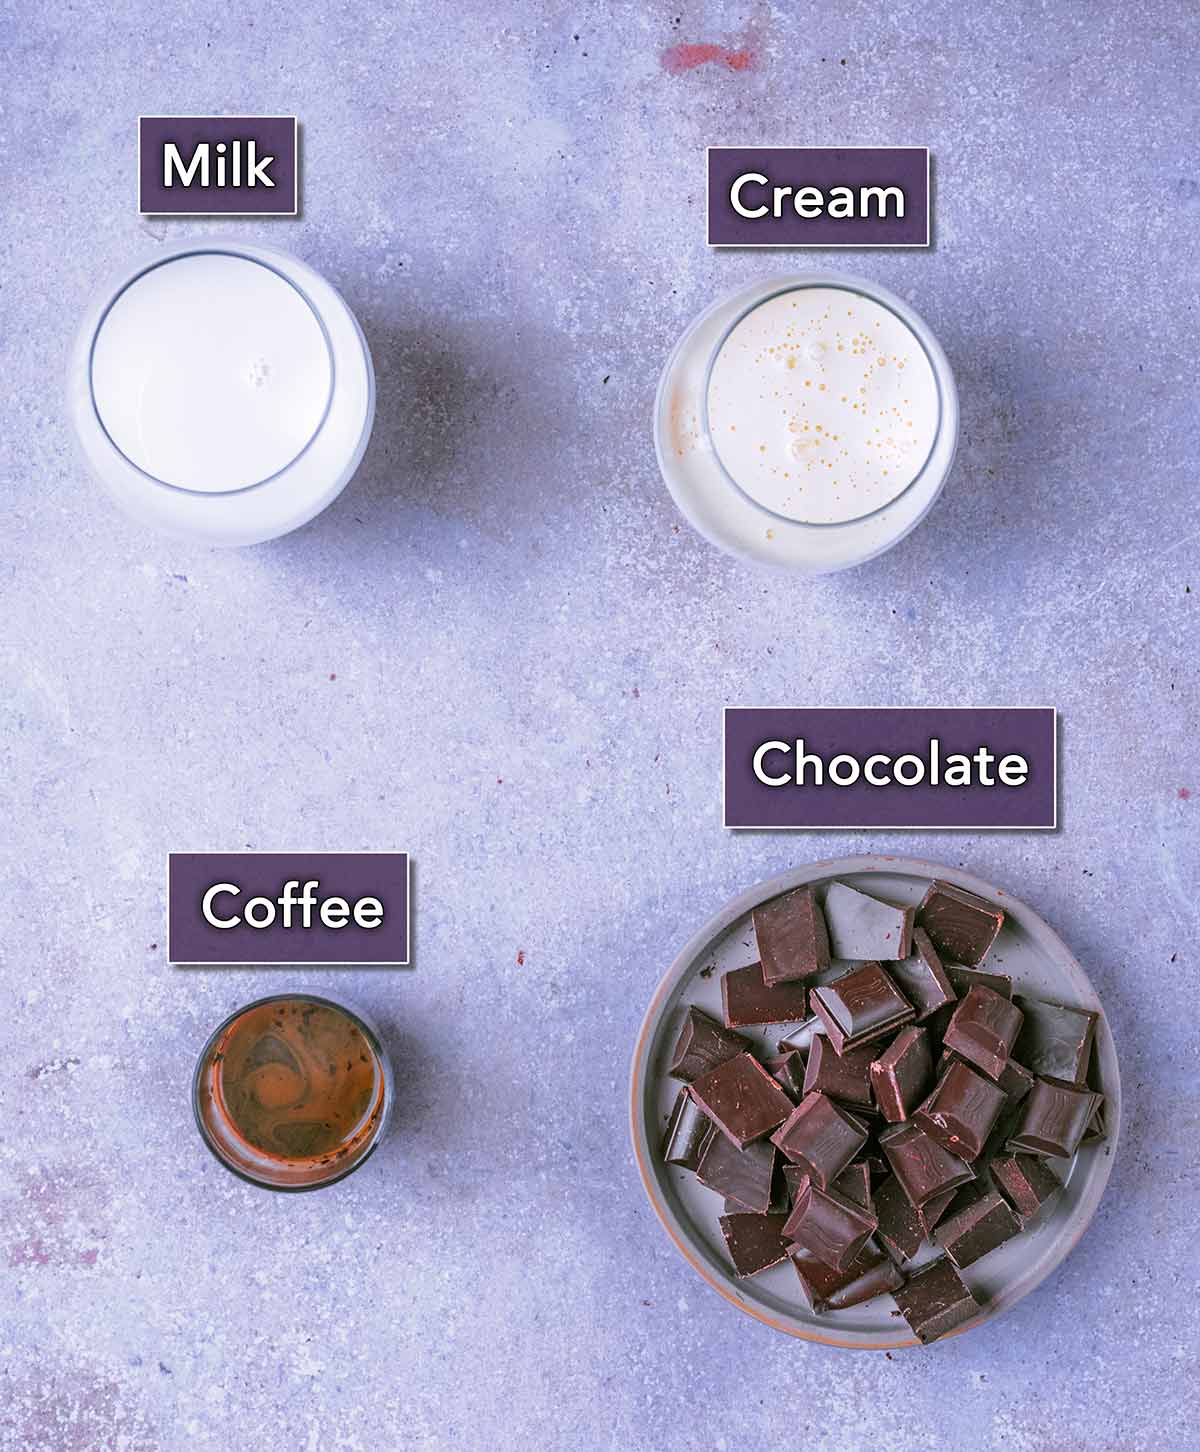
- Chocolate - We used dark chocolate, because it gives a really rich flavour. If you want it sweeter, then you could use milk chocolate. Regardless of what chocolate you use, the quality is important. Using poor quality chocolate runs the risk of these dessert pots not setting. You could use mint or orange flavoured chocolate too. Or coffee chocolate, to keep with the coffee theme. Just don't use white chocolate.
- Milk - We used whole milk to make sure it is nice and creamy.
- Cream - We used double cream (heavy cream in the US). In Australia it is called thickened cream.
- Coffee - This is optional, but we love the combination of chocolate and coffee, so we mixed some instant coffee with boiling water and stirred it in.
More ingredient substitutions and variations can be found in the recipe card.
How to Make Chocolate Pots

- Step 1: Add the milk and cream to a saucepan. Gently heat over a low heat until just before boiling.
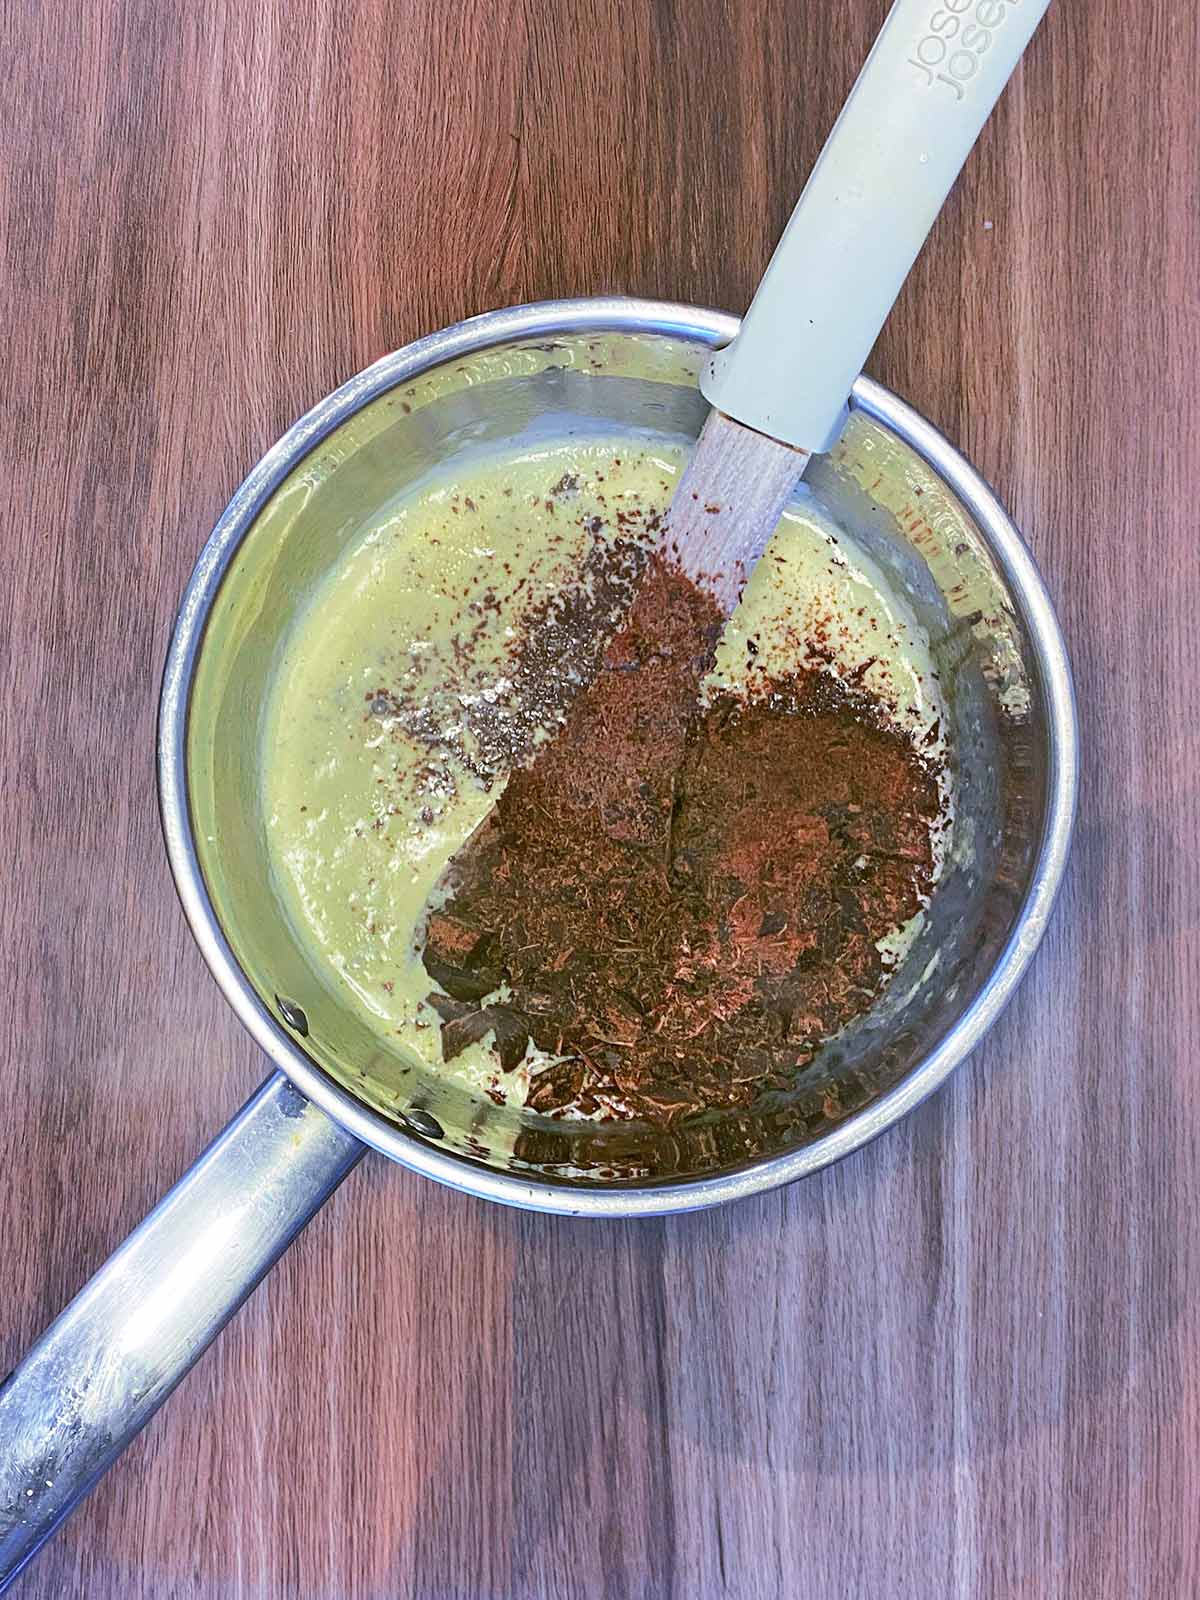
- Step 2: Remove from the heat. Add the chocolate to the pan. Mix well to allow the chocolate to melt. Combine the coffee granules and boiled water. Add to the pan and mix again.
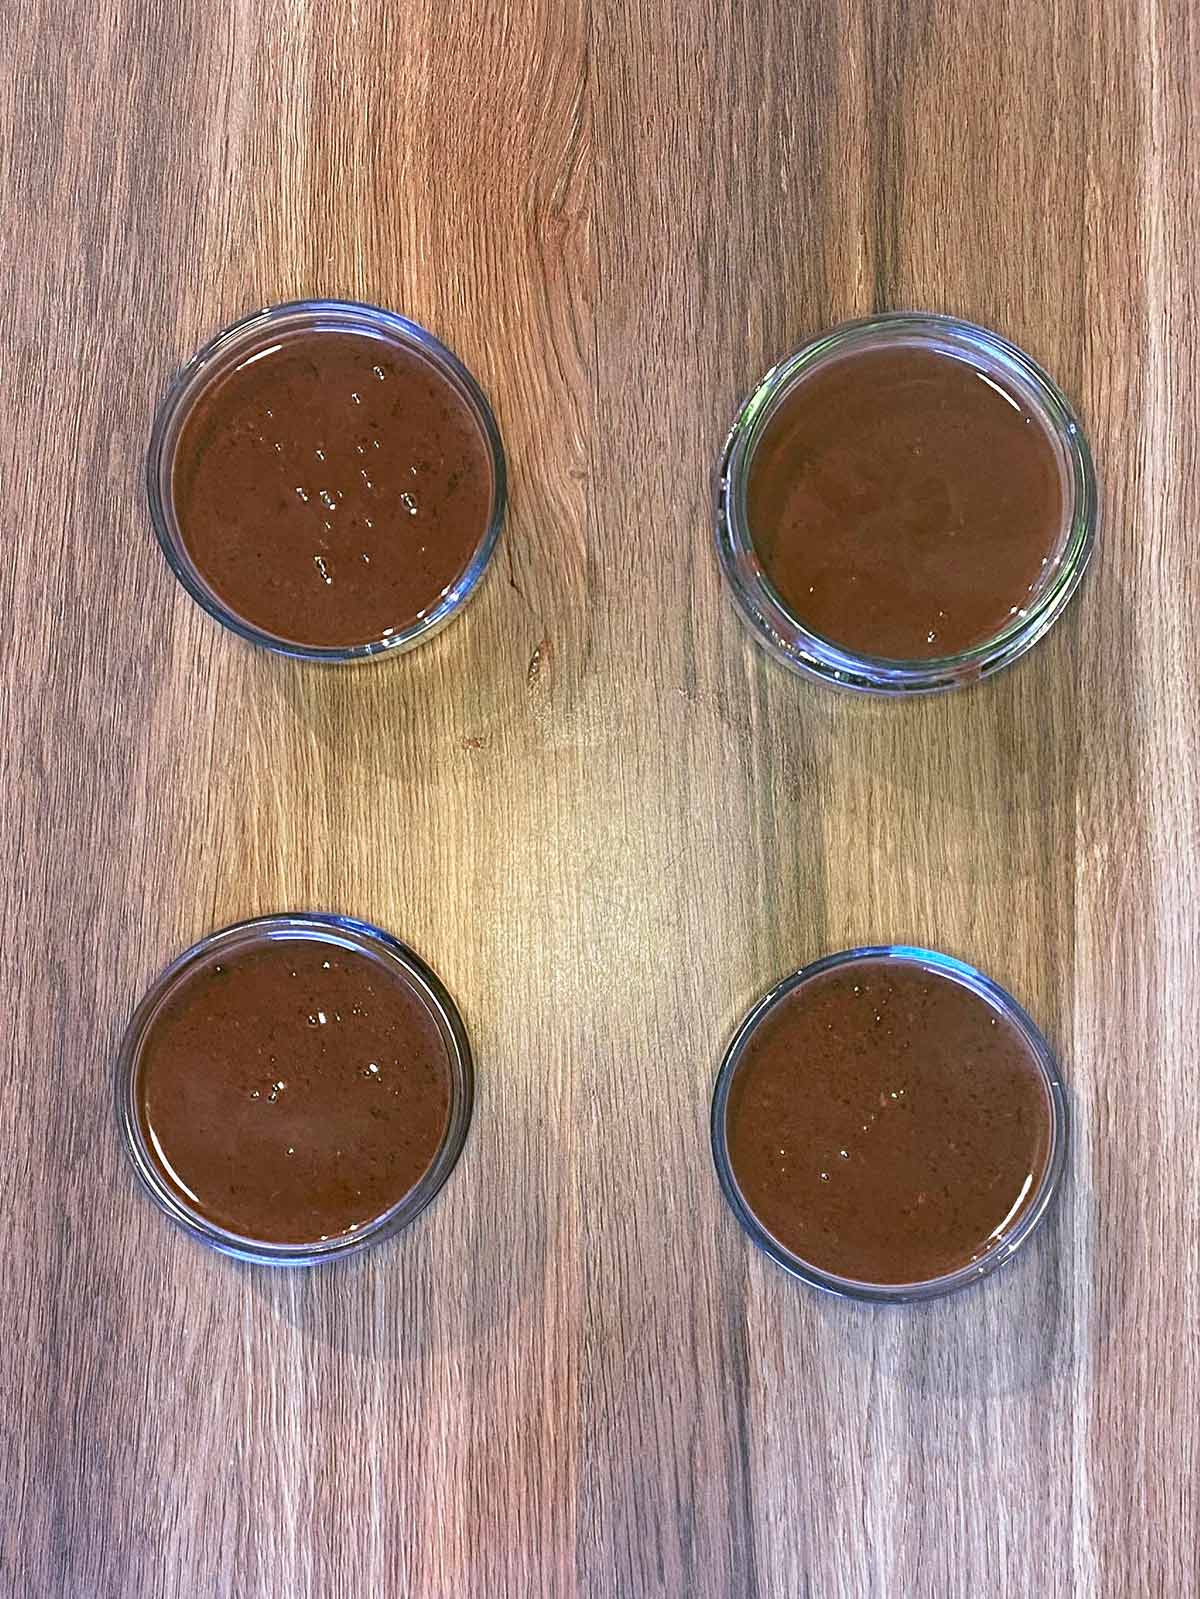
- Step 3: Pour into ramekins and refrigerate for 4 hours.
What to Serve With Chocolate Pots
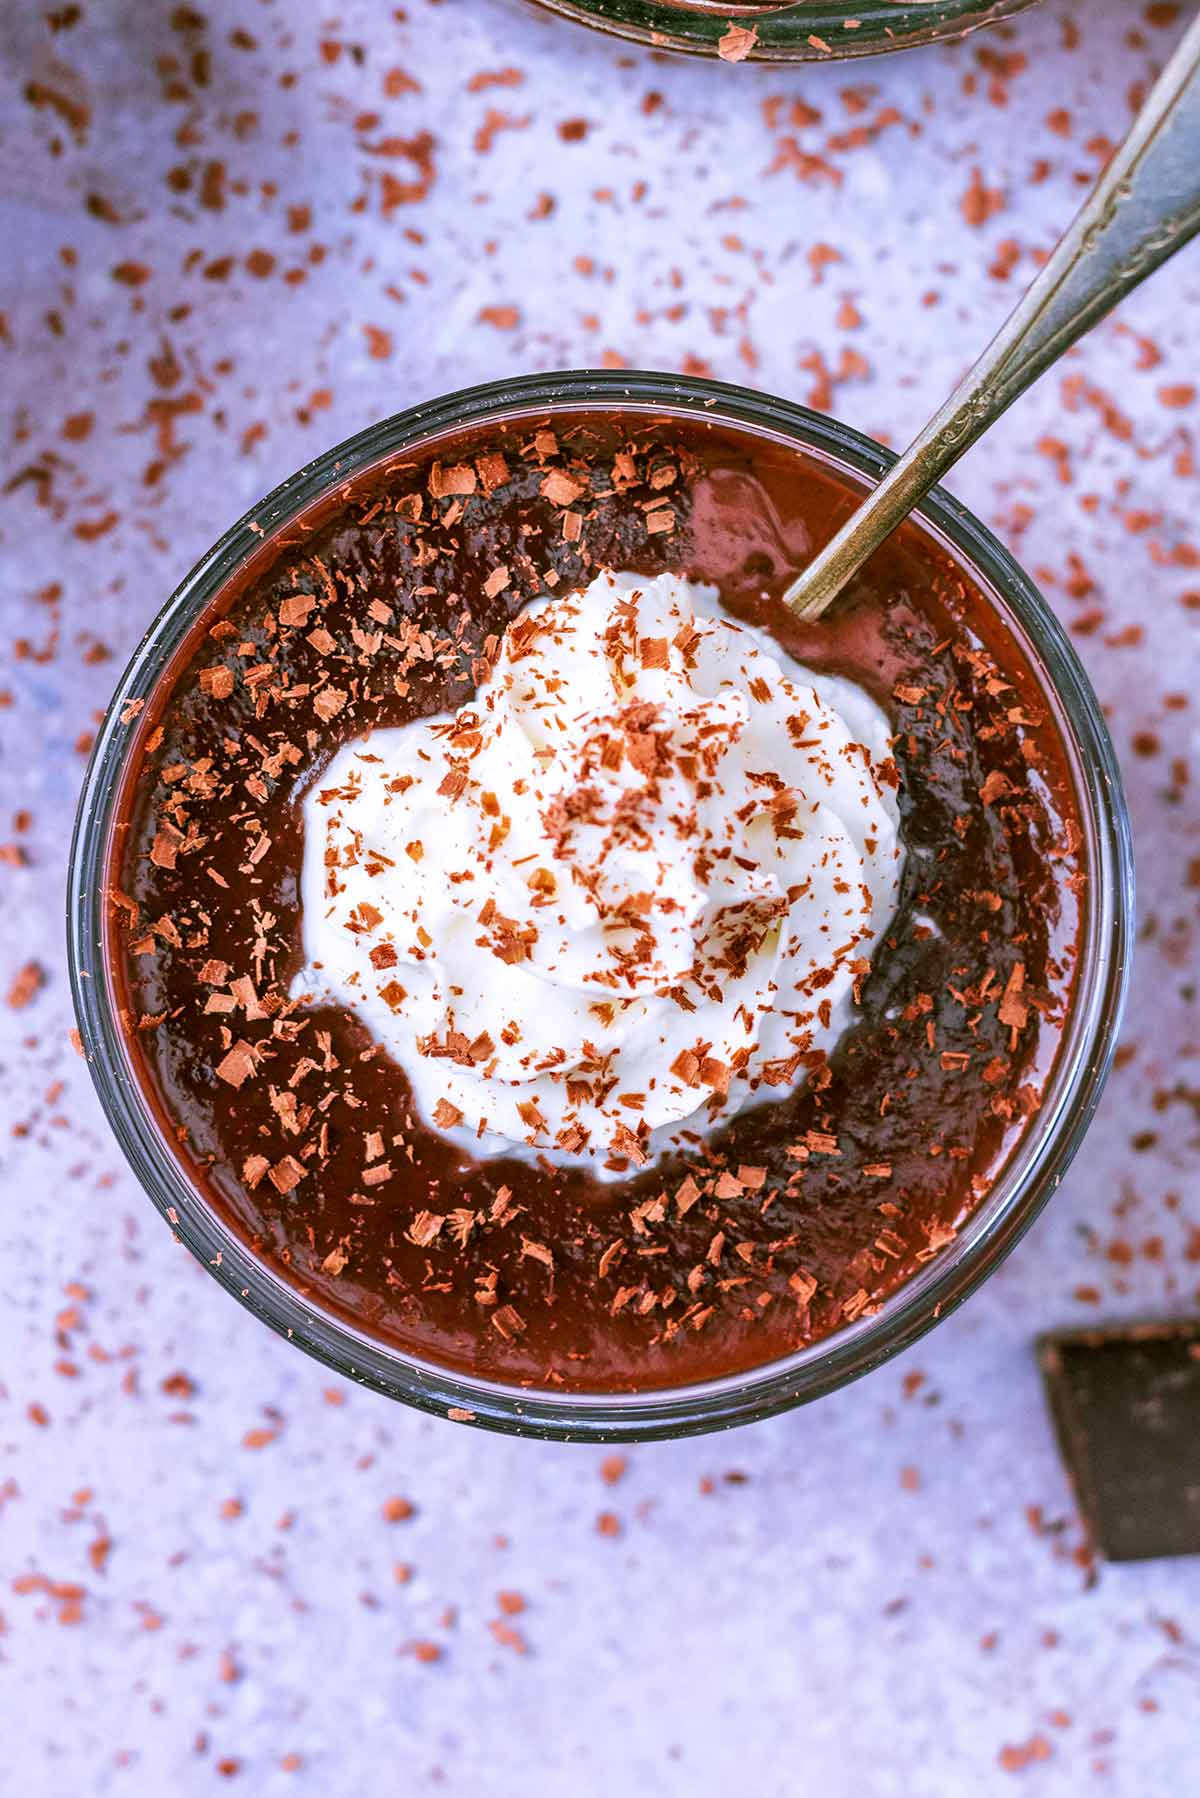
We kept these simple, as the flavours are just so incredible on their own. We had some double cream left over, so we whipped it up and put a dollop on top of the chocolate pots and then grated over some dark chocolate.
You could also serve it with a little biscuit on the side, like a shortbread. Or even a Biscoff biscuit with some melted biscoff spread drizzled over it.
If you wanted a bit of crunch on top, for a change in texture, then why not serve it up with some homemade biscuits? Our Gingernut Biscuits have a lovely crunch to them.
Storage
Store: You can store it in the fridge for up to a week, however it will be best up to 2 days left in the fridge.
Freeze: We don't recommend freezing these chocolate pots, because the texture changes once they are defrosted.
Dannii's Top Tips
- Do not use white chocolate for these chocolate pots, as they will not set the same.
- To make this dairy free, use coconut cream and dairy free milk and chocolate.
- Make sure the chocolate is really melted, otherwise it will taste quite gritty when eating. But you might like the chunks.
- To make a grown-up version of these chocolate pots, then you can add a tiny splash of rum.
- You can serve this easy chocolate pot recipe in pretty much anything, but keep in mind that the portions are small due to the intense flavour. We used little ramekins, but a tea cup or espresso cup would work. Or even a champagne glass if you want to be fancy.
Frequently Asked Questions
This really depends on the consistency you want them to be and it really is a personal preference. We let them set in the fridge for 4 hours and this meant they had firmed up, but they were not thick. You could leave them in the fridge overnight, or just for an hour but they would be softer.
No, we wouldn't recommend using white chocolate because they do not set as well.
This really depends on the type of chocolate and cream that you have used. Just keep it in the fridge a little longer and they will set.
Again, this can depend on the type of chocolate and cream used. However, if they are too thick straight from the fridge, then you could leave them out of the for 10 minutes to soften.
More Dessert Recipes


If you've tried this chocolate pots recipe, let us know how you got on in the comments below.
Tag us in your creations on Instagram @hungryhealthyhappy - Use the hashtag #hungryhealthyhappy too.
Recipe
Chocolate Pots
Ingredients
- 150 ml (0.66 cups) of Double (heavy) cream
- 150 ml (0.66 cups) of Whole milk
- 1 teaspoon of Instant coffee granules
- 1 tablespoon of Boiling water
- 300 g (10.5 oz) of Chocolate - dark; finely chopped
Instructions
- Add 150 ml of Whole milk and 150 ml of Double (heavy) cream to a saucepan. Gently heat over a low heat until just before boiling.
- Remove from the heat. Add 300 g of Chocolate to the pan. Mix well to allow the chocolate to melt.
- Combine the 1 tsp of Instant coffee granules and 1 tbsp of Boiling water. Add to the pan and mix again.
- Pour into ramekins and refrigerate for 4 hours.
Recipe Tips
- Do not use white chocolate for these chocolate pots, as they will not set the same.
- To make this dairy free, use coconut cream and dairy free milk and chocolate.
- Make sure the chocolate is really melted, otherwise it will taste quite gritty when eating. But you might like the chunks.
- To make a grown-up version of these chocolate pots, then you can add a tiny splash of rum.
- You can serve this easy chocolate pot recipe in pretty much anything, but keep in mind that the portions are small due to the intense flavour. We used little ramekins, but a tea cup or espresso cup would work. Or even a champagne glass if you want to be fancy.
Nutritional Information
Would you like to save this recipe?
The nutritional information provided is approximate and is calculated using online tools. Information can vary depending on various factors, but we have endeavoured to be as accurate as possible.
As all appliances vary, cooking times are a guide. Please note that by changing the serving size, the cooking time may also need to be altered.


Liz says
You had me at chocolate, haha. I'm going to make these for Valentine's Day since we're celebrating at home! Yum!!
Kushigalu says
I will make this for Valentine's day. Thanks for sharing
Kristen says
These are such a great treat! They turned out really well!
Dana Sandonato says
These are so good and make for the perfect little dessert! Nothing heavy, just enough to satisfy that sweet tooth!
Colleen says
These chocolate pots are so simple to make and we loved them. Thanks for this easy dessert recipe!
TAYLER ROSS says
I made these over the weekend with the kids, and they were incredible! So chocolatey and delicious!
Vicky says
This recipe is a winner! You had me at no bake and then I noticed there were only 4 ingredients. Talk about easy. Perfect for any chocolate lover!
MJ says
Made it without the instant coffee since we didn't have any, and it was so good and so easy to make! Will make it again for Valentine's Day with the coffee. Yum!
Sandra says
What a great idea they look jump off the page melt in your mouth delicious!! Going to try these with coffee as suggested!! Thanks.