





These Chocolate Covered Apple Slices are one of my favourite easy Halloween treats. Crisp apple slices are put onto sticks, dipped in melted chocolate and then covered with all kinds of spooky toppings. They are fun for kids to decorate, easy to customise and make brilliant Halloween party food.
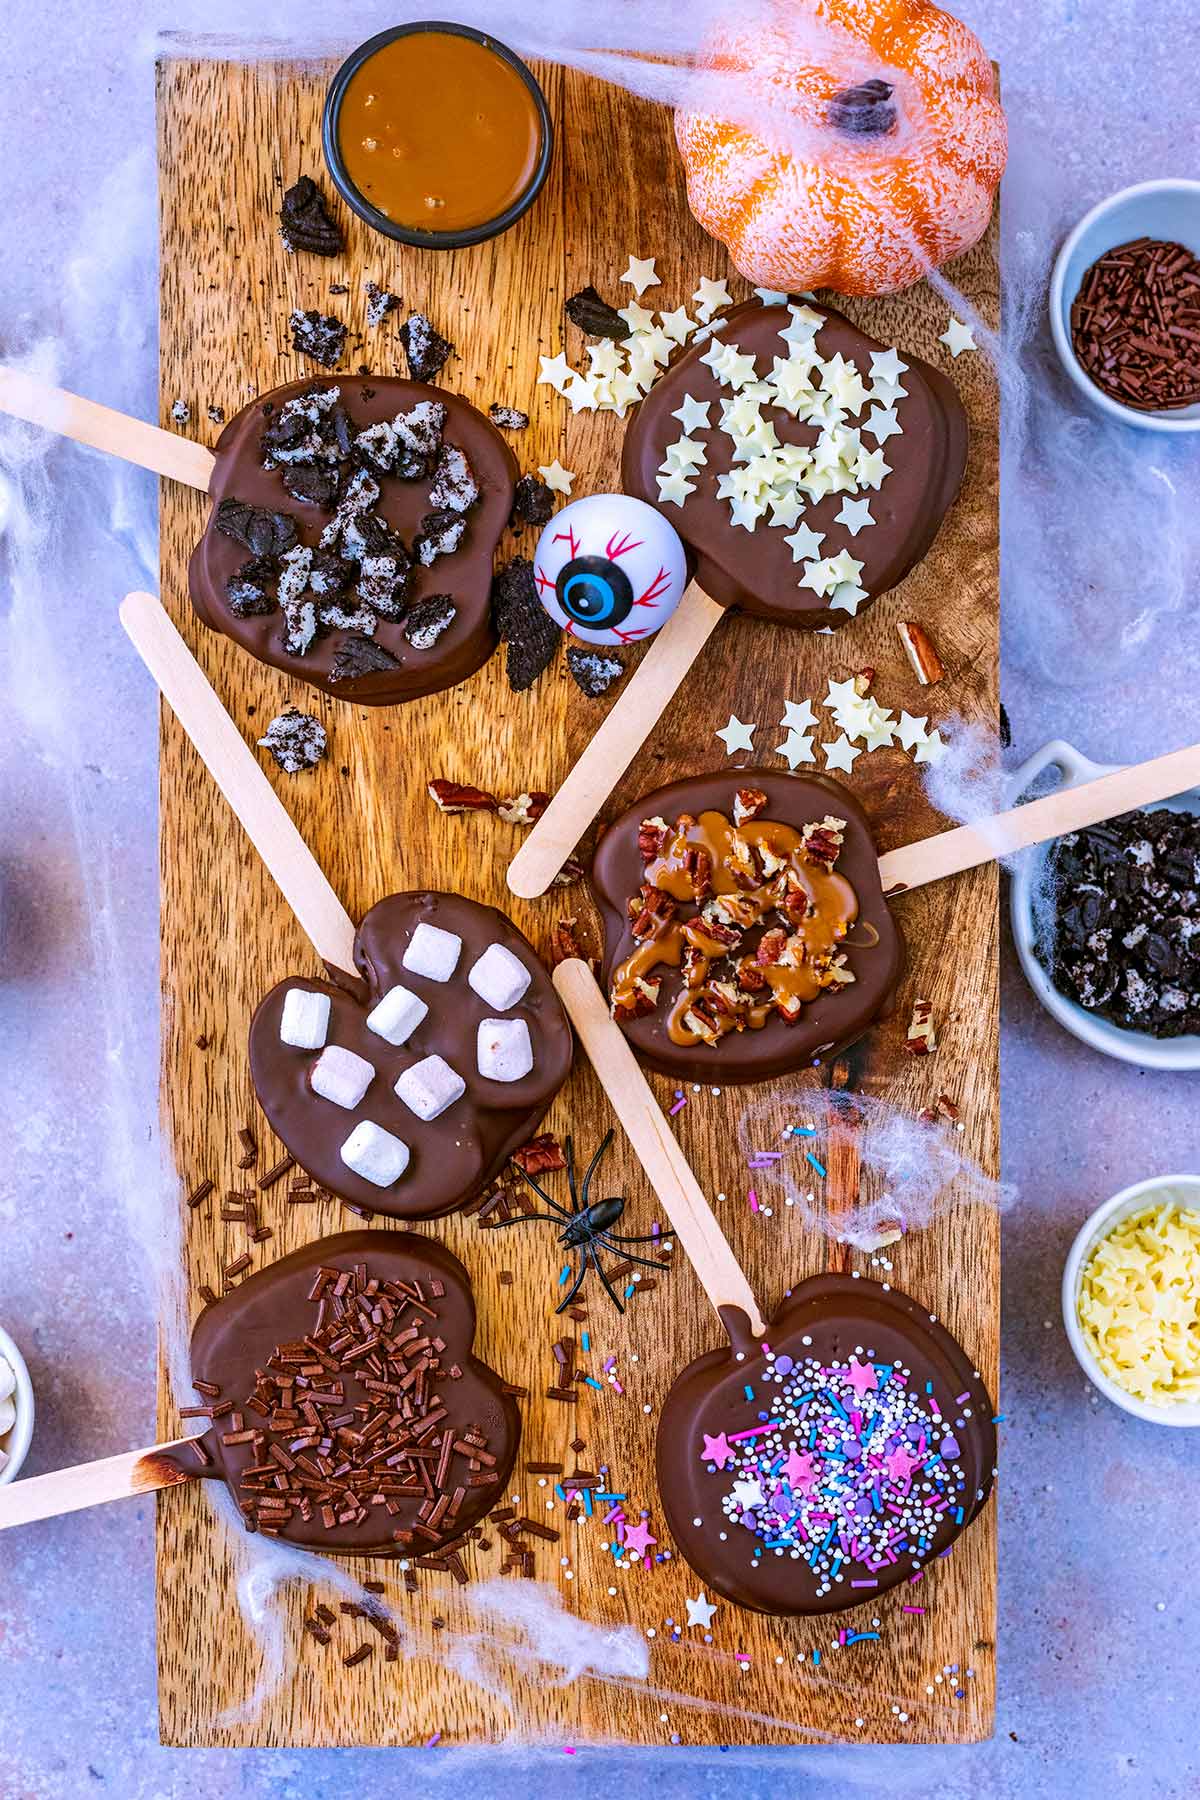
Whole candy apples, caramel apples and toffee apples look amazing, but they aren't always the easiest thing to eat - especially for smaller hands (and mouths).
In our house they tend to get a few bites before being abandoned! These chocolate apple slices give you the same chocolate-and-apple combination, but in a much more manageable portion.
They take just 10 minutes to prepare, then around 20 minutes to set in the fridge. Put out bowls of sprinkles, crushed biscuits, mini marshmallows and edible eyes and everyone can decorate their own.
If you love an easy Halloween recipe that looks impressive without taking hours to make, these are definitely one to try.
Recipe update: This recipe was originally published on 24 October 2022 and was updated in September 2026 with expanded instructions, serving suggestions, tips and FAQs.
Would you like to save this post?
Jump to:
- Why You'll Love Them
- Recipe Overview
- Ingredients and Substitutions
- Best Apples for Chocolate Covered Apple Slices
- Halloween Chocolate Apple Slice Ideas
- How to Make Chocolate Covered Apple Slices
- How To Stop Apple Slices Going Brown
- Serving Suggestions
- Storage and Make Ahead
- Troubleshooting Guide
- Dannii's Top Tips
- Frequently Asked Questions
- More Halloween Recipes
- Recipe
- Feedback
Why You'll Love Them
- Easier than whole candy apples - Apple slices are much easier for kids to hold and eat than a whole toffee or caramel apple.
- Perfect Halloween party food - Put them on sticks for a simple grab-and-go party treat.
- Fun to decorate - Make mummies, monsters, spiderwebs or simply cover them in Halloween sprinkles.
- Easy to make with kids - Prepare all the toppings first and let everyone decorate their own chocolate apple slice.
- Really adaptable - Use dark, milk or white chocolate and whatever toppings you already have.
- Quick preparation - They only need about 10 minutes of hands-on preparation before chilling.
Recipe Overview
- Prep time: 10 minutes
- Chilling time: 20 minutes
- Total time: 30 minutes
- Serves: 6
- Best apples: Granny Smith, Honeycrisp, Gala, Fuji or Jazz
- Key tip: Pat the cut apple completely dry before dipping so the chocolate sticks properly.
Ingredients and Substitutions
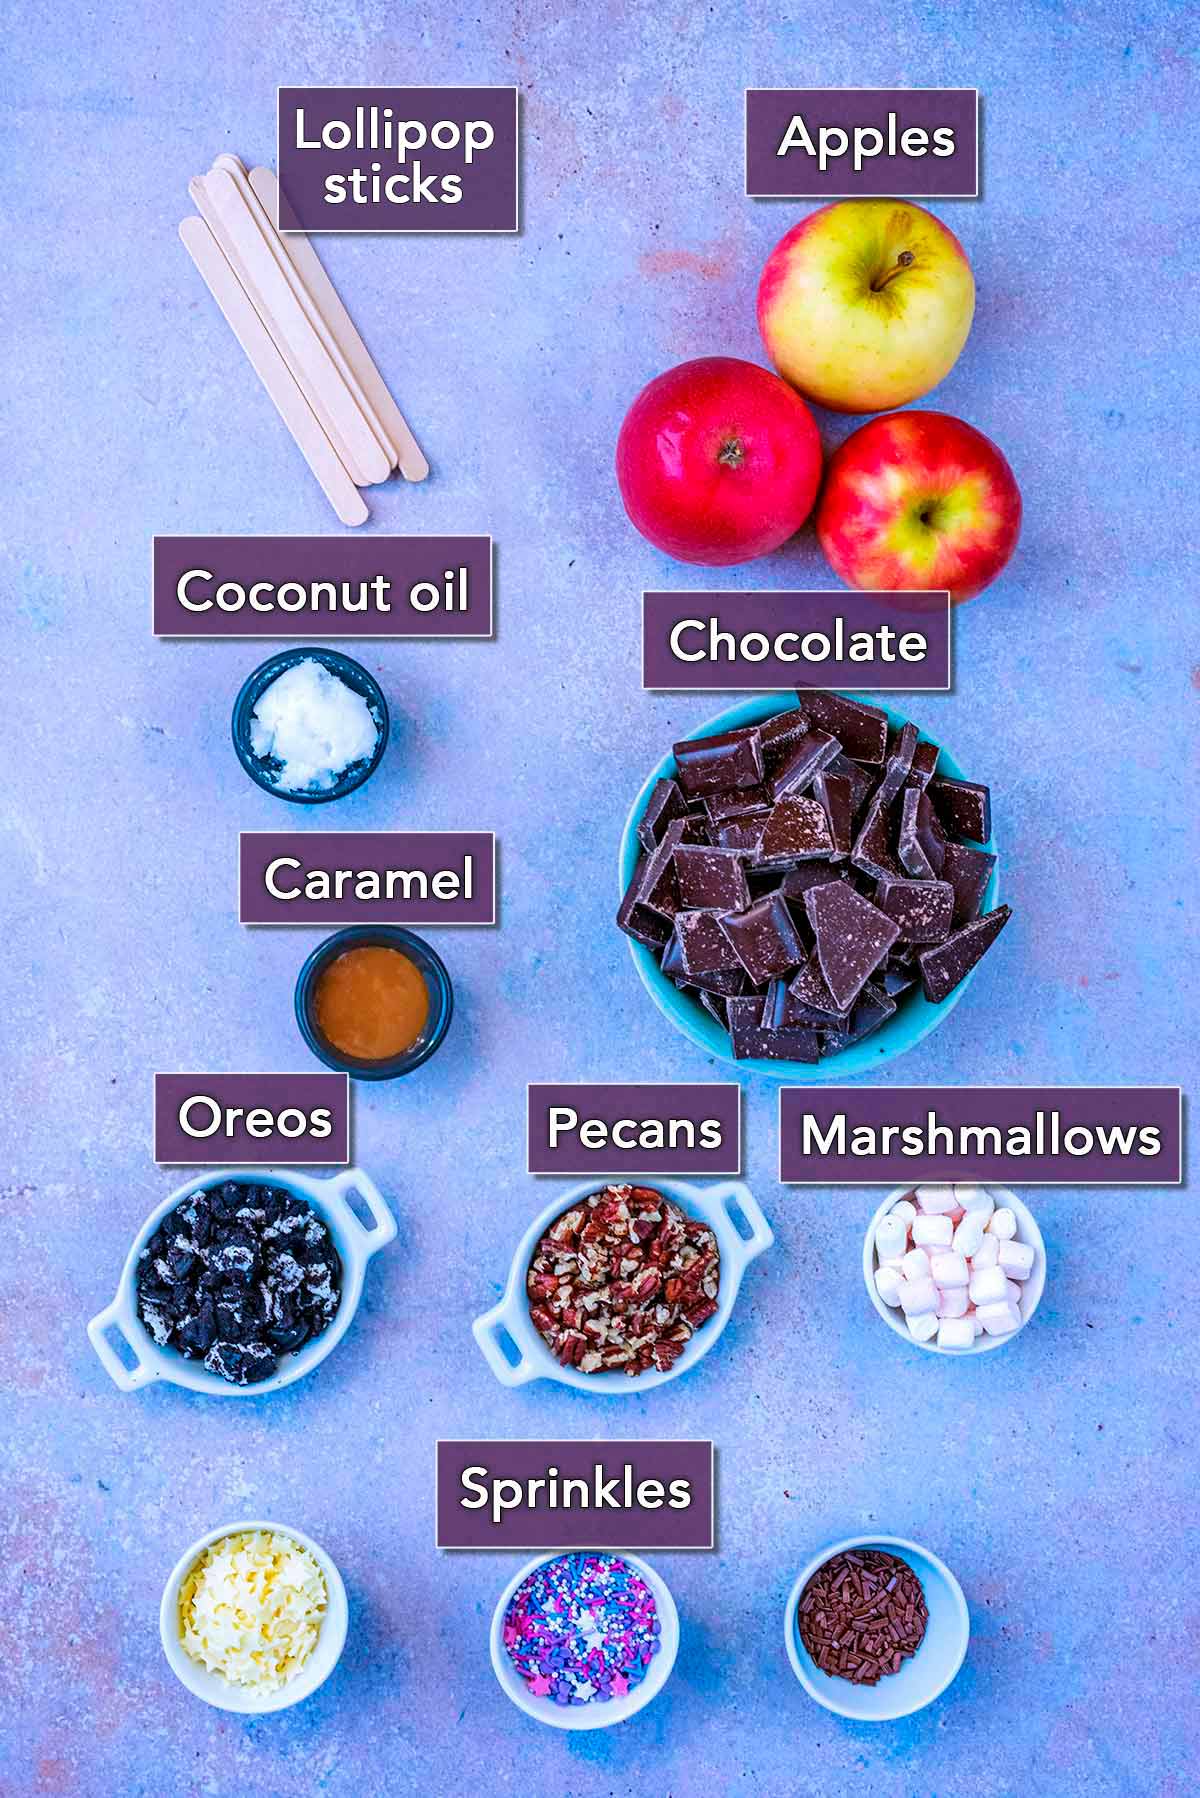
A full ingredients list, along with US Customary and Metric measurements, can be found in the recipe card at the end of this post.
- Apples - Choose a crisp, firm apple as it needs to hold the stick, chocolate and toppings without breaking. Granny Smith, Honeycrisp, Gala, Fuji and Jazz are all good options.
- Chocolate - We use good-quality dark chocolate, as the slight bitterness works really well with sweet apple. Milk chocolate or white chocolate can also be used.
- Coconut oil - This is optional, but a small amount helps to thin melted chocolate so it coats the apple slices more easily.
- Decorations - This is where you can have fun. We use things like Halloween sprinkles, crushed Oreos, chopped nuts, caramel sauce and mini marshmallows.
You will also need wooden lolly/popsicle sticks and a baking sheet lined with baking paper.
Best Apples for Chocolate Covered Apple Slices
The best apples for chocolate covered apple slices are varieties that are crisp and firm rather than soft or floury.
Granny Smith is particularly good if you like the contrast of sharp apple with sweet chocolate, while Honeycrisp, Gala and Fuji apples give a sweeter finish.
Whatever variety you use, make sure the apples are fresh. A soft apple is more likely to break when you insert the stick and won't have the same crisp texture once coated.
Medium to large apples are easiest to work with because they give you enough surface area for the stick and all those toppings.
Halloween Chocolate Apple Slice Ideas
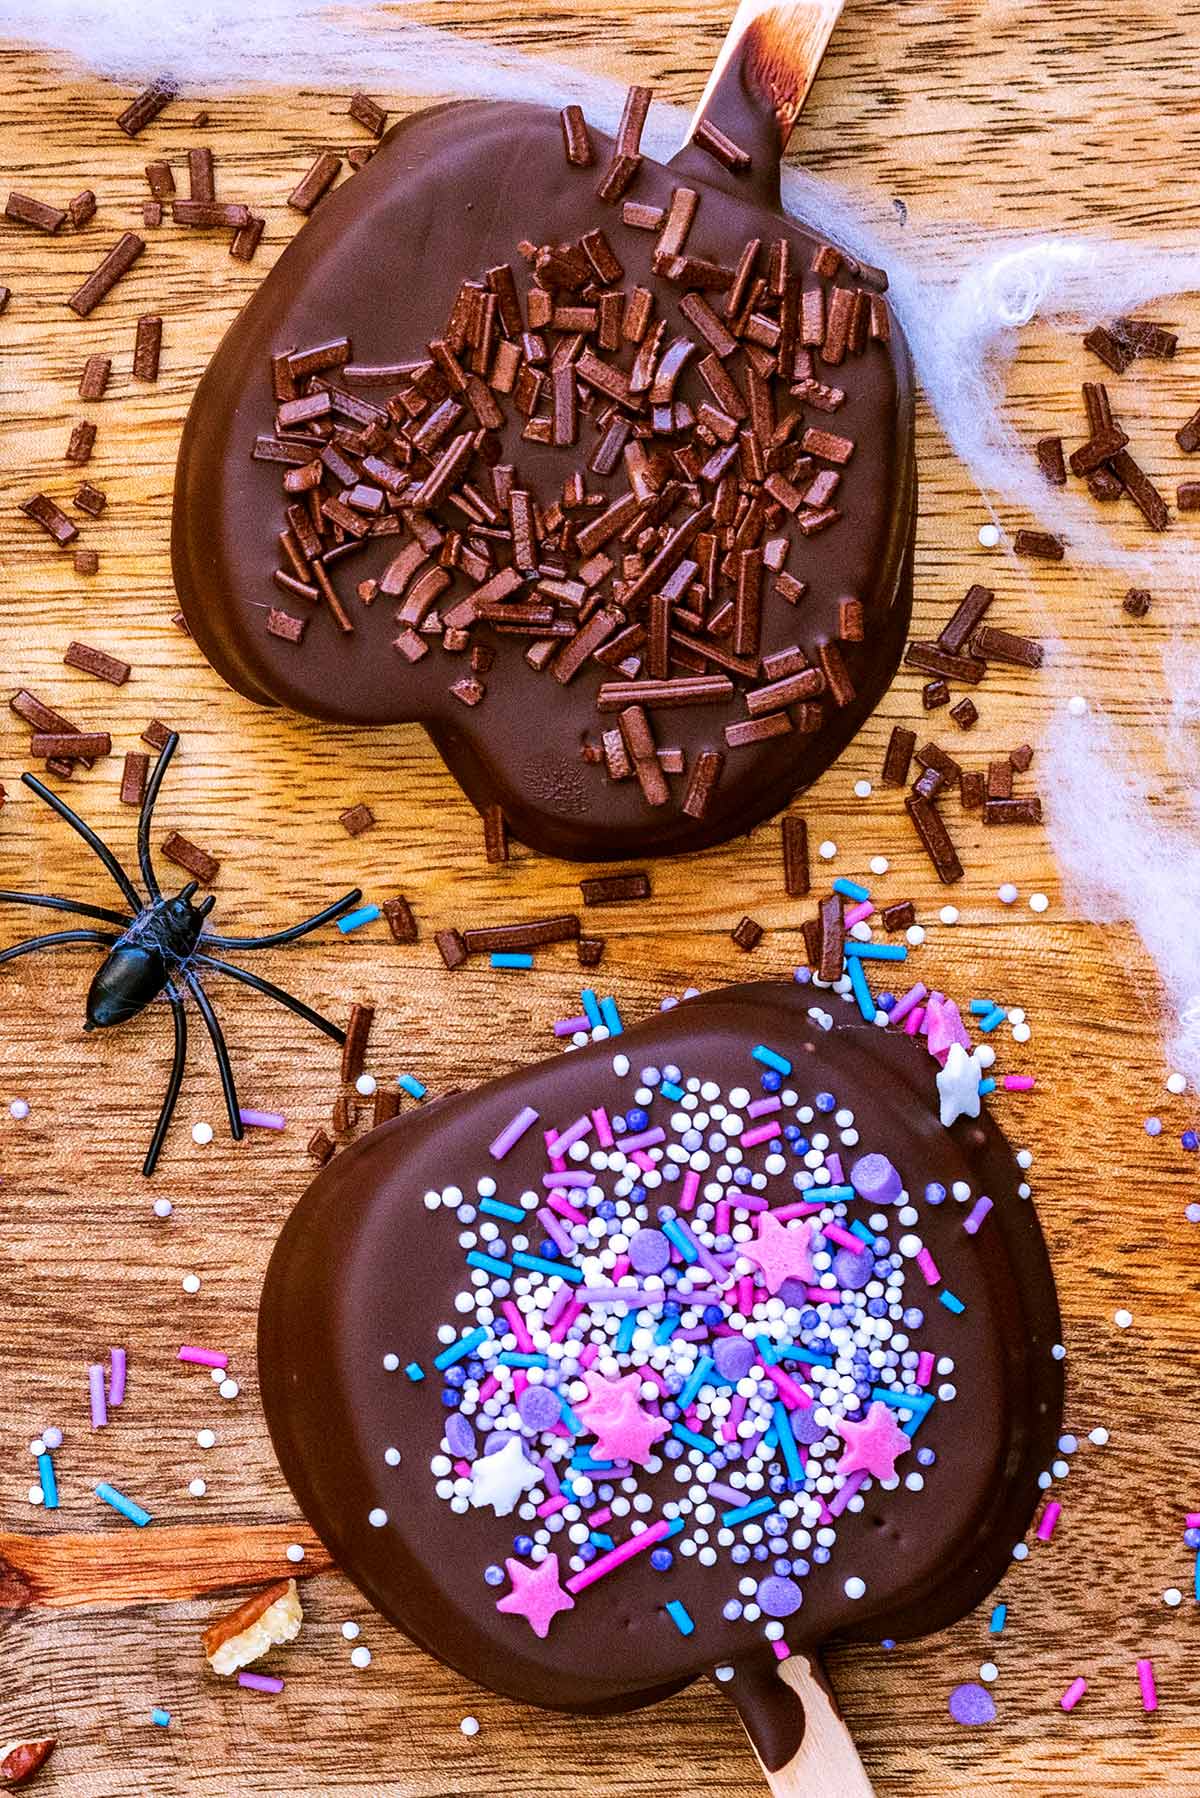
You don't have to do anything complicated to turn these into a Halloween treat. Orange, purple, green and black sprinkles alone will give them a spooky feel.
These chocolate dipped apple slices are really easy to customise with whatever Halloween decorations you have.
For something a little more fun, try these ideas:
Mummy apple slices - Dip the apple in dark or milk chocolate, allow it to set and then drizzle white chocolate backwards and forwards across the top. Finish with edible eyes.
Monster apples - Add green or purple sprinkles while the chocolate is still wet, then press on one or two edible eyes.
Spiderweb apples - Coat the apple with dark or white chocolate. Pipe thin circles of contrasting chocolate on top, then drag a cocktail stick from the centre outwards to create a web.
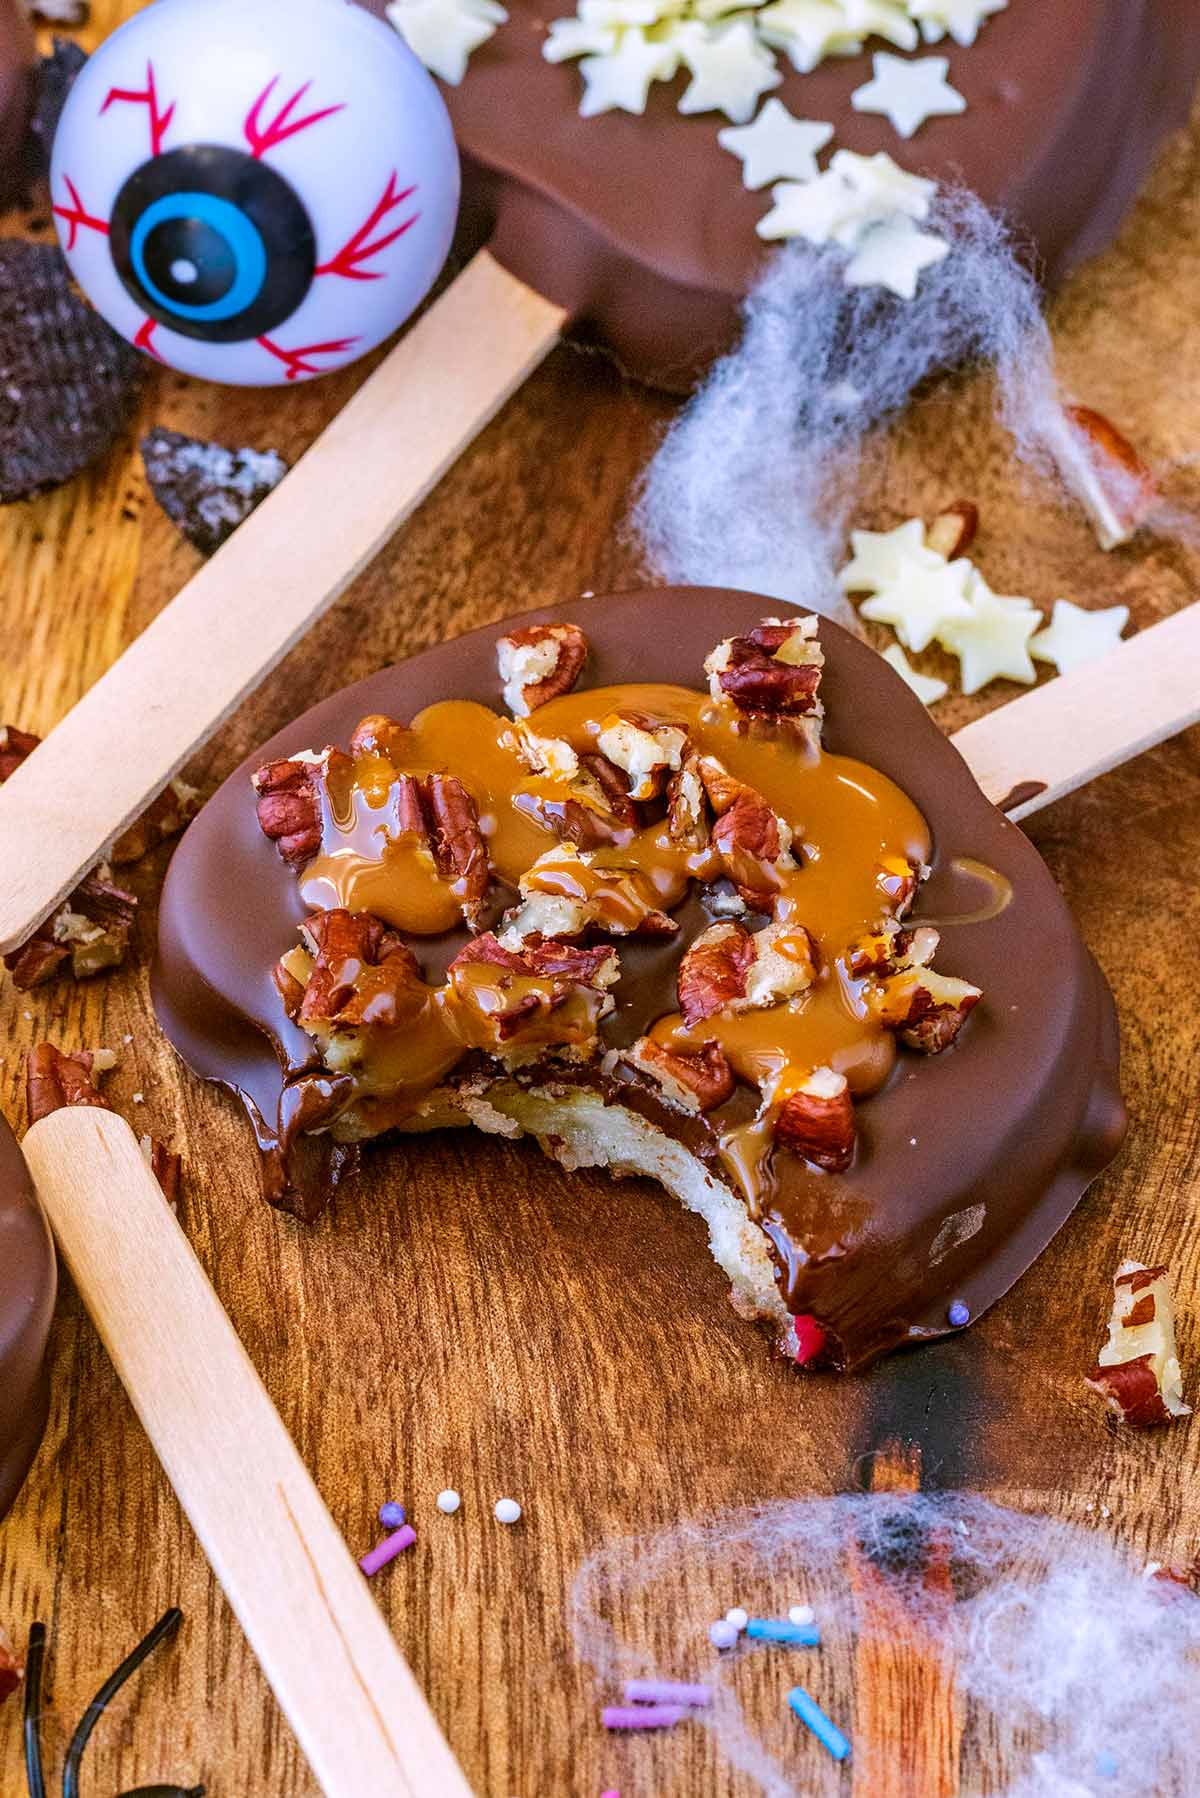
Caramel chocolate apples - Once the chocolate has set, drizzle with caramel and add chopped pecans for a chocolate-covered caramel apple slice.
Cookies and cream - Sprinkle crushed Oreos over the chocolate before it sets.
If you are serving these at a school or children's Halloween party, keep allergy requirements in mind and swap nuts for seeds, biscuit crumbs or sprinkles where needed.
How to Make Chocolate Covered Apple Slices
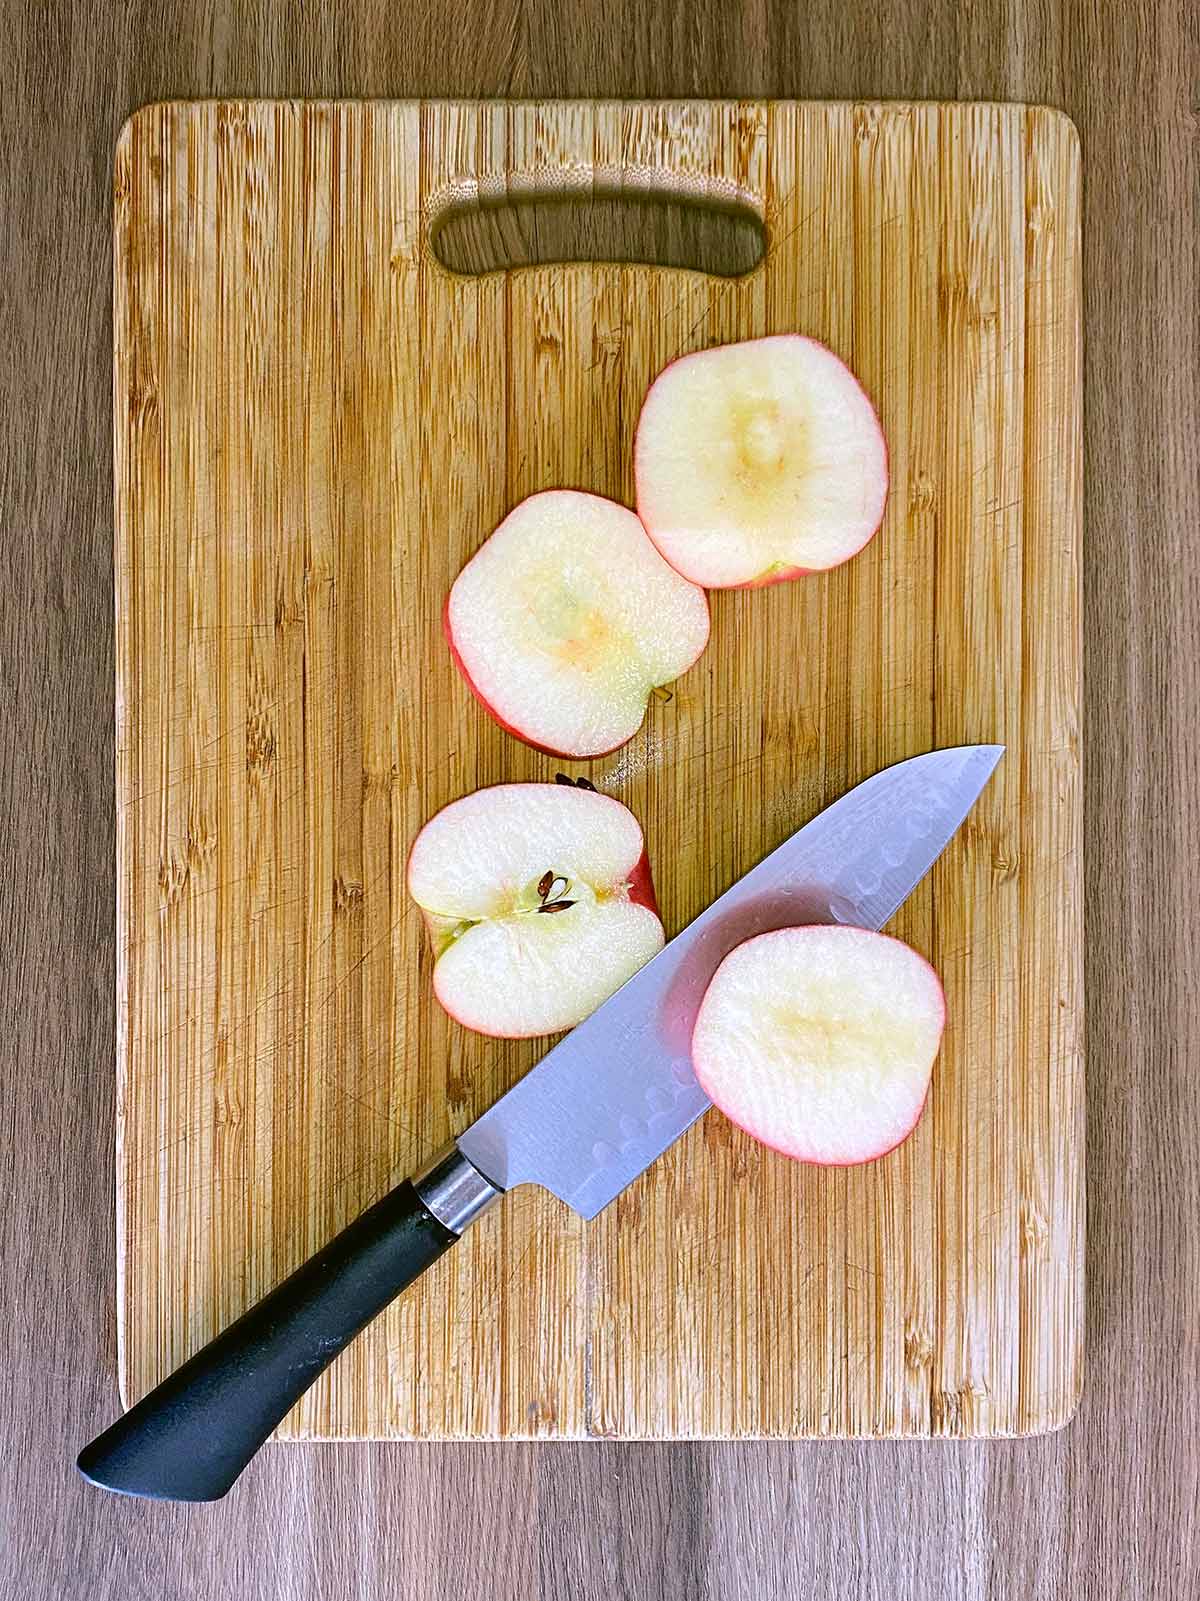
- Slice the apples: Wash and dry the apples thoroughly, then cut them into slices roughly 1-1.5cm/½ inch thick. Remove any visible seeds.
- Dry the apples: Pat the cut surfaces dry with kitchen paper. This is really important because excess apple juice can stop the chocolate sticking properly.
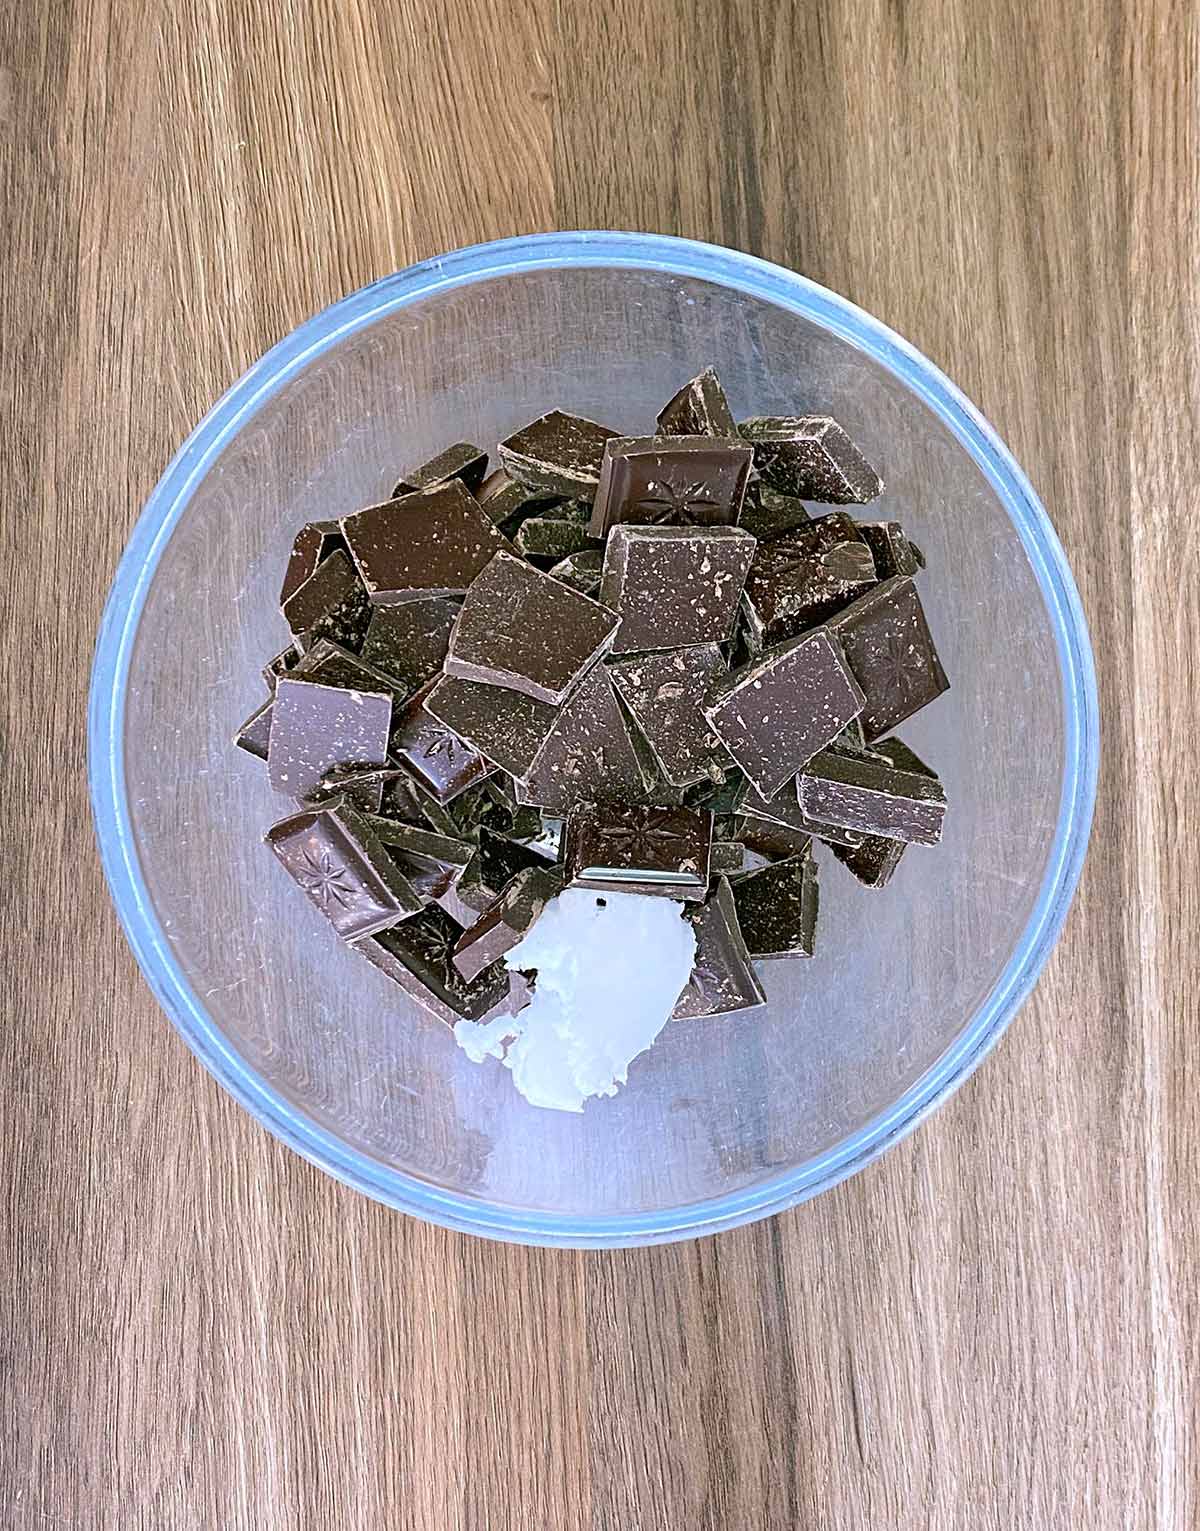
- Melt the chocolate: Put the chocolate and coconut oil into a microwave-safe bowl. Microwave in 30-second intervals, stirring thoroughly between each one, until smooth.
⚠️ Don't rush this step - overheating is one of the easiest ways to ruin melted chocolate.
- Add the sticks: Use the tip of a sharp knife to make a small slit in the bottom of each apple slice.
- Carefully push in a wooden lolly stick. Don't push it too far or the apple can split.
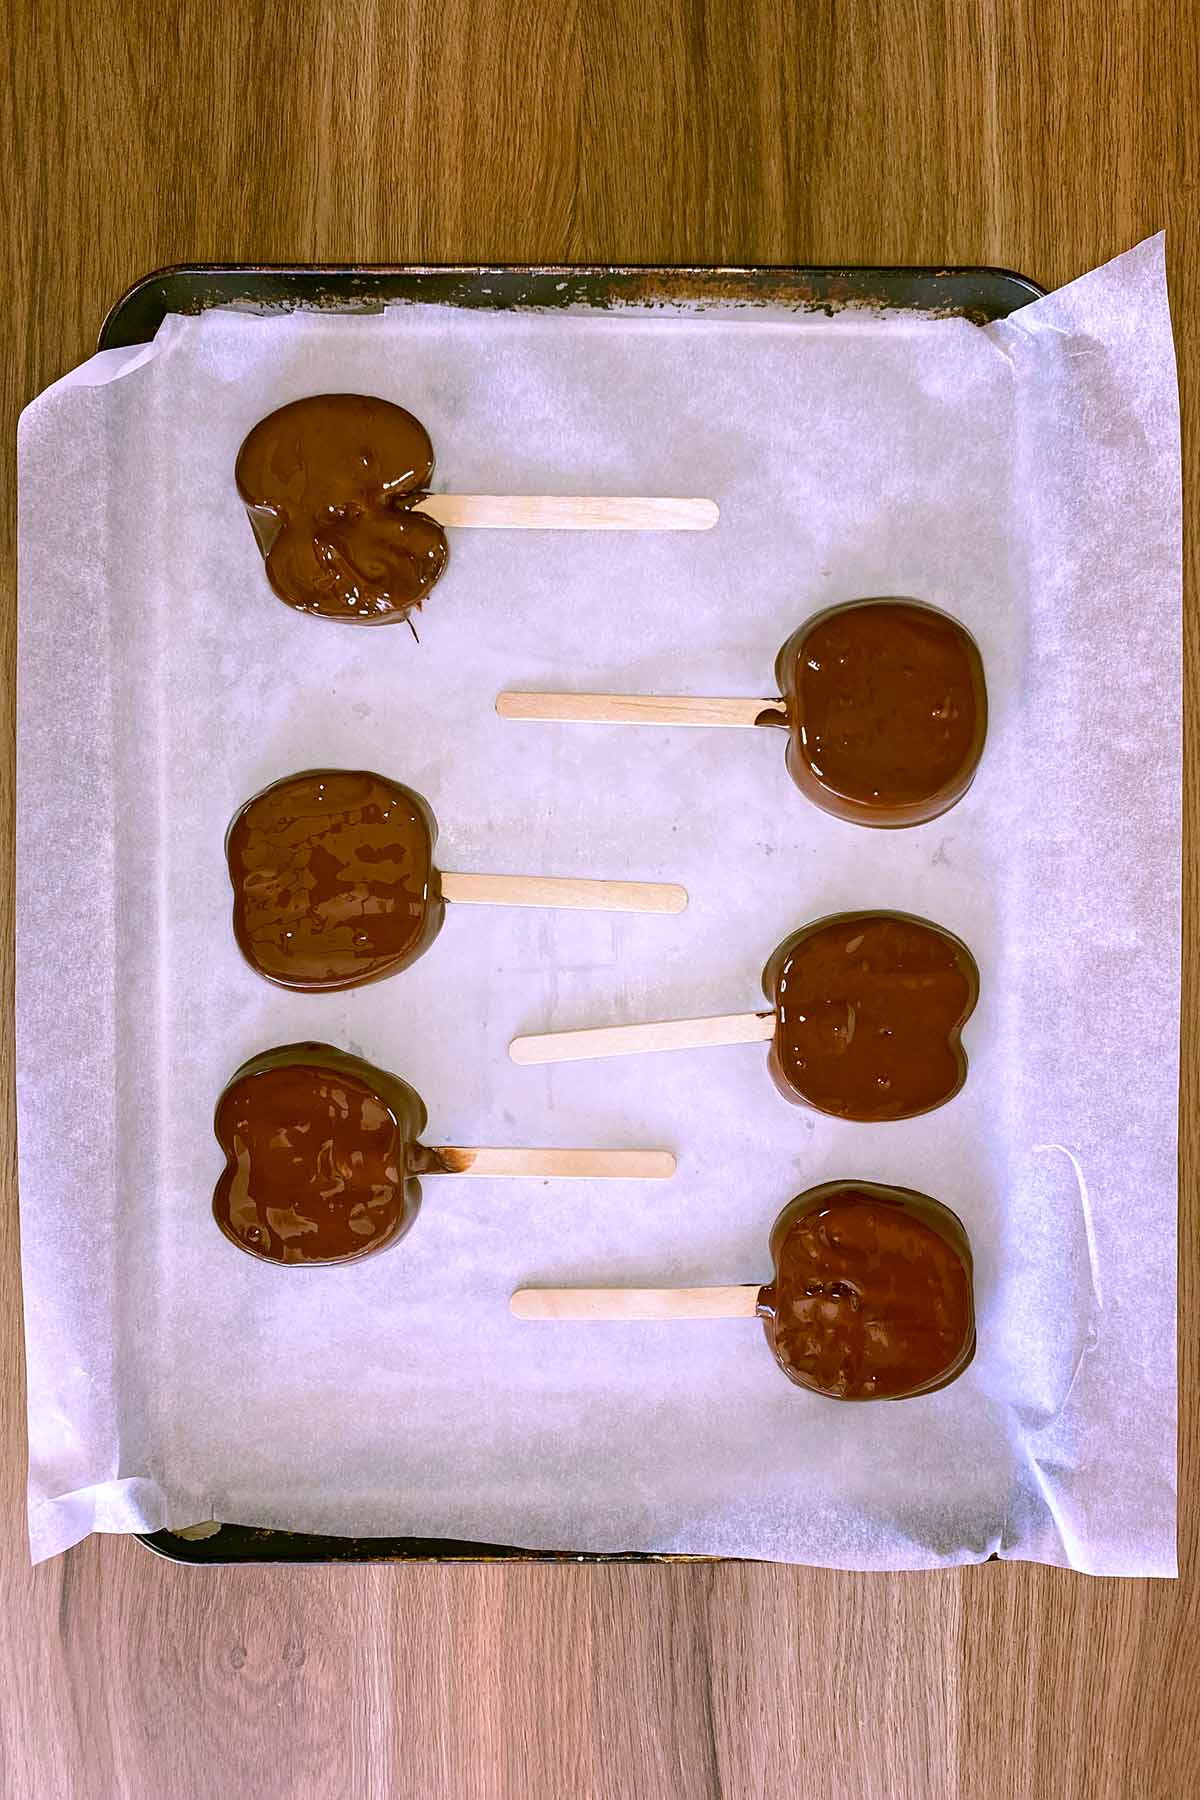
- Dip the apple slices: Dip each apple slice into the melted chocolate. Use a spoon to help cover the apple if needed.
- Let the excess chocolate drip back into the bowl before transferring the slice to a baking sheet lined with baking paper.
💡 For extra stability, take the chocolate right down to where the apple meets the stick.
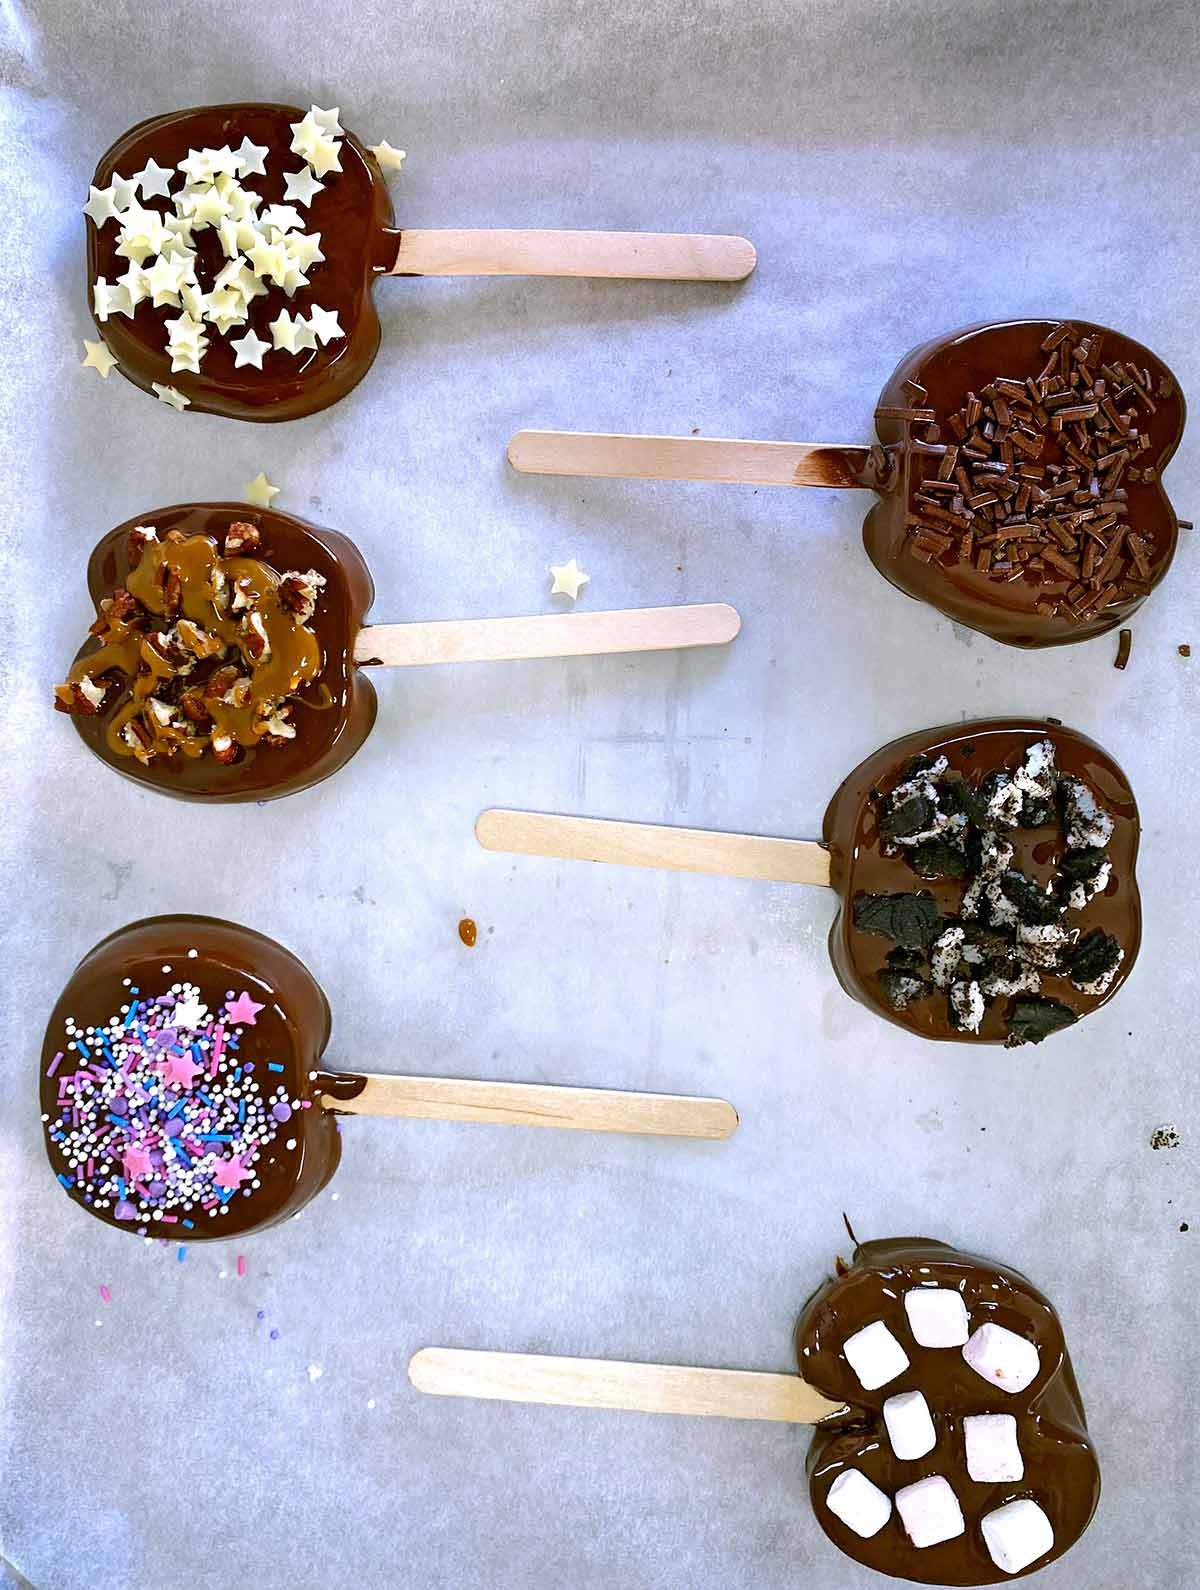
- Decorate: Add dry toppings such as sprinkles, crushed biscuits, nuts or mini marshmallows while the chocolate is still wet.
- If you are adding wetter toppings such as caramel or nut butter, wait until the first layer of chocolate has set.
- Chill: Put the tray into the fridge for around 15-20 minutes, or until the chocolate has completely set.
- Keep refrigerated until you are ready to serve.
How To Stop Apple Slices Going Brown
If the apple is completely covered in chocolate and you are serving these the same day, browning usually isn't much of an issue.
For apple that will remain exposed, you can briefly dip or brush the slices with lemon juice diluted with a little water.
The important part is to dry the apple extremely well afterwards. Chocolate and water don't mix well, so moisture left on the surface can cause the chocolate to slide off rather than sticking.
If I'm making these for a party, I usually find it easier to prepare them just a few hours before serving rather than trying to keep sliced apples overnight.
Serving Suggestions
These are perfect on a Halloween party table because everyone can pick one up by the stick without needing plates or cutlery.
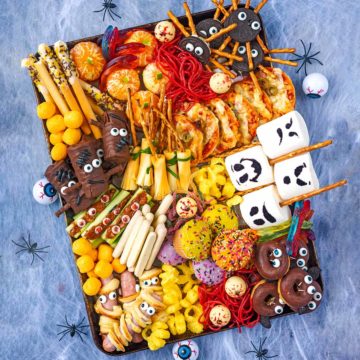
For a bigger Halloween spread, I would serve them alongside Halloween Popcorn, Halloween Fruit Tray and Babybel Cheese Monsters for some easy snack options.
If you want some savoury food too, add Halloween Tortilla Chips and Easy Halloween Pizzas. Both are simple recipes that children can get involved with making.
For another sweet option, Mini Halloween Pies would work really well on the same table.
Storage and Make Ahead
Chocolate covered apple slices are at their best the day they are made.
You can make them a few hours before a Halloween party and keep them on a covered tray in the fridge until you are ready to serve.
If you have leftovers, transfer them to an airtight container and refrigerate. For the best texture, eat them within 24 hours.
Because the apples are sliced, they gradually release juice. This can eventually cause moisture underneath the chocolate or make the coating loosen from the fruit.
I wouldn't recommend making them several days in advance.
Troubleshooting Guide
| Problem | Likely cause | Fix |
|---|---|---|
| Chocolate won't stick | Apple is too wet | Pat every cut surface thoroughly dry before dipping |
| Stick pushes through the apple | Slice is too thin | Aim for around 1-1.5cm/½ inch thick |
| Chocolate is too thick for dipping | Chocolate needs thinning | Stir in a small amount of coconut oil |
| Chocolate turns grainy | It has overheated or come into contact with water | Melt slowly in short microwave bursts and use completely dry equipment |
| Toppings fall off | Chocolate has already set | Add dry toppings immediately after dipping |
| Caramel slides off | Base chocolate is still soft | Let the chocolate set first before drizzling caramel |
| Apple juice appears under the chocolate | Sliced fruit has been stored too long | Make them the same day where possible |
| Chocolate cracks when bitten | Normal with chilled chocolate | Let the slices sit out for a few minutes before eating |
Dannii's Top Tips
- Pat the cut sides of the apples completely dry so the chocolate sticks.
- Keep the slices around 1-1.5cm/½ inch thick so they don't split when the sticks go in.
- Get all your toppings ready before dipping, especially if children are decorating them.
- Add sprinkles, nuts and biscuit crumbs before the chocolate sets; add caramel or nut butter afterwards.
- Don't overheat the chocolate - microwave it in short bursts and stir well between each one.
- Make the apple slices on the day you plan to serve them for the best texture.
Frequently Asked Questions
Around 1-1.5cm or ½ inch thick works well. If they are much thinner, inserting the stick can cause them to split.
The most important thing is removing moisture. After cutting the apples, blot both sides thoroughly with kitchen paper before dipping.
Adding a little coconut oil to the melted chocolate can also make it easier to coat the apple evenly.
Not necessarily. If the apples are completely covered and being served fairly soon, you can skip it.
If some apple will remain exposed, lemon juice can slow browning. Just make sure the slices are completely dry before adding the chocolate.
Yes. Cut the apples into wedges and dip one end into chocolate instead. This is a good option if you want smaller chocolate apple bites.
Use a chocolate that you enjoy eating. Dark or semi-sweet chocolate gives a nice contrast to the sweet apple, while milk chocolate is sweeter and usually popular with children.
White chocolate works too and is especially useful for Halloween mummy decorations.
Yes, but only a little in advance. Making them earlier on the same day and keeping them refrigerated works well.
I wouldn't make them several days ahead, as sliced apples release moisture over time.
They are best eaten the day they are made. Leftovers can be stored in an airtight container in the fridge, but for the best texture I recommend eating them within 24 hours. The cut apple gradually releases moisture, which can make the chocolate coating loosen.
More Halloween Recipes

If you've tried these chocolate covered apple slices, let us know how you got on in the comments below.
Tag us in your creations on Instagram @hungryhealthyhappy and use the hashtag #hungryhealthyhappy too.
Recipe

Halloween Chocolate Covered Apple Slices




Recipe Video
Ingredients
- 3 Apple
- 200 g (7 oz) of Chocolate - dark
- 1 tablespoon of Coconut oil
Decorations
- Caramel sauce
- Pecans - chopped
- Oreos - crushed
- Mini marshmallows
- Sprinkles
Instructions
- Slice the apples: Wash and dry 3 Apple thoroughly, then cut them into slices roughly 1-1.5cm/½ inch thick. Remove any visible seeds.
- Dry the apples: Pat the cut surfaces dry with kitchen paper. This is really important because excess apple juice can stop the chocolate sticking properly.
- Melt the chocolate: Put 200 g of Chocolate and 1 tbsp of Coconut oil into a microwave-safe bowl. Microwave in 30-second intervals, stirring thoroughly between each one, until smooth.
- Add the sticks: Use the tip of a sharp knife to make a small slit in the bottom of each apple slice.Carefully push in a wooden lolly stick. Don't push it too far or the apple can split.
- Dip the apple slices: Dip each apple slice into the melted chocolate. Use a spoon to help cover the apple if needed.
- Let the excess chocolate drip back into the bowl before transferring the slice to a baking sheet lined with baking paper.
- Decorate: Add dry toppings such as Sprinkles, crushed Oreos, Pecans or Mini marshmallows while the chocolate is still wet.If you are adding wetter toppings such as Caramel sauce or nut butter, wait until the first layer of chocolate has set.
- Chill: Put the tray into the fridge for around 15-20 minutes, or until the chocolate has completely set.Keep refrigerated until you are ready to serve.
Recipe Notes
- Wash and dry the apples thoroughly before slicing, then pat the cut sides dry too.
- Keep the slices fairly thick so they can support the sticks without snapping.
- Make a small slit with a sharp knife before pushing each stick into the apple.
- Melt the chocolate in 30-second bursts and stir between each one to prevent burning.
- Use a spoon to help completely cover the apple and let excess chocolate drip off before putting it on the tray.
- Add sprinkles, nuts and biscuit crumbs while the chocolate is still wet.
- Wait until the chocolate has set before adding caramel or nut butter.
- If making these with children, put all the toppings into bowls before you start dipping so everything is ready to go.
- Chill for around 15-20 minutes so the chocolate is completely firm.
- Make them on the day you plan to serve them for the best texture.
Nutritional Information
Where nutritional information is provided, it is approximate and calculated using online tools. Values can vary depending on the ingredients and brands used, but we endeavour to be as accurate as possible.
All timings are a guide and may vary depending on the ingredients, equipment and, where relevant, the appliance used. Changing the serving size may also affect the time needed.



Sam says
So simple to make with my children and delicious
Amy says
These are such a fun idea for a halloween treat! And so much easier to eat than a full apple
Elizabeth says
I LOVE this! Sometimes there is too much apple in caramel or dipped apples. I think your idea will make them easier for people to enjoy. Love the variations and toppings.
Nathan says
I love how easy it is to make this apple treat! The variety with the pecans an caramel is my absolute favorite, I'll be making this again for sure!
Matt Ivan says
This is a perfect way to use apples this fall! Not sure why I only thought to drop them in caramel.
Michelle says
These are such a fun healthy snack. My kids love helping decorate and eat them!
Gina Abernathy says
I will be making these over the weekend for our annual trick or treat party. The kids (and adults) will love them.
Seema Sriram says
This idea is adorable. We are planning to make this for trick or treats too. I am sure the kids will love them.
Ieva says
Brilliant idea! And what a great way to use up all those sprinkles I had in my cupboard for years! Definitely making these for my nieces when they come over!