

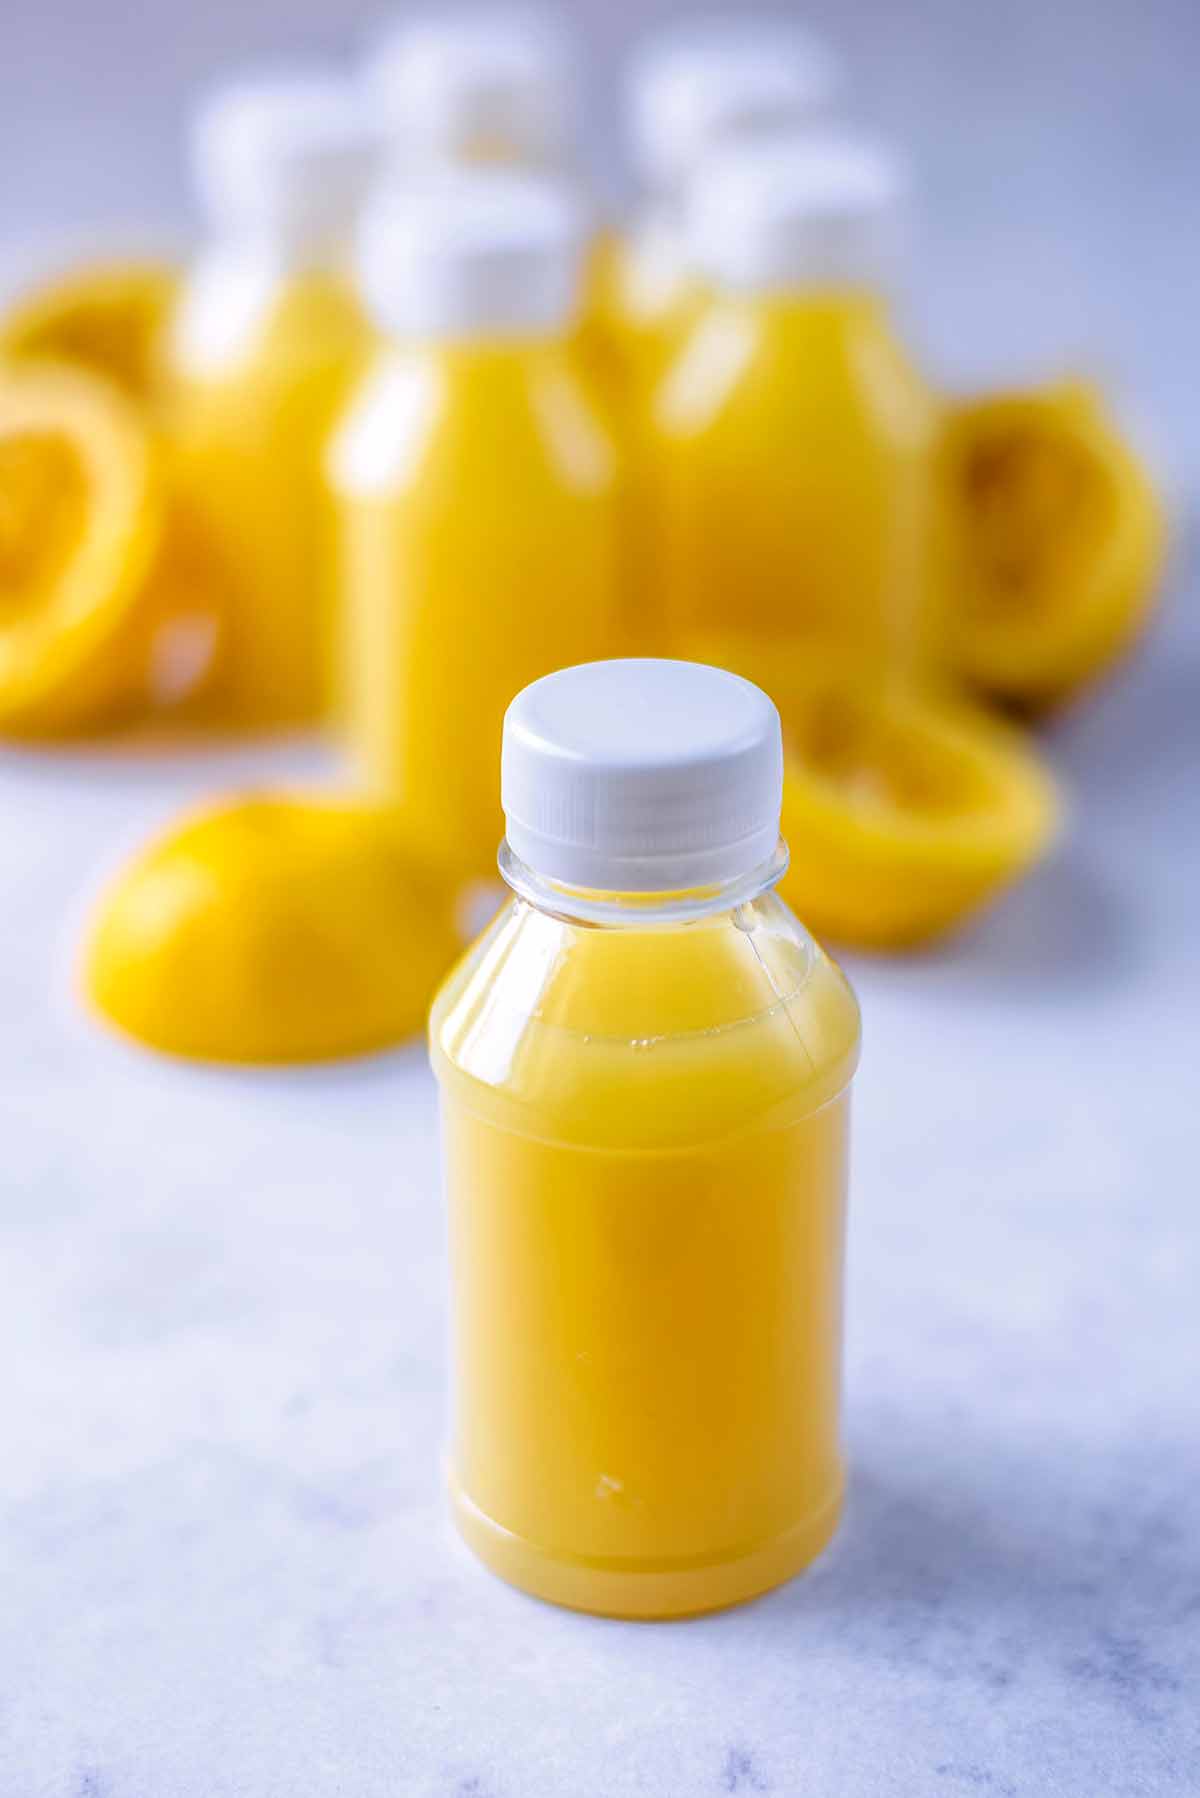
These Ginger Shots are made with just 4 ingredients and ready in just a couple of minutes. An immune booster shot made with ginger, lemon, honey and water, it's a really concentrated burst of ginger that has anti-inflammatory, immune-boosting, and antioxidant properties. Skip the expensive store bought versions and try making this ginger shot yourself.
Would you like to save this recipe?
We used to buy Moju Ginger Shots from the supermarket, but they are very expensive considering they are made with fairly budget friendly ingredients.
This copycat recipe is pretty spot on and really cheap to make - and they take just a couple of minutes to blend up yourself!
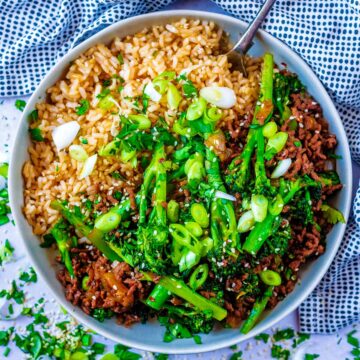
If you are looking for some other drink recipes to give you a pick me up, then why not try our soothing Honey and Lemon Drink, easy Immune Booster Juice or our delicious Green Smoothie?
Jump to:
Why You Will Love It
- Cheap - If you buy ginger in bulk, then these ginger shots are really cheap to make. It's worth spending a little more on good honey though.
- Adaptable - You can adapt the amount of ginger used, depending on how "hot" you like it. The more ginger the better we say.
- Stores well - This ginger shot recipe stores really well, so we make a big batch and keep them in the fridge to drink throughout the week.
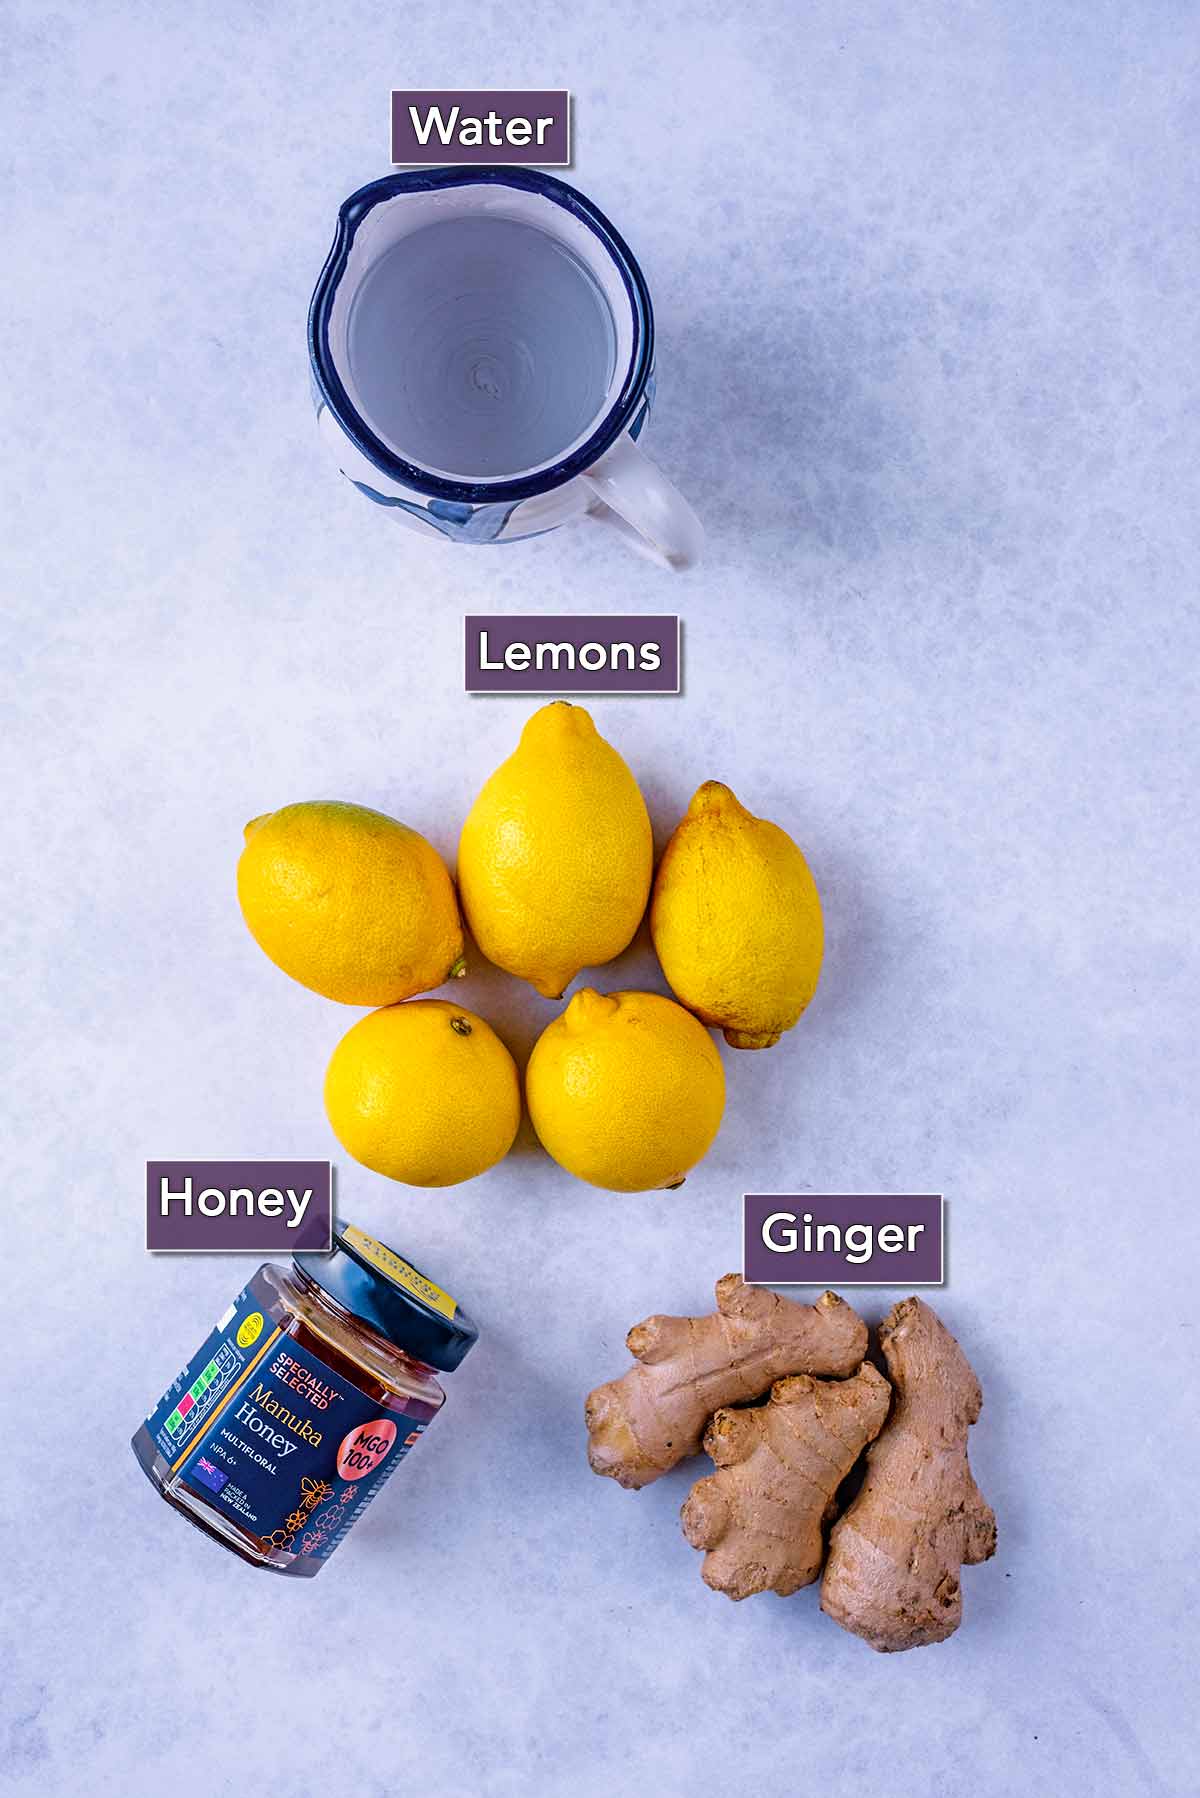
Ingredients and Substitutions
A full ingredients list, along with US Customary and Metric measurements, can be found in the recipe card at the end of this post.
- Water - We add this to the ginger shot to thin it out and make it go further. Pure ginger would be a bit to intense, even for us ginger lovers.
- Lemon - Lemon and ginger is such a delicious combination and the lemon takes a little bit of the heat off.
- Ginger - The star of the show. You always want to use fresh ginger and buy it in bulk to make this cheaper.
- Honey - This is optional, but we always add it. We use Manuka honey which is the best honey you can get (go for a high MGO honey). You can use regular honey though if you prefer.
Variations
There are only 4 ingredients in these ginger shots, however there are a couple of ways that you can adapt it. We used lemon juice to make lemon ginger juice, but you can use lime or orange instead, or even pineapple juice.
Along with the ginger, you can add some fresh turmeric which is also a potent anti-inflammatory and antioxidant.
If you want this ginger shot really "hot" then you can add some black pepper or a pinch of cayenne pepper to it.
Instead of honey, you could sweeten it with maple syrup or agave.
We used tap water, but you could use coconut water which would give it a nice added flavour and some natural sweetness too.
How to Make Ginger Shots
- Step 1: Pour the lemon juice into a blender jug.
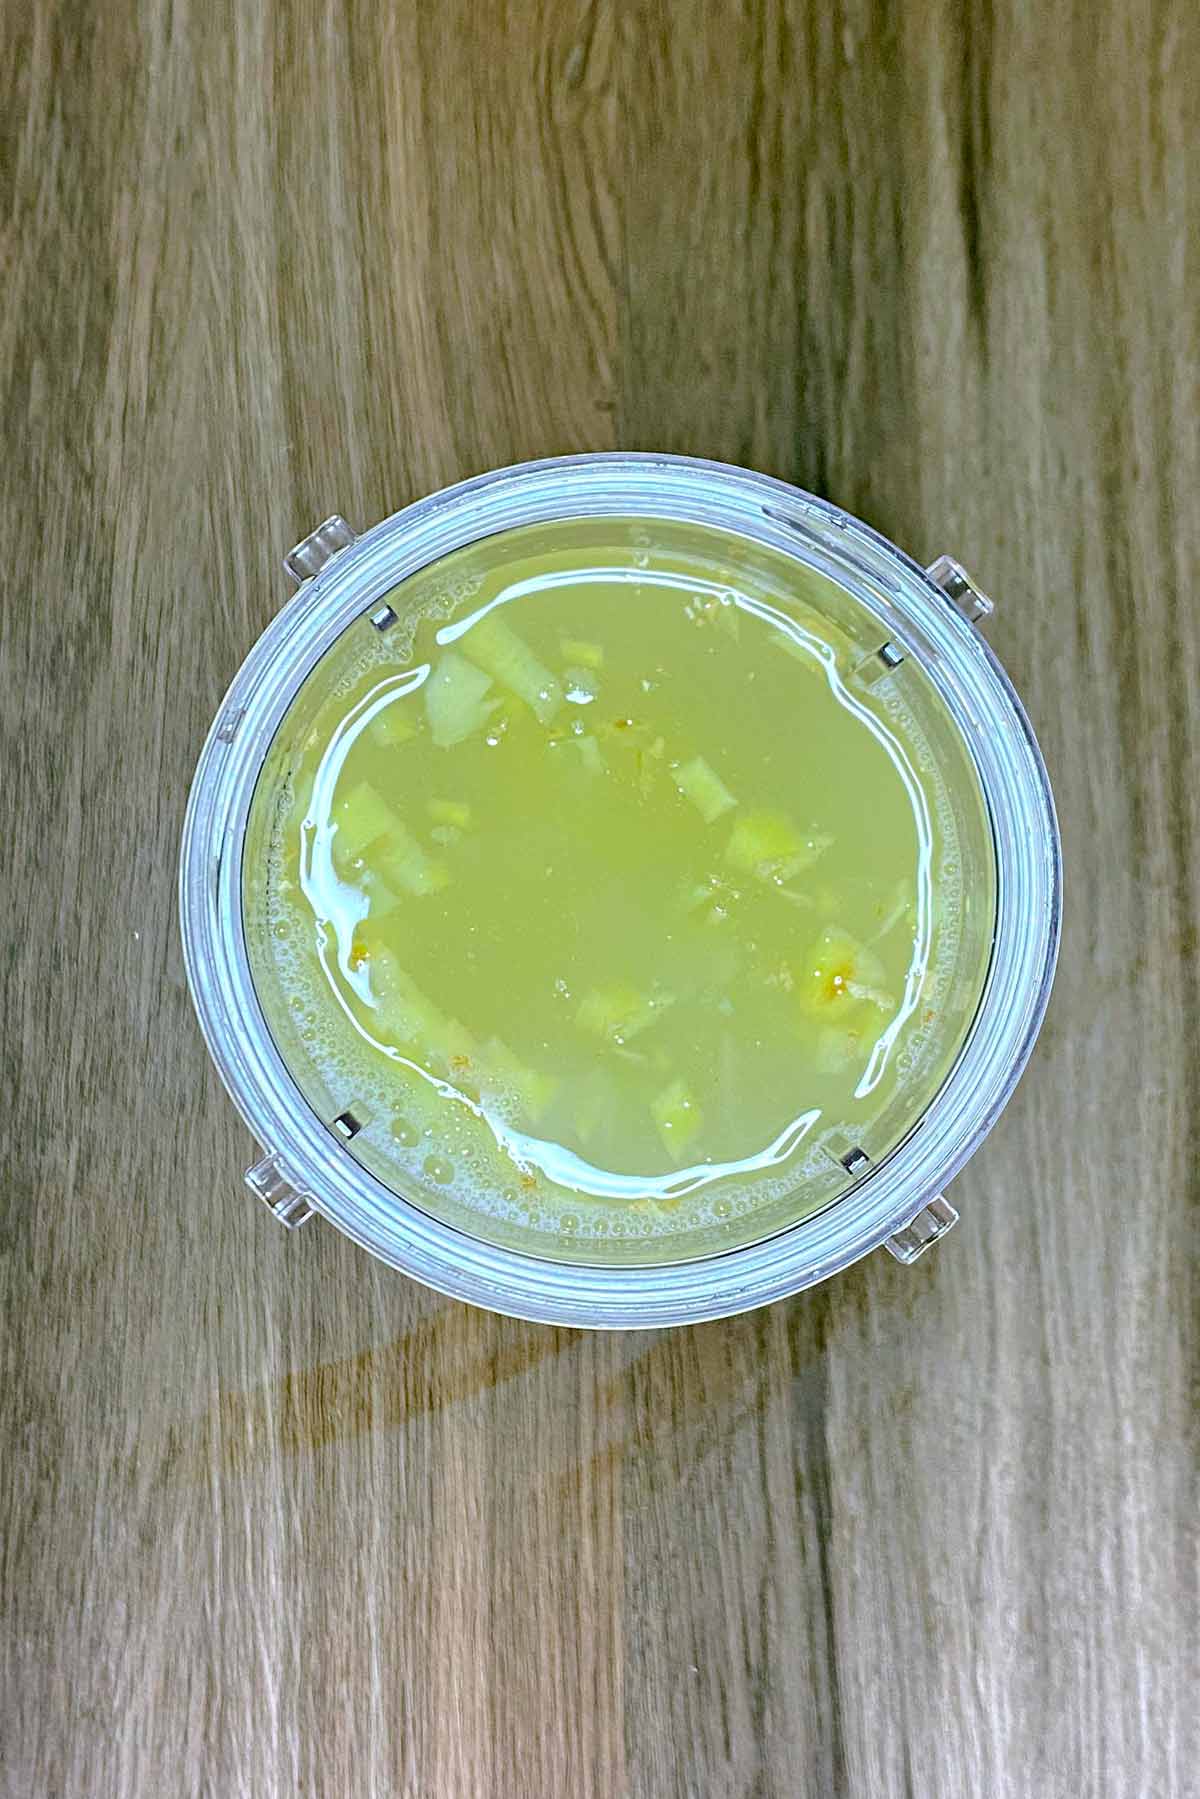
- Step 2: Add the water, honey and ginger.
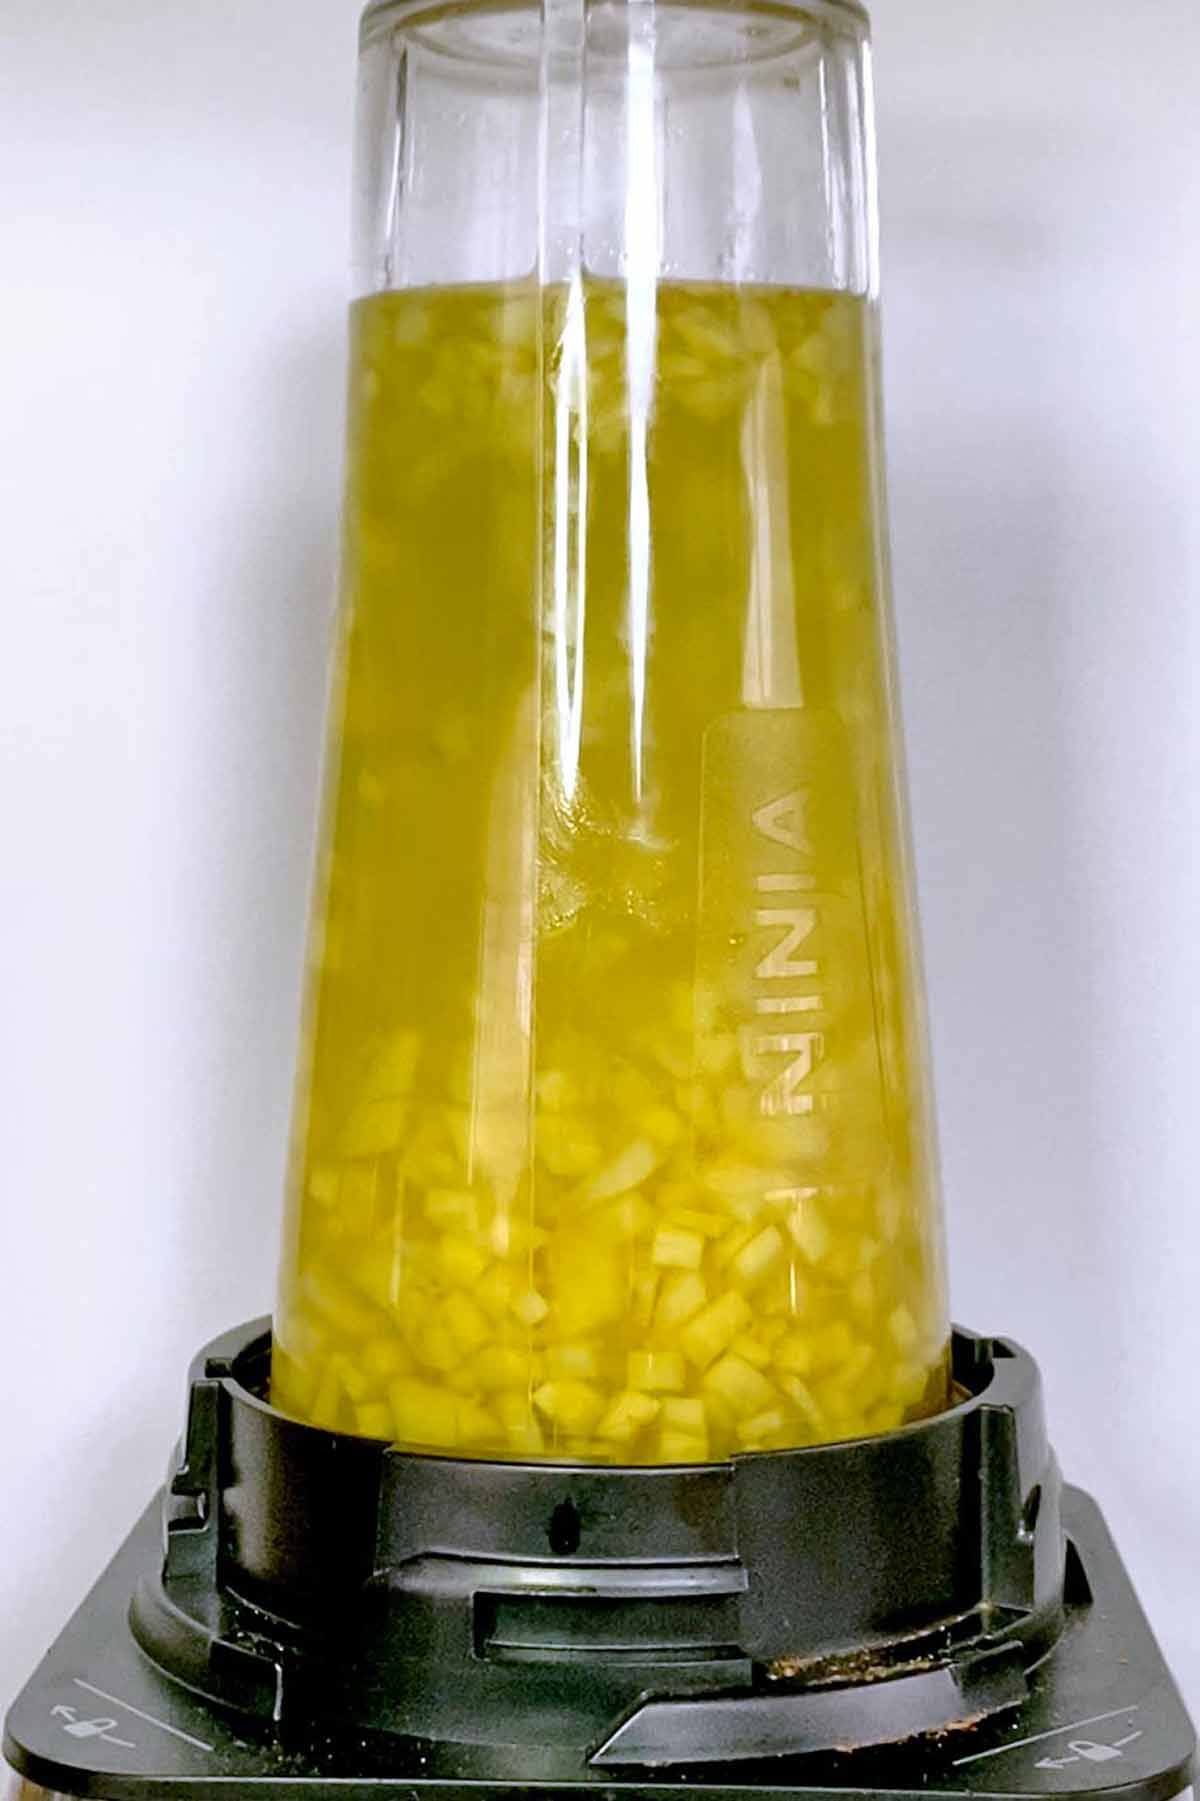
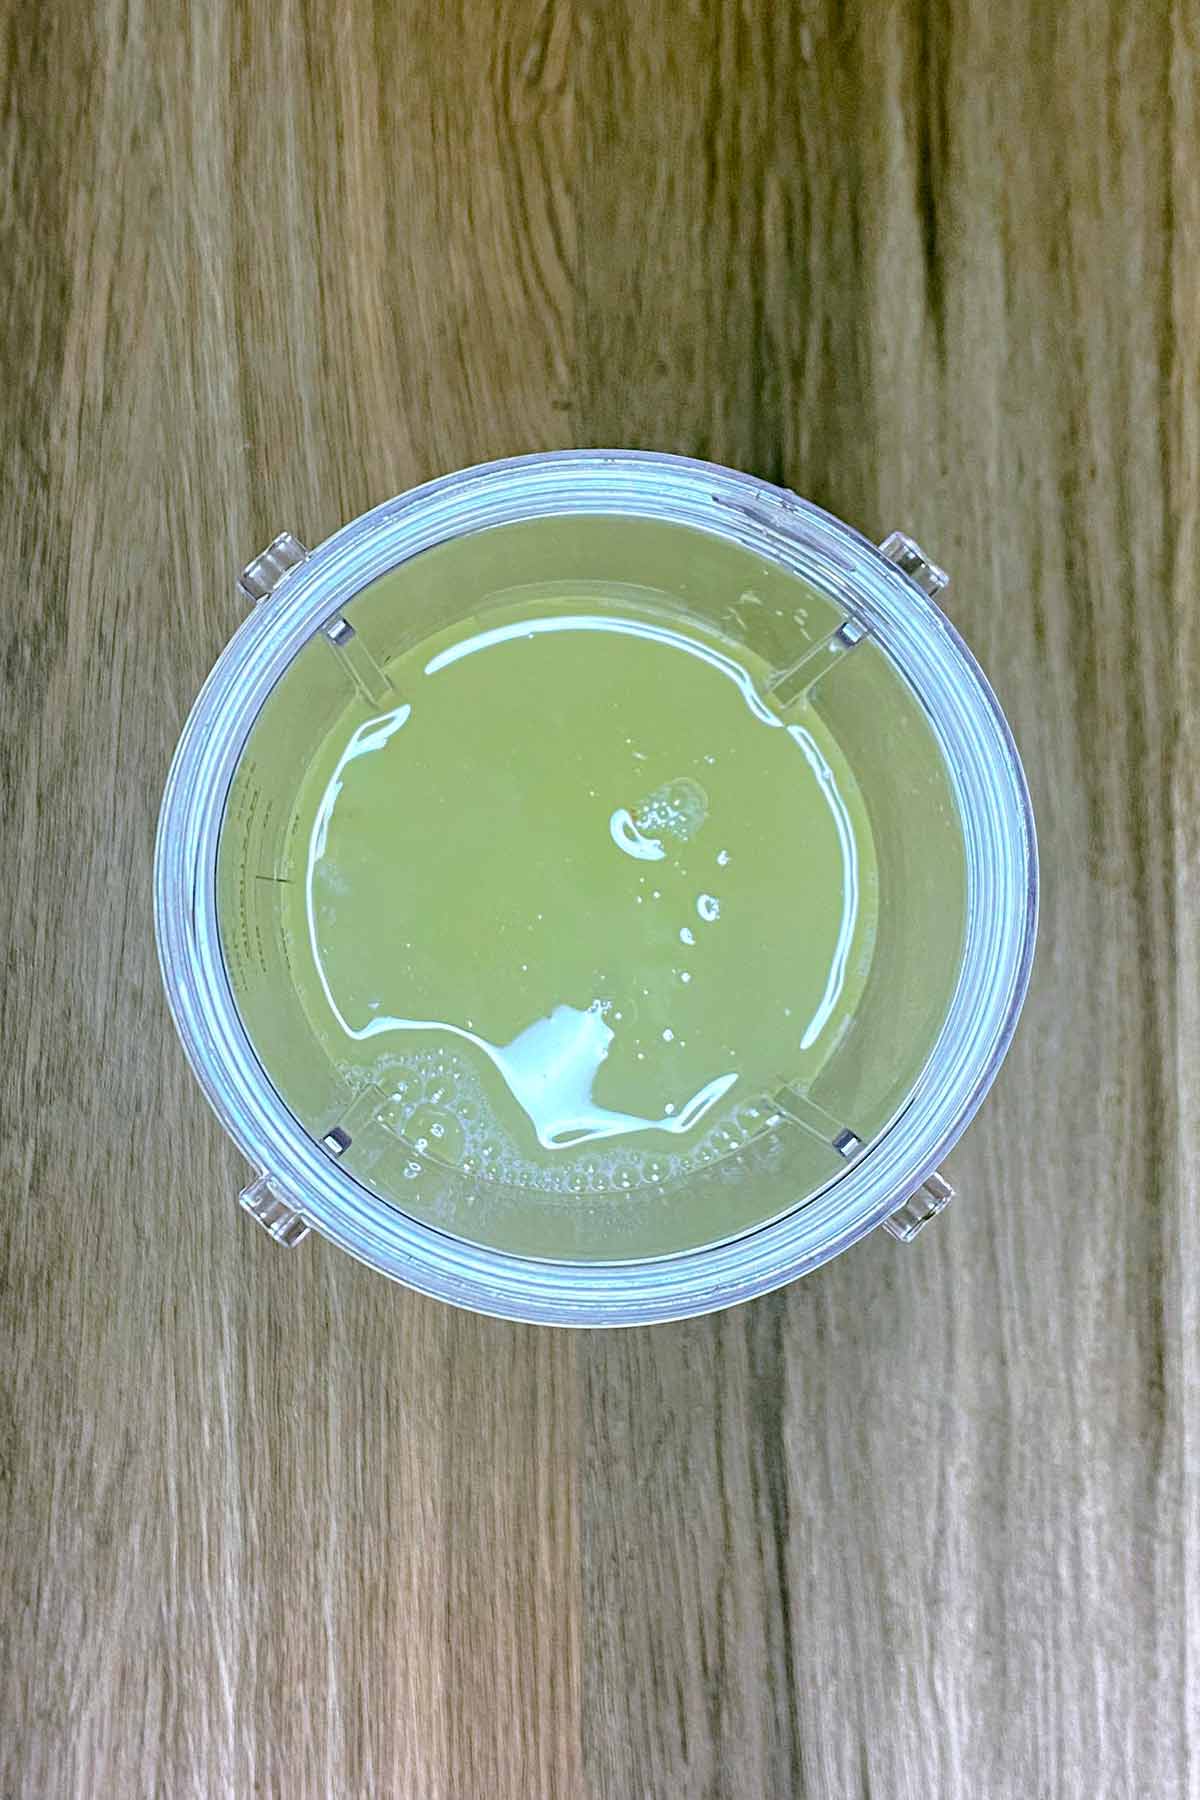
- Step 3: Use a high-powered blender to blend until the ginger is as fine as possible.
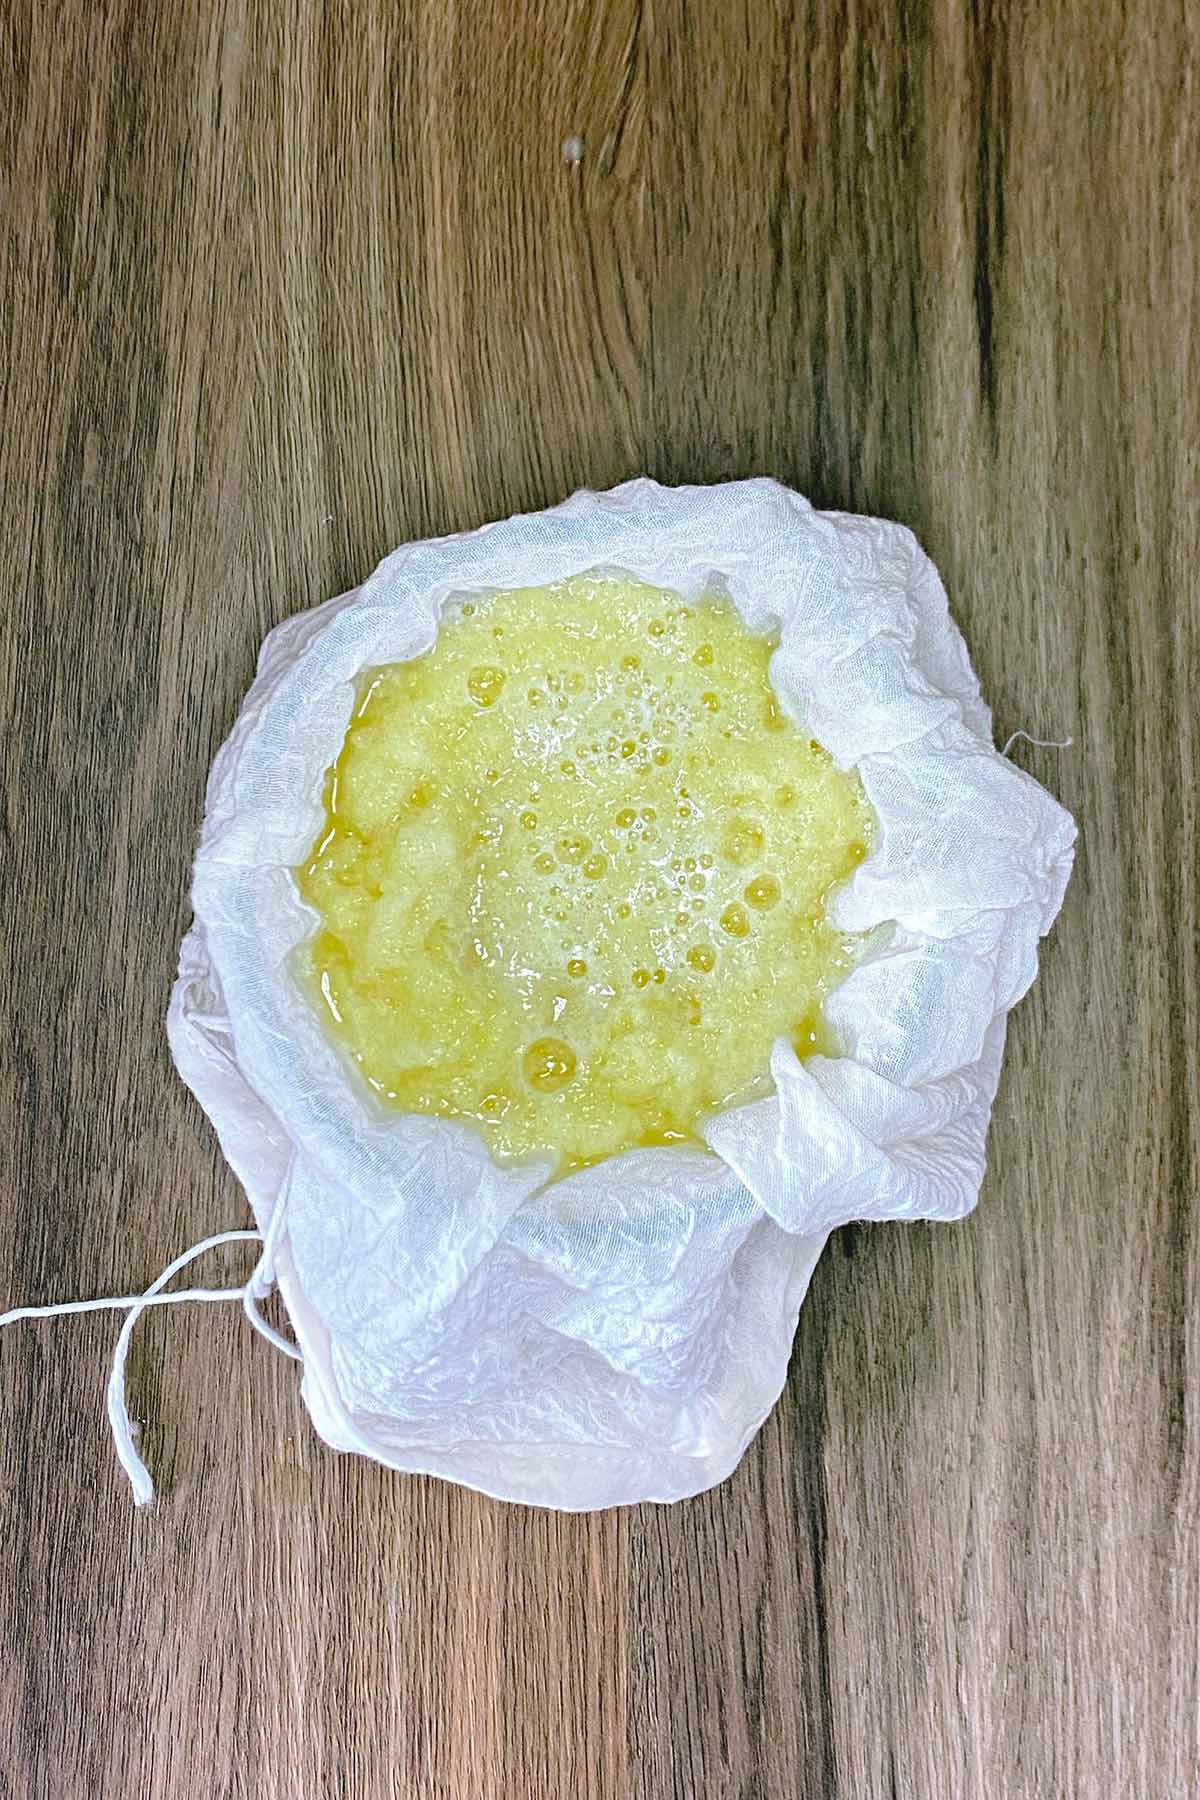
- Step 4: Place a nut milk bag, cheese cloth, or muslin over a jug, and empty the ginger mixture into it.
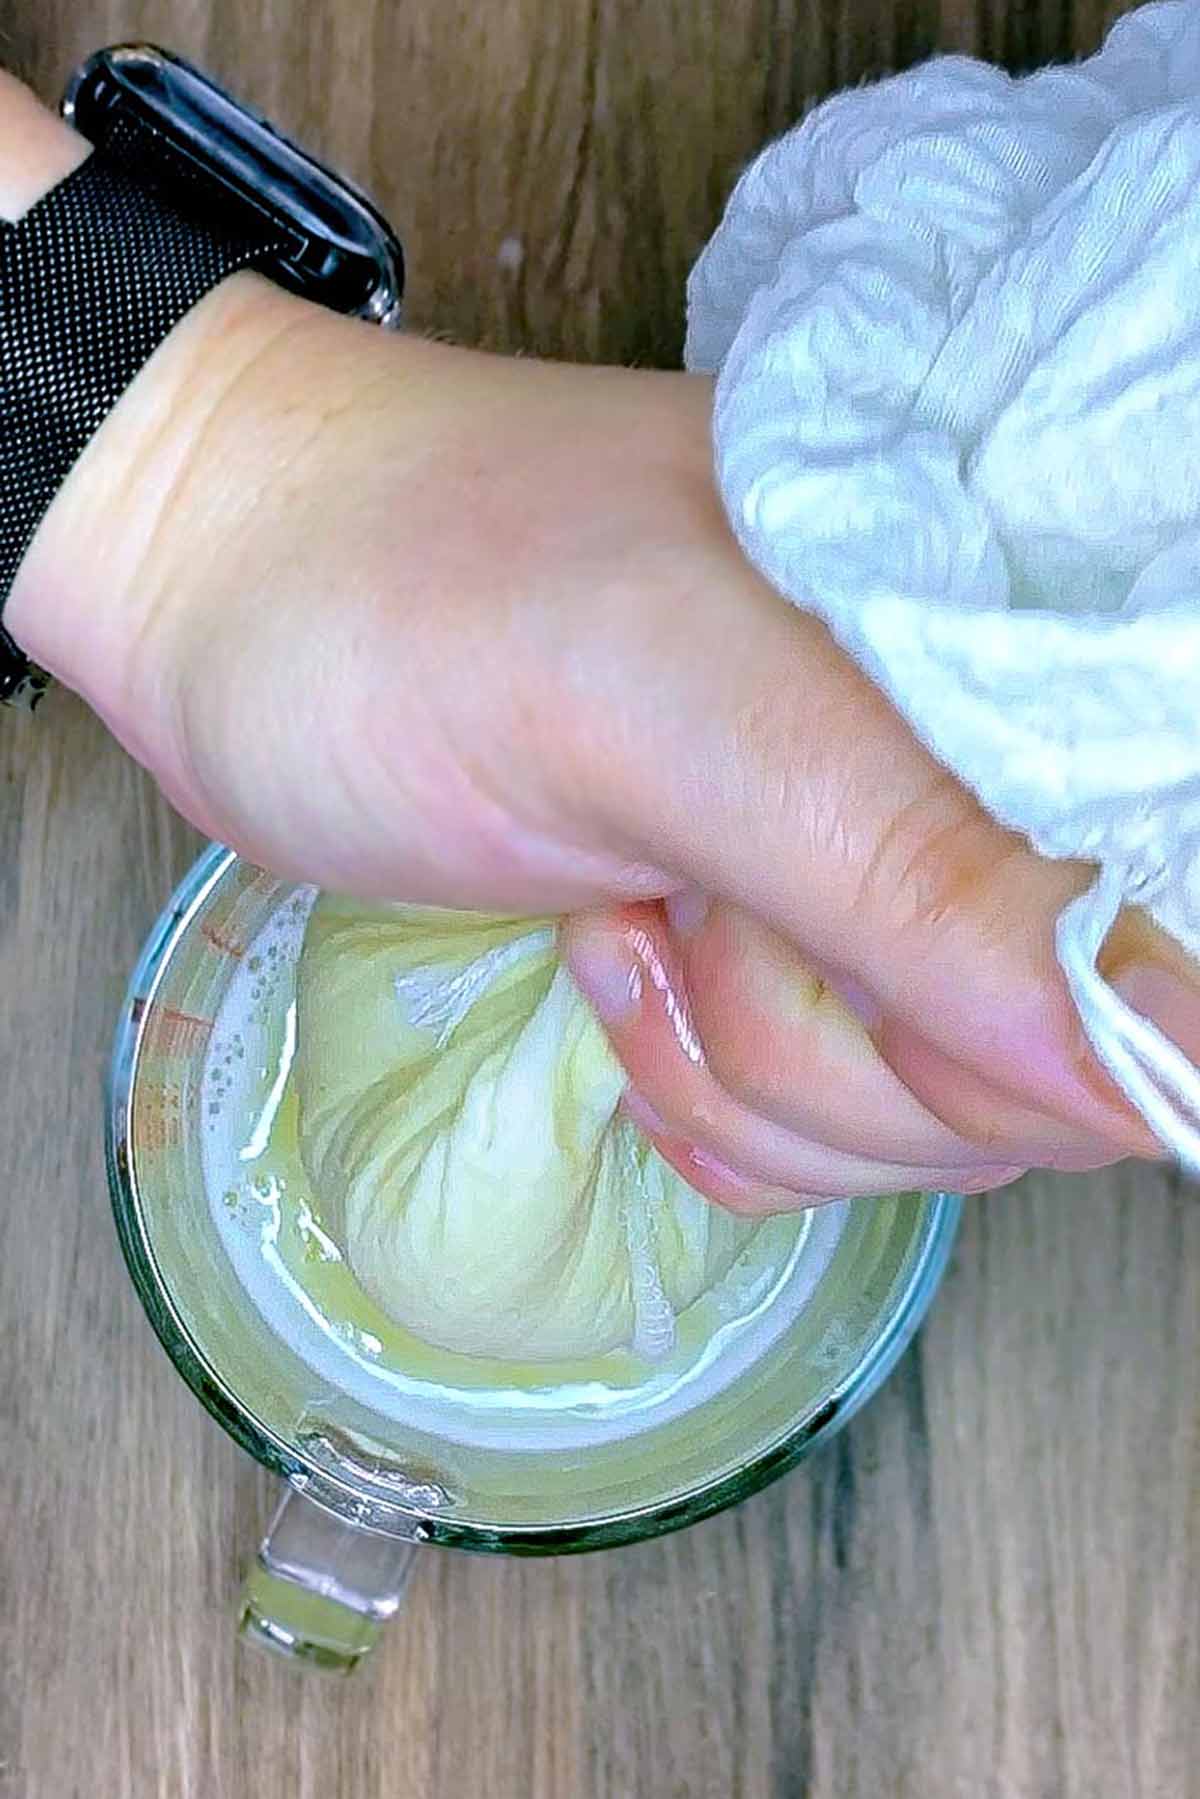
- Step 5: Squeeze the bag to extract as much liquid as possible.
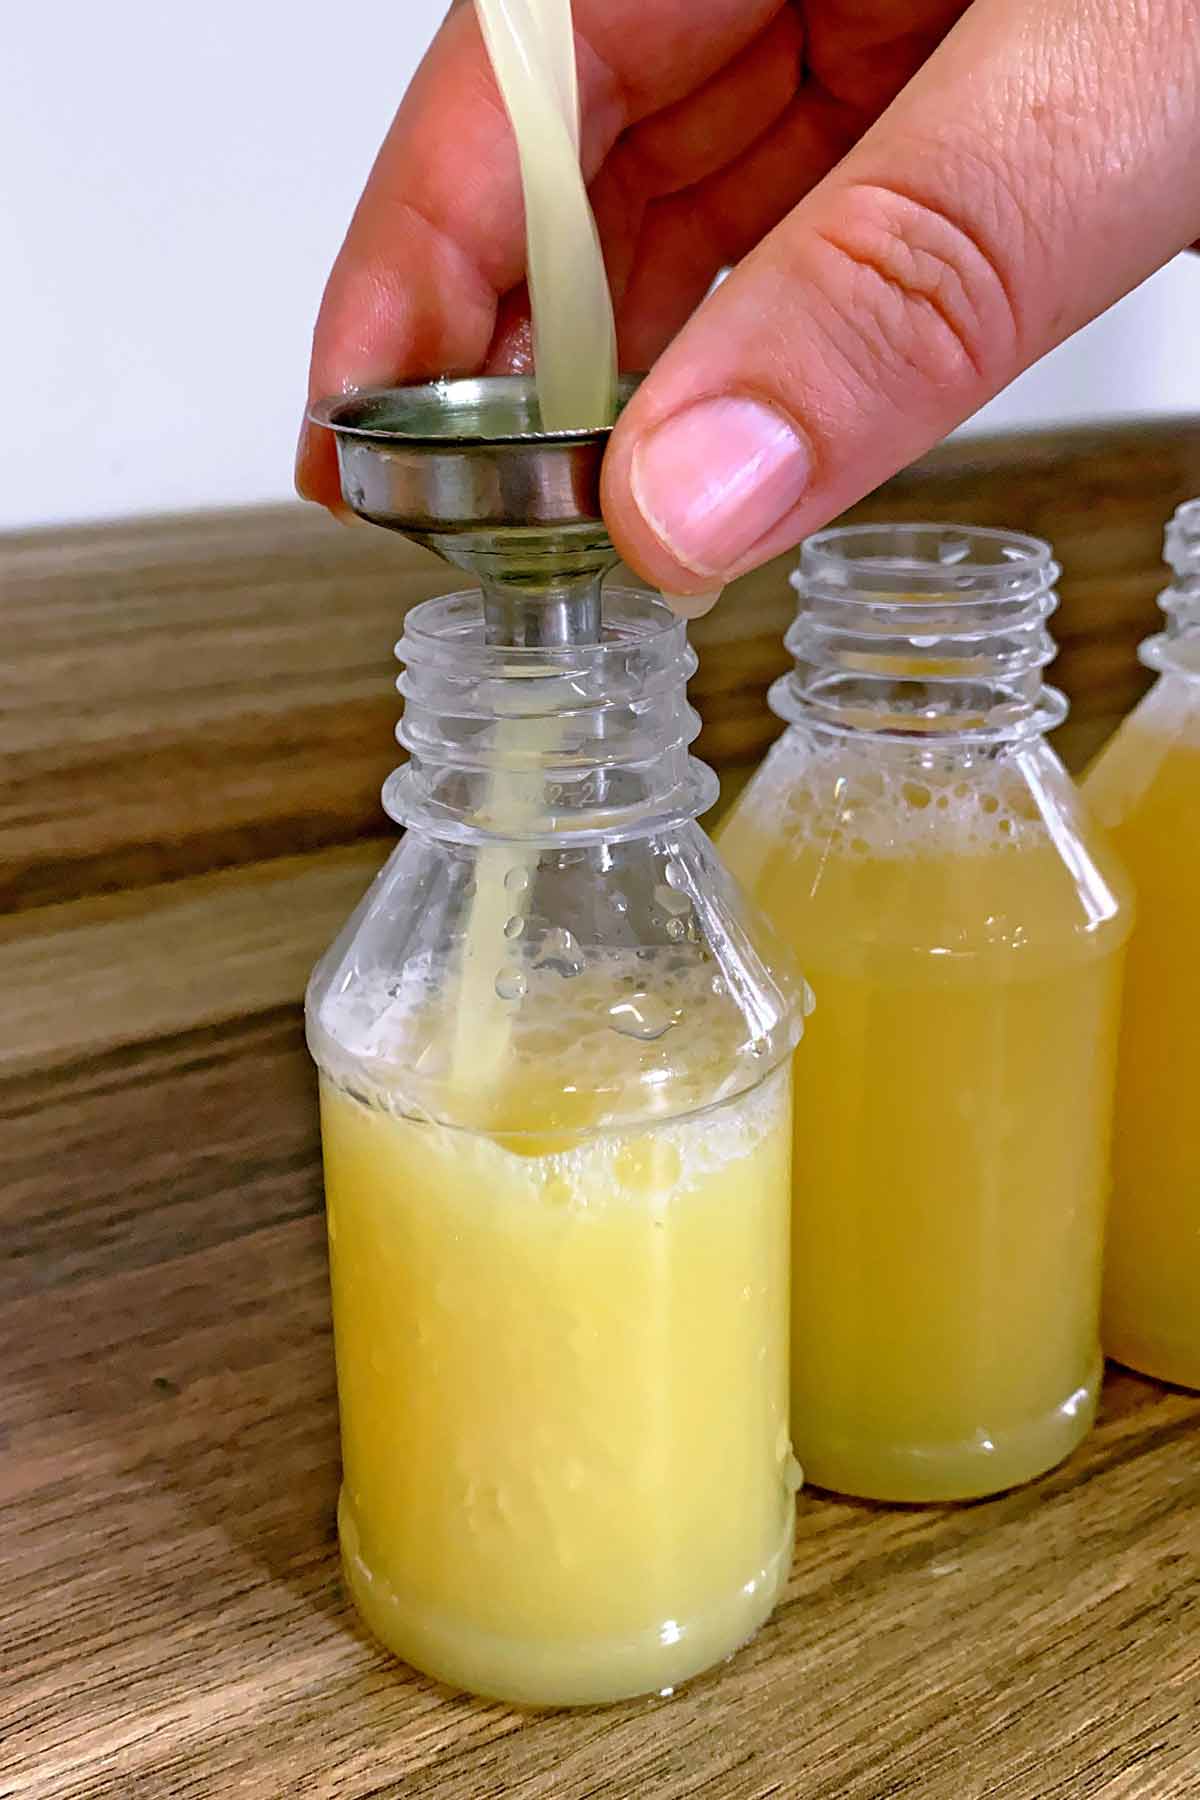
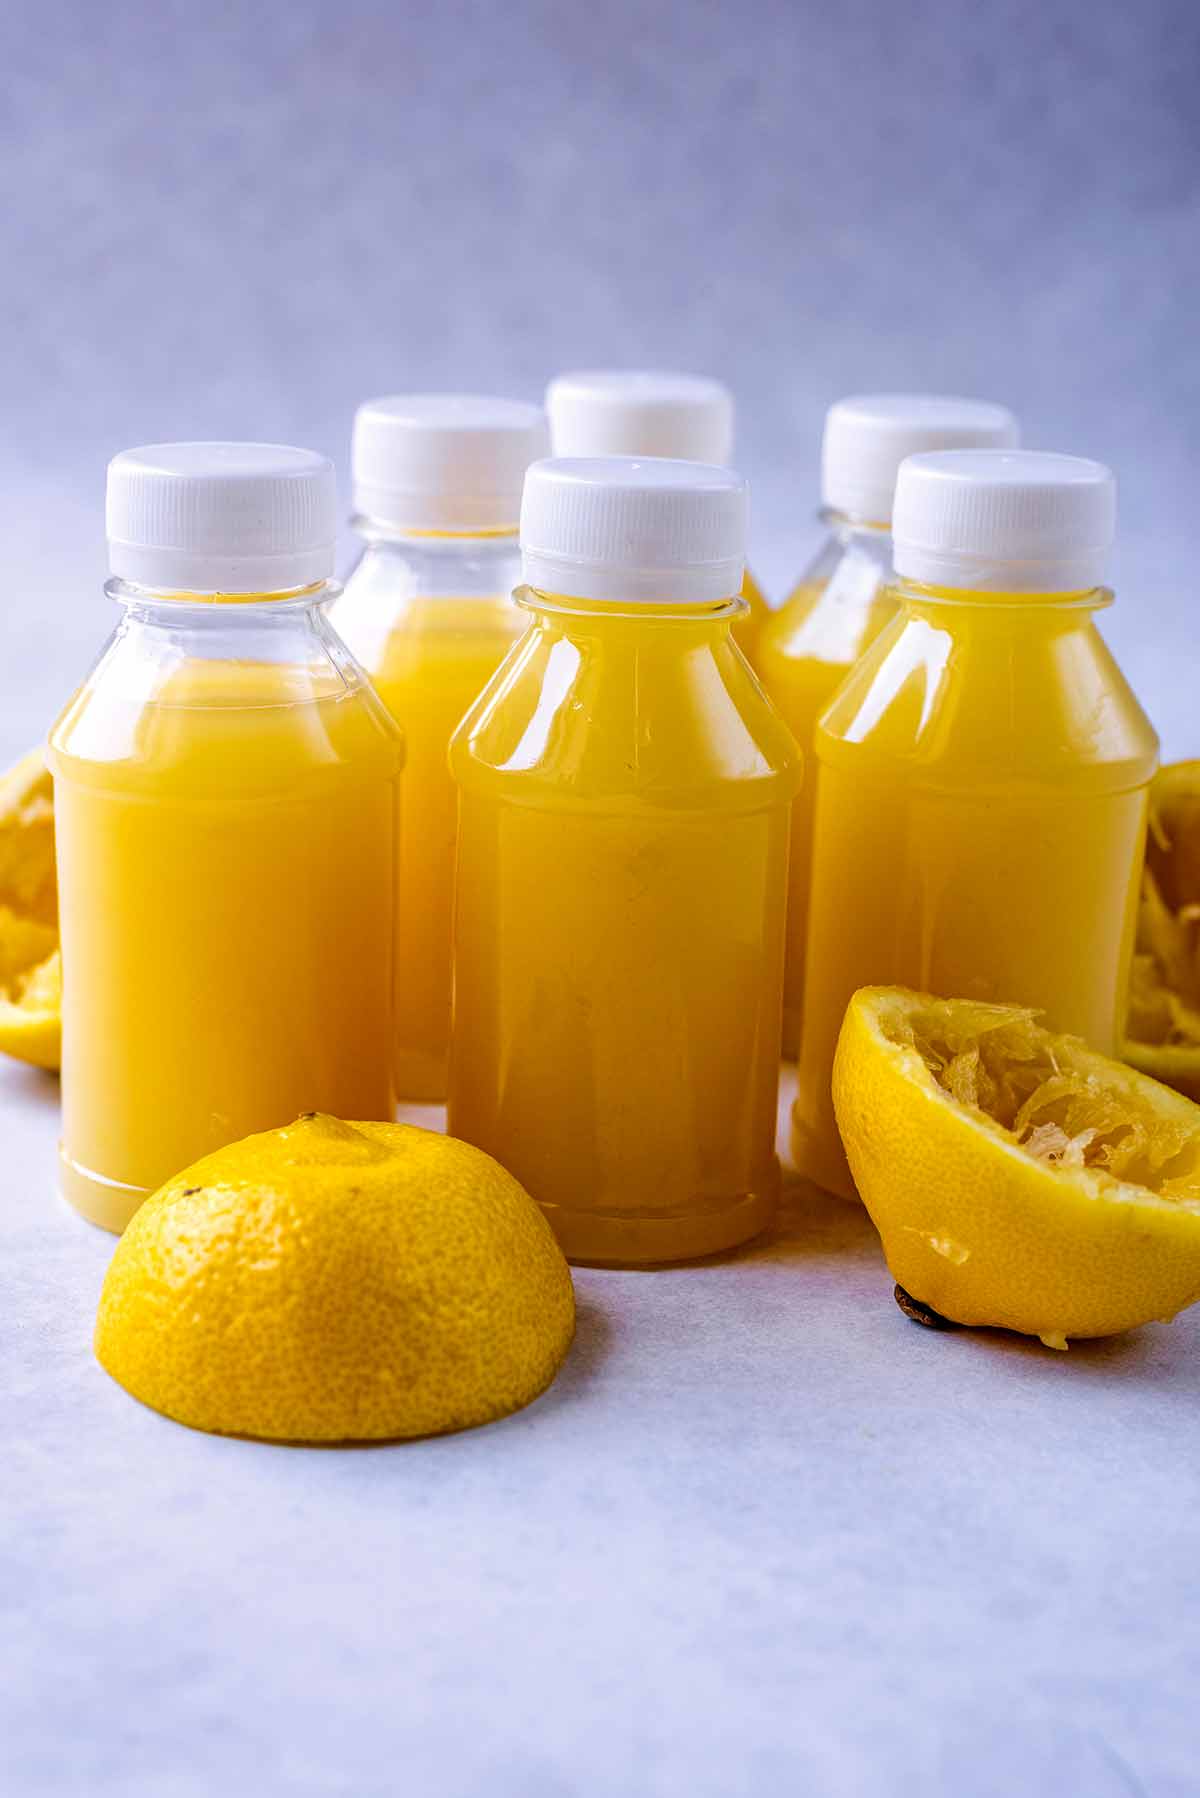
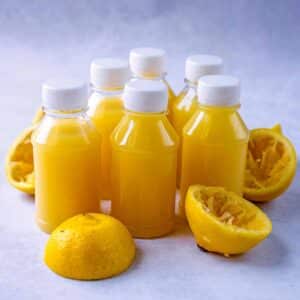
- Step 6: Use a funnel to pour the juice into individual shot bottles.
Storage
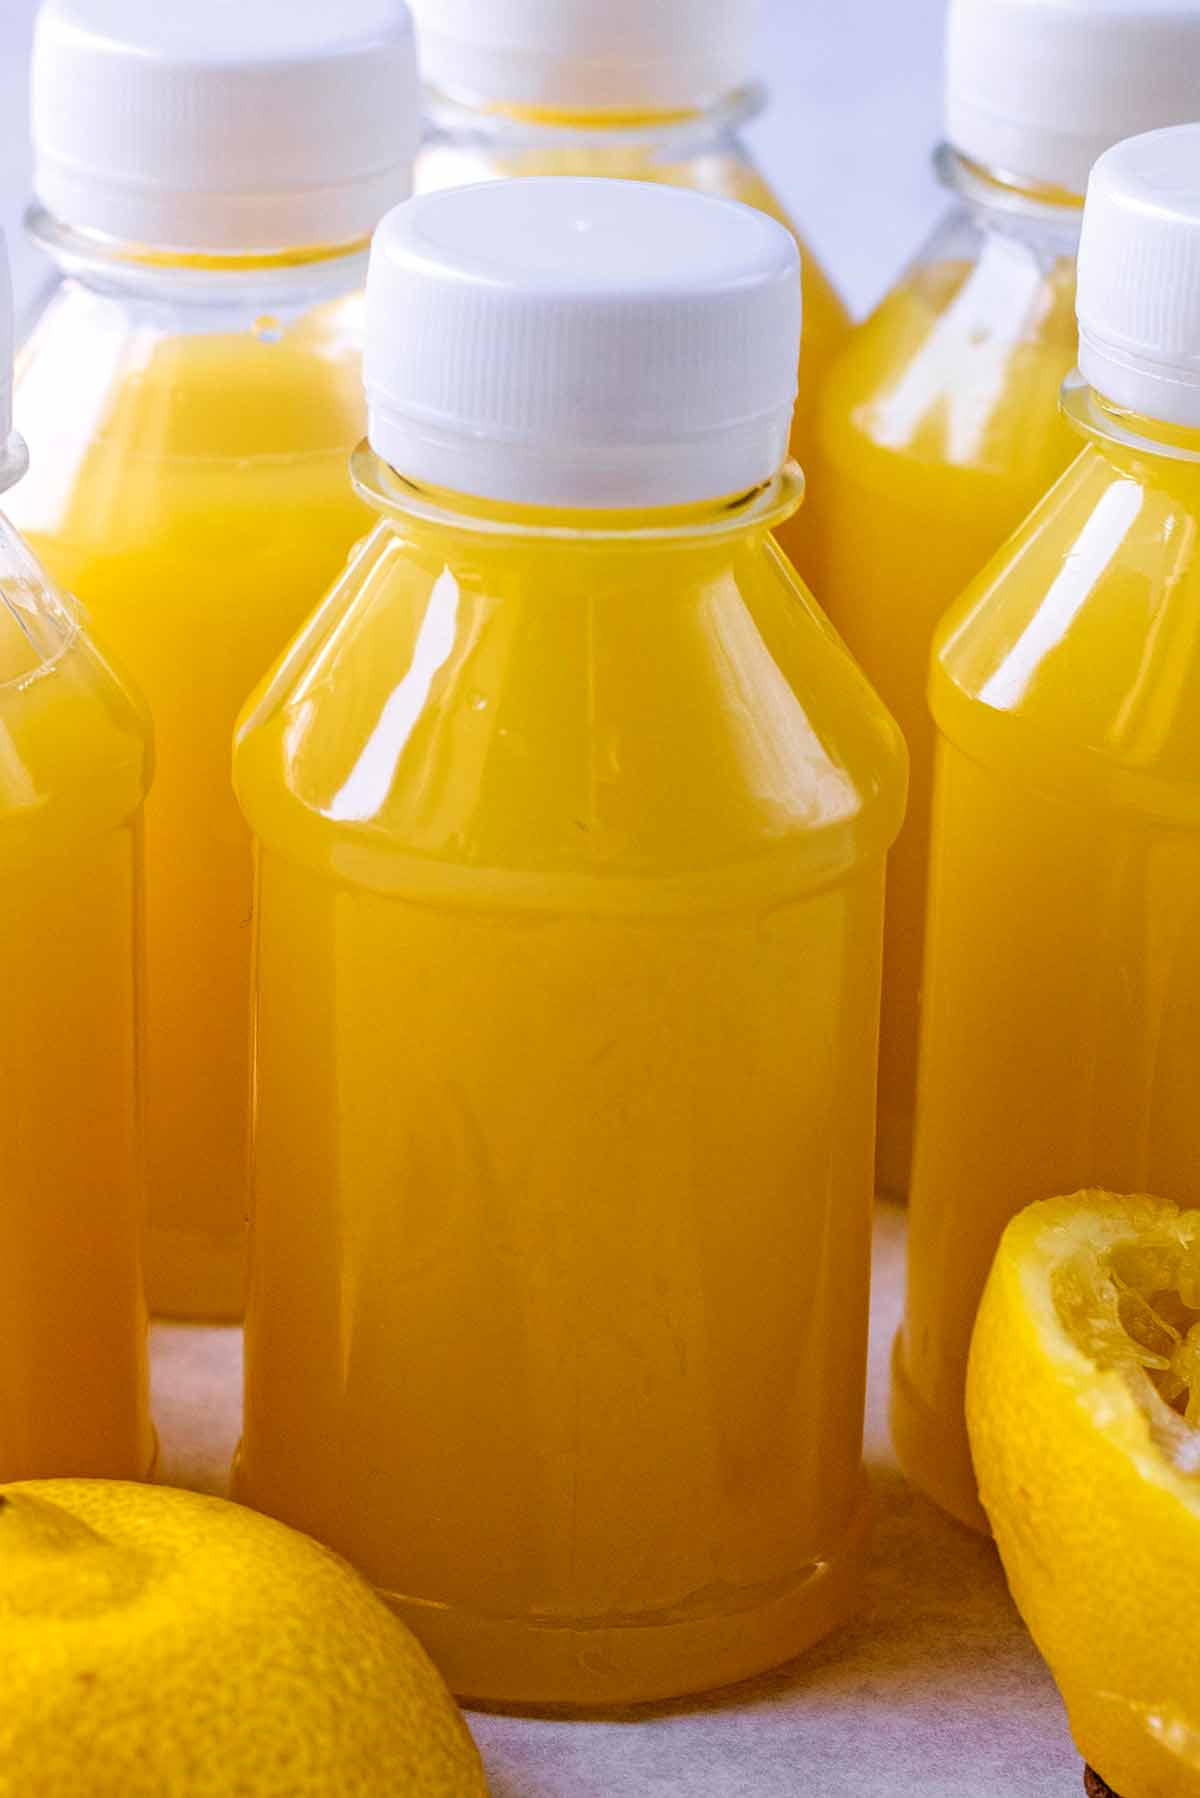
If you store these in sealed bottles then they will keep in the fridge for up to a week. We make about 14 bottles at a time and then we have one each a day.
These are the Little Juice Bottles that we used - they seal tight and are perfect for storage. They are also good for taking things camping as well.
You can also freeze these as well. Then we like to add a little hot water to them to defrost and enjoy as a warm drink. You can also freeze it in ice cube trays.
Dannii's Top Tips
- Warning - ginger gives a burning sensation when you drink it. These ginger shots are intense and give. a powerful kick, but in a good way.
- Did you know that you can peel ginger with a teaspoon? We peeled the ginger first, but you don't have to as it all gets strained before serving anyway.
- You can use ground ginger if you don't have fresh, but fresh is always best. If you don't have a high powered blender, then use ground instead of fresh. If using ground, use 2 teaspoons instead.
- It's best to take your ginger shot first thing in the morning, about 30 minutes before eating.
Frequently Asked Questions
If you have too much ginger, it can cause heartburn. So don't drink more than one of these shots a day. We tend to only drink these at 2-3 weeks at a time, rather than all through the year.
If you don't have a cheese cloth/nut milk bag, then a muslin or tea towel will work. You could use use a fine mesh sieve.
After you have squeezed all the juice out of the nut bag, then you are left with some pulp. Don't waste it, as there is lots of goodness in it. You can blend it into smoothies so nothing goes to waste.
Yes, you can, but it will take longer. You can grate the ginger and put everything in the nut milk bag and strain.
More Ginger Recipes

If you've tried this ginger shot recipe, then let us know how you got on in the comments below.
Tag us in your creations on Instagram @hungryhealthyhappy - You can use the hashtag #hungryhealthyhappy too.
Recipe
Ginger Shot
Ingredients
- 100 g (3.5 oz) of Fresh ginger - peeled and finely chopped
- 5 Lemons - juice only
- 250 ml (1 cups) of Water
- 2 tablespoon of Honey
Instructions
- Pour the juice of 5 Lemons into a blender jug.
- Add 250 ml of Water, 2 tbsp of Honey and 100 g of Fresh ginger.
- Blend until the ginger is as fine as possible.
- Place a nut milk bag (or muslin) over a jug, and empty the ginger mixture into it.
- Squeeze the bag to extract as much juice as possible.
- Use a funnel to pour the juice into individual shot bottles.
Recipe Tips
- Warning - ginger gives a burning sensation when you drink it. These ginger shots are intense, but in a good way.
- Did you know that you can peel ginger with a teaspoon? We peeled the ginger first, but you don't have to as it all gets strained before serving anyway.
- You can use ground ginger if you don't have fresh, but fresh is always best. If you don't have a high powered blender, then use ground instead of fresh. If using ground, use 2 teaspoons instead.
- It's best to take your ginger shot first thing in the morning, about 30 minutes before eating.
Nutritional Information
Would you like to save this recipe?
The nutritional information provided is approximate and is calculated using online tools. Information can vary depending on various factors, but we have endeavoured to be as accurate as possible.
As all appliances vary, cooking times are a guide. Please note that by changing the serving size, the cooking time may also need to be altered.

Michelle says
Love these! I bought the ingredients yesterday and my husband whipped them up last night. So fresh and less expensive than store- bought. ☺️
Christina says
Made these since beginning of December as didn't want to catch any colds over Christmas, they are amazing and we now make them on a regular basis, thank you!
Vicki Hudson says
I love this mix powerful flavours with a kick
Laura says
These are life changing I highly recommend. My husband is now used to them and tells friends and family lol!
Chris Key says
Awesome! Easy to make and a proper pick me in the morning! Thanks Dannii.