


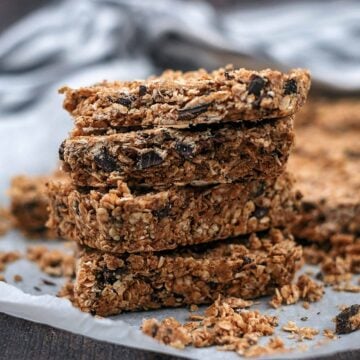
These Chocolate Peanut Butter Oat Bars are one of my go-to snacks when I know we have a busy week ahead. You only need 4 ingredients and about 10 minutes' prep, there is no baking involved, and a batch keeps really well in the fridge or freezer. They're particularly handy for after-school snacks and busy sports days.
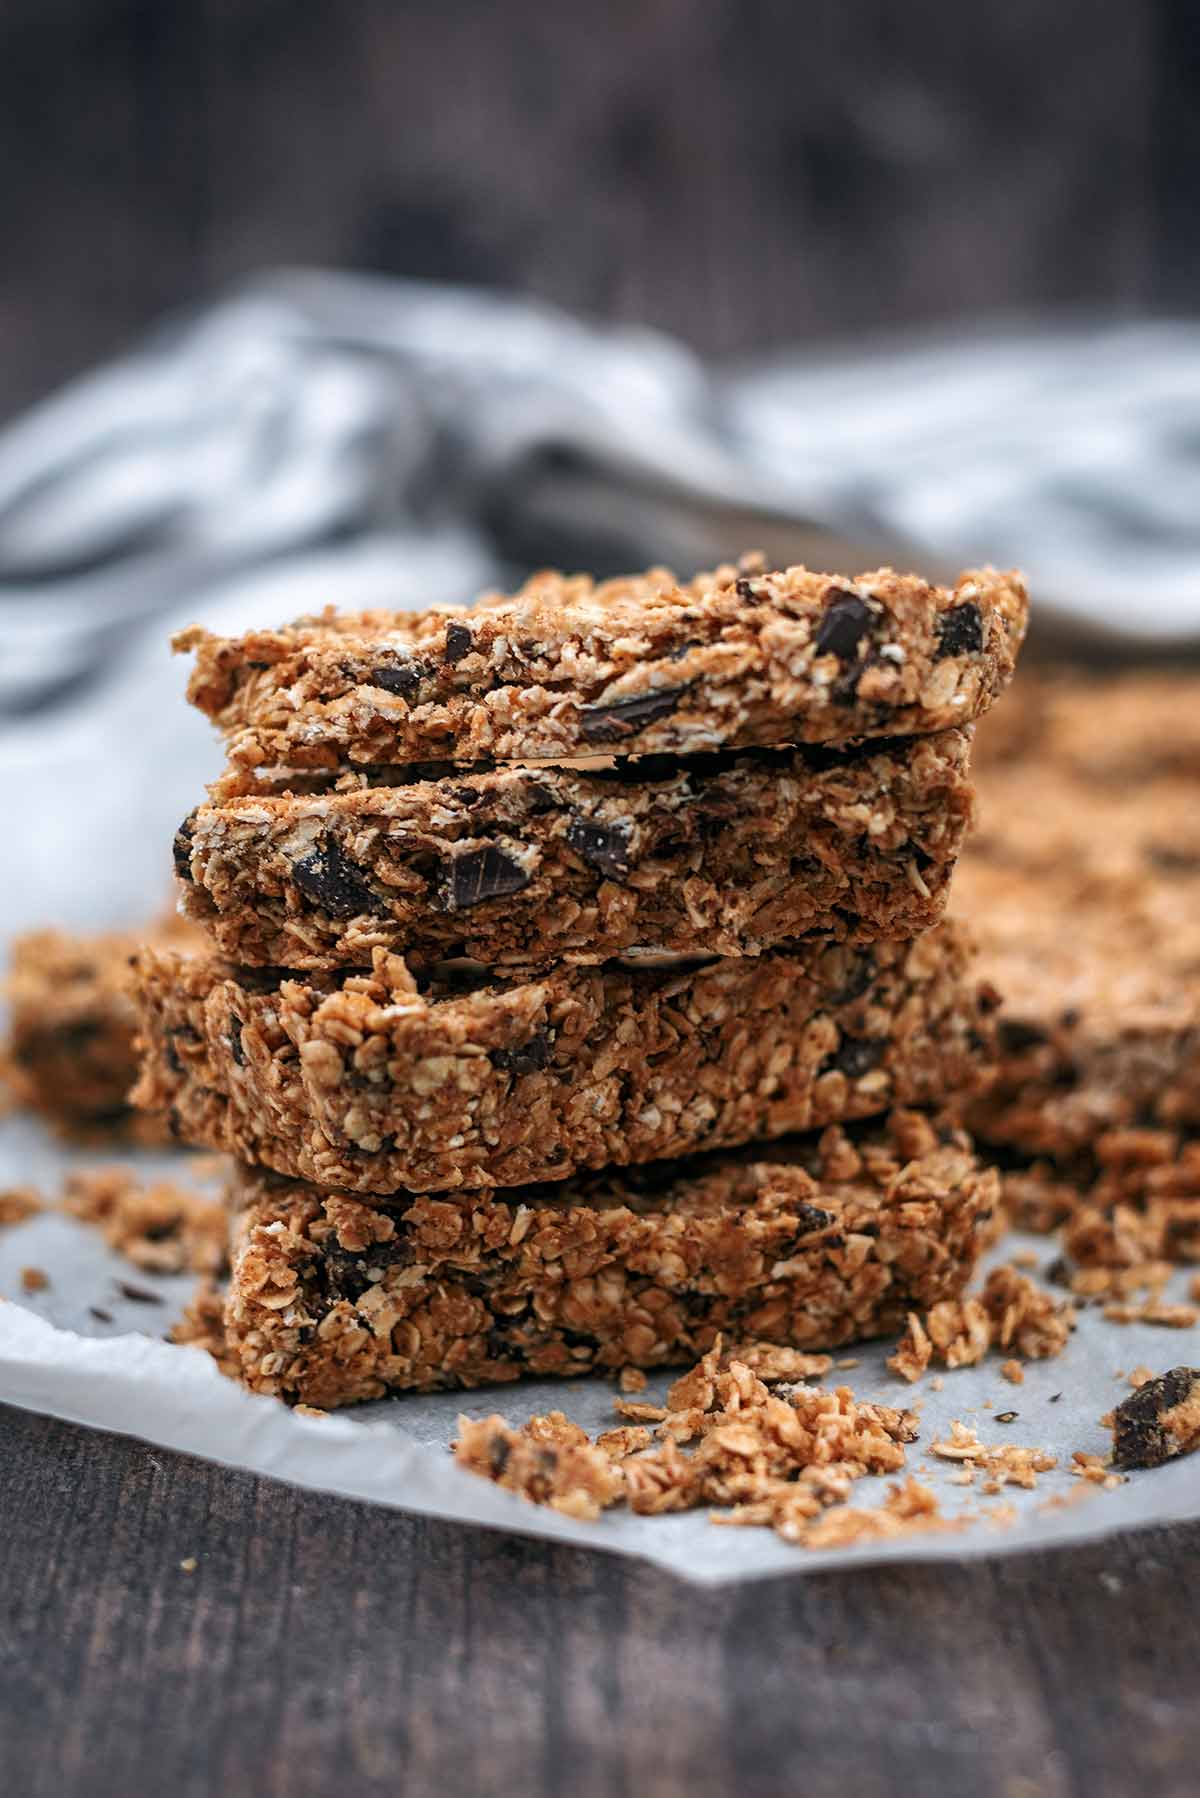
Made with chewy oats, smooth peanut butter, maple syrup and chunks of dark chocolate, these are filling oat-based snack bars with chocolate in every bite. There's no separate topping to make, which means one less step and less washing up.
I make these no bake chocolate peanut butter oat bars for after-school snacks, or on football or swimming days. I give these earlier in the afternoon when there's a decent gap before training rather than handing one over on the way through the door.
They're filling enough to feel substantial, but I can cut them into smaller squares for the kids when they don't need a full bar. I have included a nut free variation for schools that restrict nuts too.
And because everything is simply mixed, pressed and chilled, they're a great recipe to get the kids helping with too.
Recipe update: Recipe update: This recipe was originally published on 7 July 2017 and was fully retested in August 2026. I slightly adjusted the oat-to-peanut-butter ratio for a more reliable texture and added exact tin dimensions, expanded instructions, storage advice and troubleshooting tips.
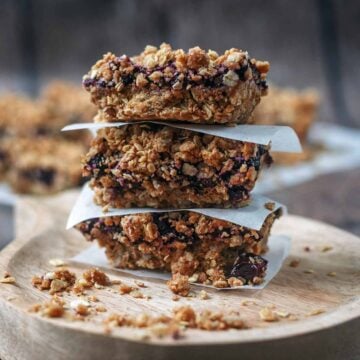
For more oat bar recipes, take a look at our warming Carrot Cake Oat Bars or our jammy Blueberry Oat Bars.
Would you like to save this post?
Jump to:
- Recipe at a Glance
- Why You Will Love Them
- Ingredients and Substitutions
- What Makes These Chocolate Peanut Butter Oat Bars Different?
- How To Make No Bake Chocolate Peanut Butter Oat Bars
- Troubleshooting: How to Stop Peanut Butter Oat Bars Falling Apart
- Variations
- Are Chocolate Peanut Butter Oat Bars Healthy?
- Nut-Free Variation for Schools That Restrict Nuts
- Storage
- Dannii's Top Tips
- Frequently Asked Questions
- More Oat Bar Snacks
- Recipe
- Feedback
Recipe at a Glance
- Makes: 12 bars or 24 smaller squares
- Prep: 10 minutes
- Chilling time: 2 hours
- Tin: 25 x 20cm (10 x 8 inch)
- Method: No bake - mix, press and chill
- Storage: 7 days in the fridge; up to 3 months in the freezer
Why You Will Love Them
- Only 4 ingredients - Oats, peanut butter, maple syrup and dark chocolate. Nothing complicated and no long shopping list.
- No baking - These are proper no bake peanut butter oat bars. Mix, press and chill.
- 10 minutes prep - The fridge does most of the work.
- No food processor needed - We use the oats as they are, so there is no need to turn them into oat flour first.
- Great for batch cooking - Make them at the weekend and keep them in the fridge for the week ahead.
- Freezer friendly - Freeze individual bars and take out just what you need.
- Easy to adapt - Change the chocolate, add dried fruit or seeds, or use a suitable seed butter for a nut-free variation.
Ingredients and Substitutions
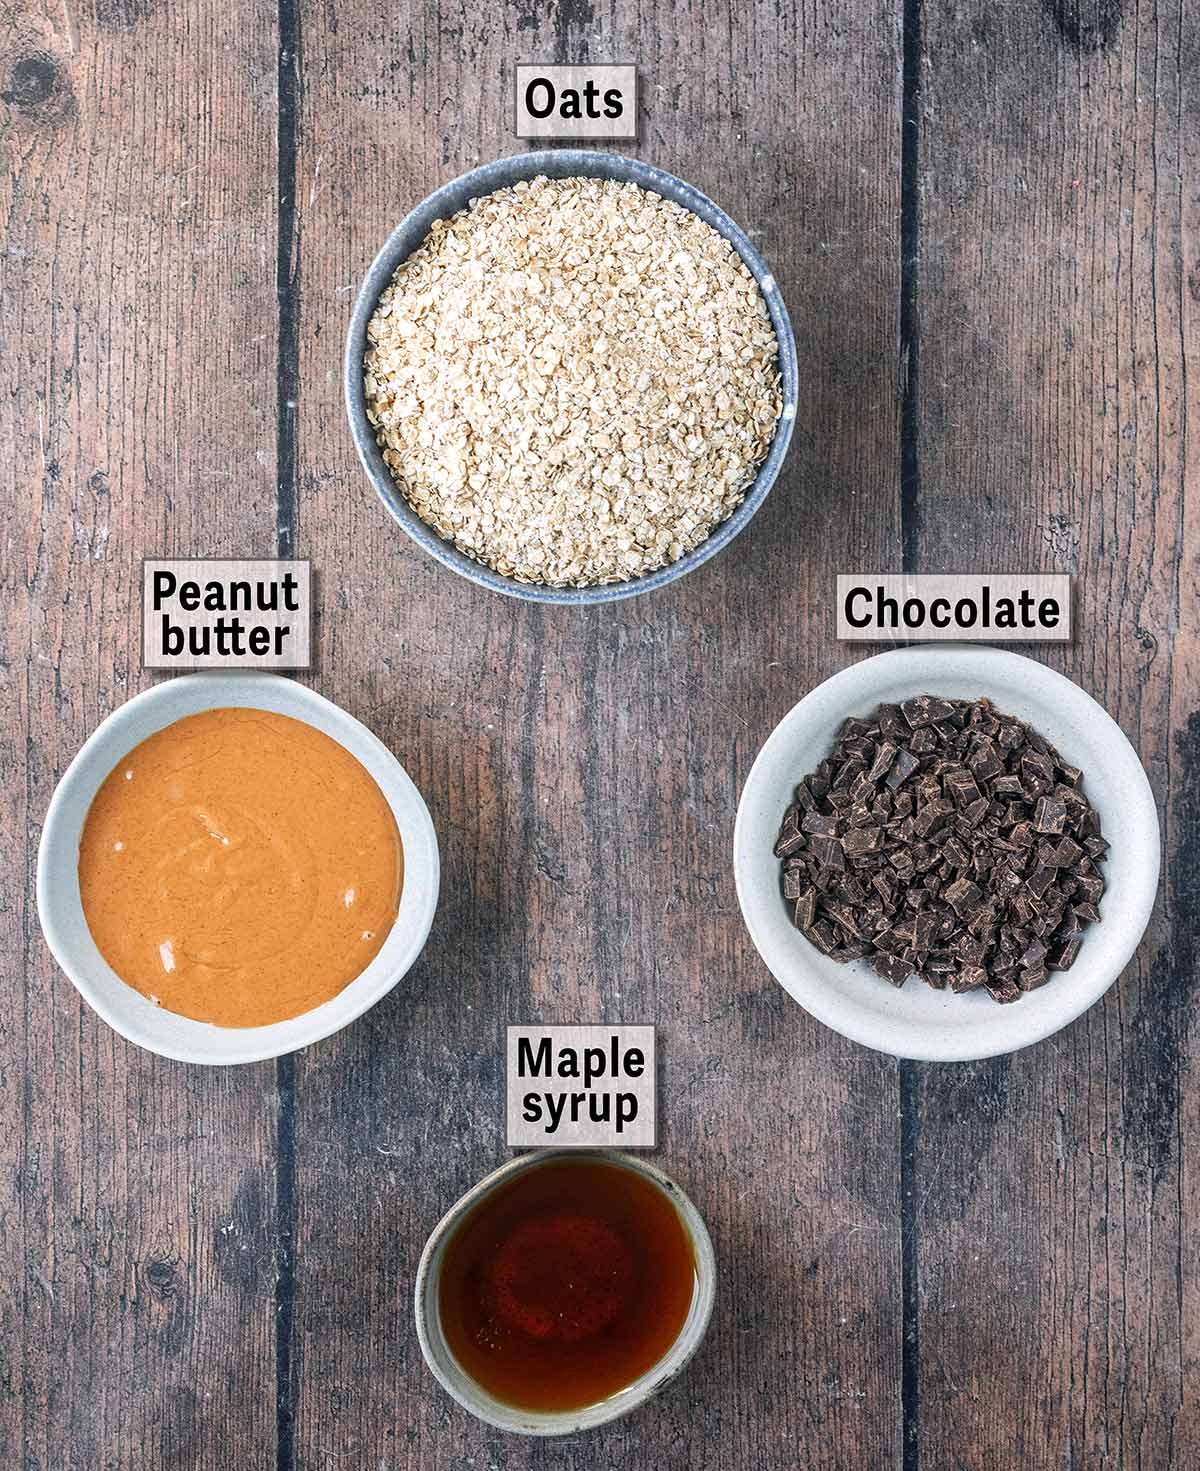
A full ingredients list, along with US Customary and Metric measurements, can be found in the recipe card at the end of this post.
- Oats - We use jumbo or rolled oats for these bars because they give them their chewy texture. I wouldn't use steel-cut oats here. They are designed to be cooked and will be too hard in a chilled no-bake recipe. Quick oats are finer and absorb liquid differently, so although they may work, they will give you a much softer texture than rolled oats. If you need the recipe to be gluten free, make sure you use oats that are specifically certified gluten free.
- Chocolate - I like using a vegan 70% dark chocolate because the slight bitterness works really well with sweet maple syrup and peanut butter. Chop the chocolate into small pieces so you get little pockets of chocolate throughout every bar. You could use milk chocolate if your family prefers a sweeter flavour. To keep the bars vegan or dairy free, use a suitable chocolate and always check the packaging.
- Peanut Butter - Smooth peanut butter is easiest to mix through the oats and helps everything stick together. If you're using natural peanut butter, stir it really well before measuring so the oil is completely mixed back in. You can swap peanut butter for almond or cashew butter if nuts aren't an issue. For a peanut- and tree-nut-free version, see my seed-butter suggestions further down the post.
- Maple Syrup - The maple syrup isn't just there for sweetness. It also helps the oat mixture bind together. You can use honey instead if that's what you have, although the finished bars would no longer be vegan.
What Makes These Chocolate Peanut Butter Oat Bars Different?
There are lots of chocolate and peanut butter bar recipes around, but many are much more like a dessert bar, with a peanut butter base and thick melted chocolate layer on top.
These are different. They are oat bars first. The oats stay whole so you get that lovely chewy texture, and small chunks of dark chocolate are mixed all the way through.
There is no separate chocolate topping to melt, no coconut oil required and no blender needed to make oat flour. That makes them particularly handy when I want to get a homemade snack in the fridge quickly without creating loads of washing up.
With only four ingredients and no separate chocolate layer to make, these are especially handy on busy afternoons.
How To Make No Bake Chocolate Peanut Butter Oat Bars
Prepare the tin: Line a 25x20cm (10x8 inch) tin with baking paper.
Leave a little baking paper hanging over the sides. You can use this to lift the entire slab out once it has chilled, rather than trying to cut the bars inside the tin.
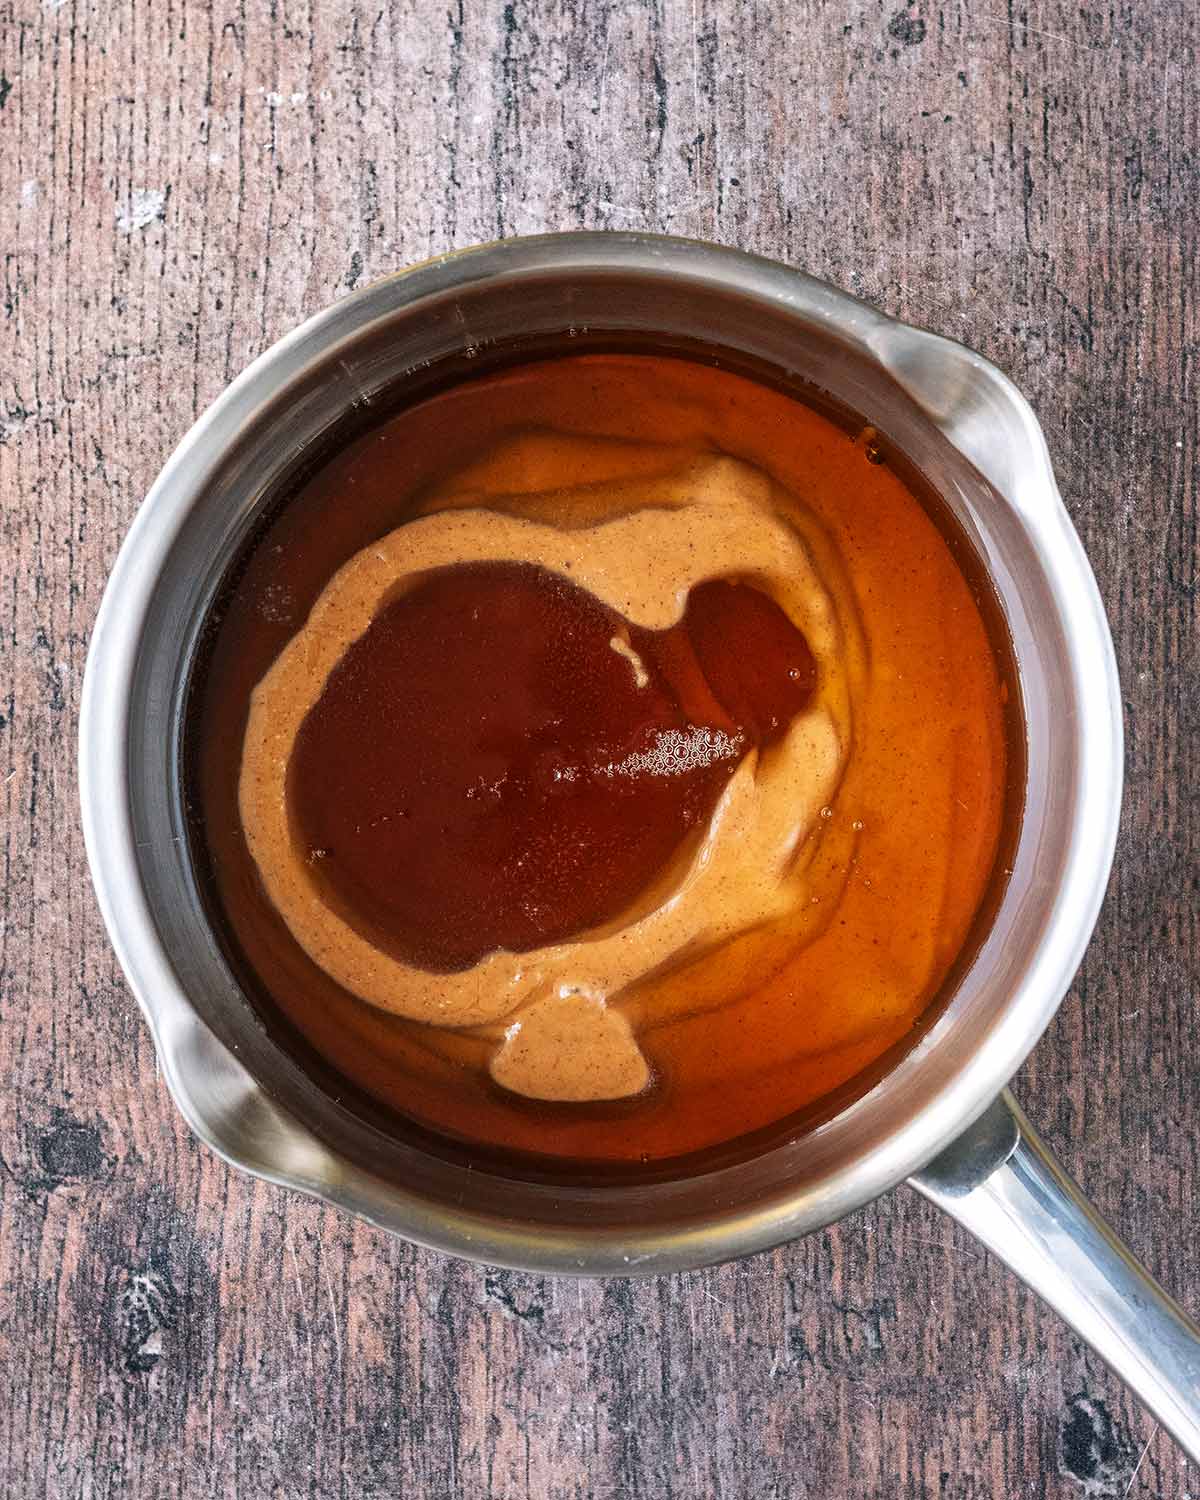
- Combine the liquid: Put the peanut butter and maple syrup into a small saucepan.
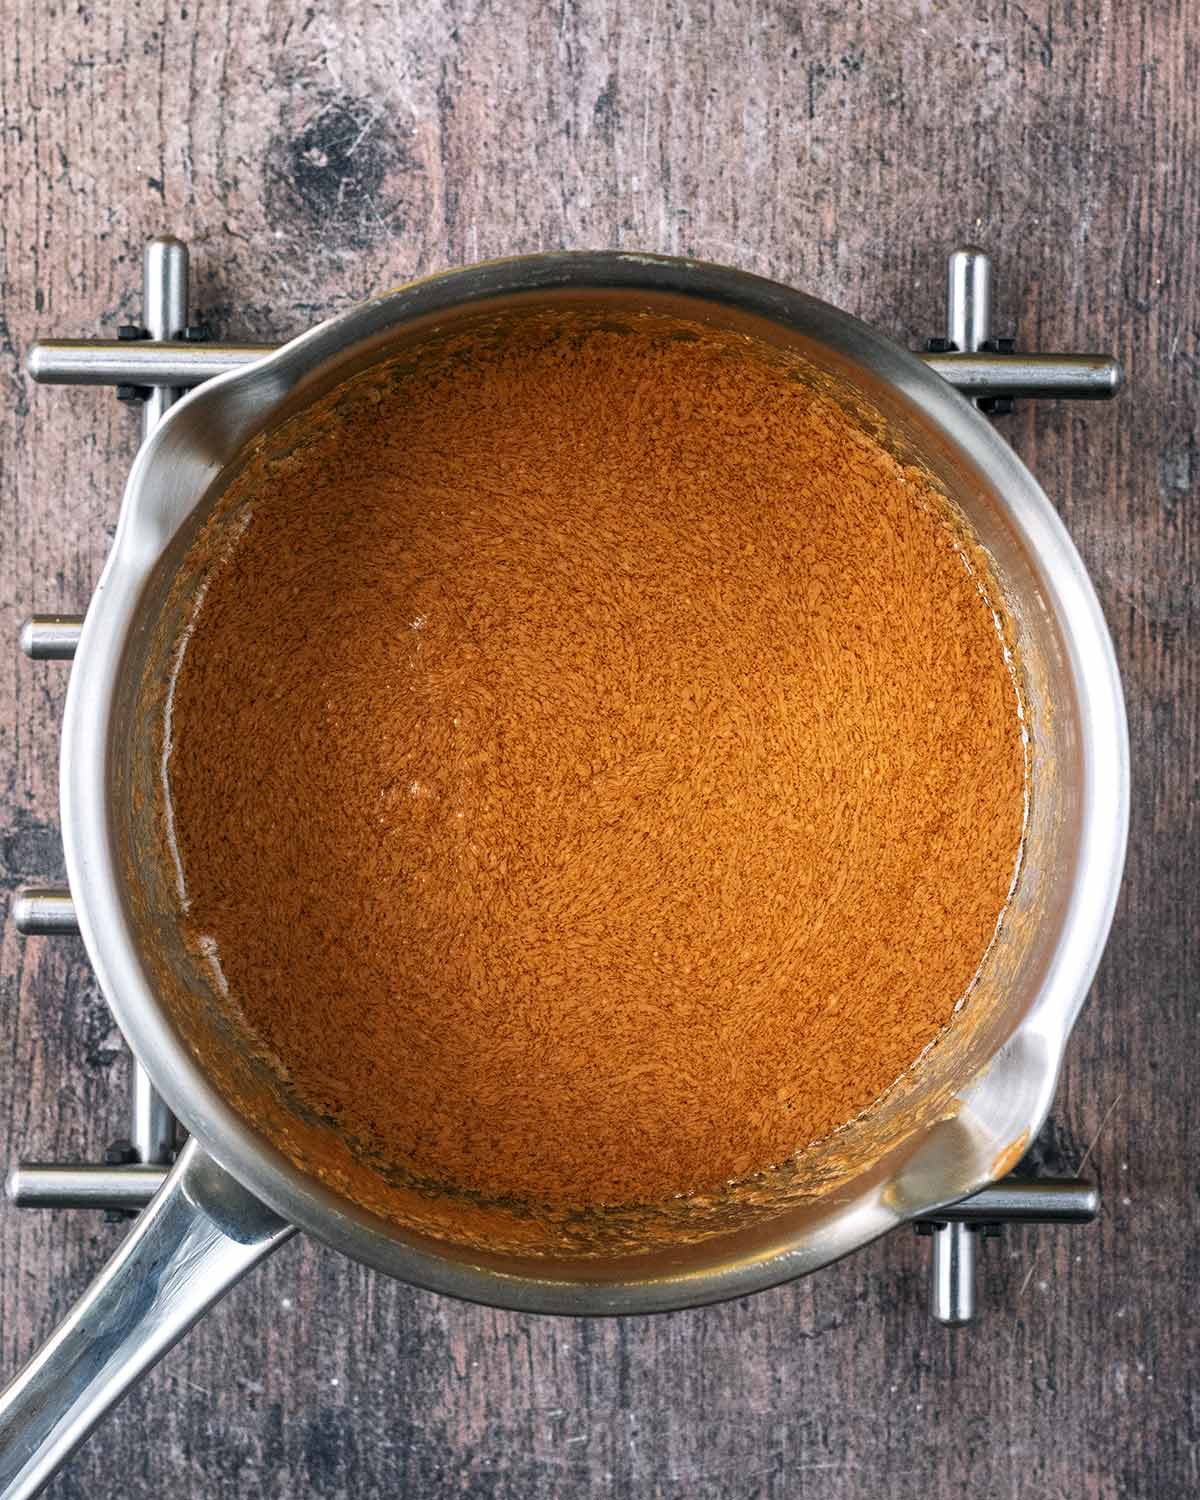
- Heat: Warm it gently.
You don't want to cook or boil it. You only need to loosen it enough that it will mix easily with the oats.
Remove it from the heat.
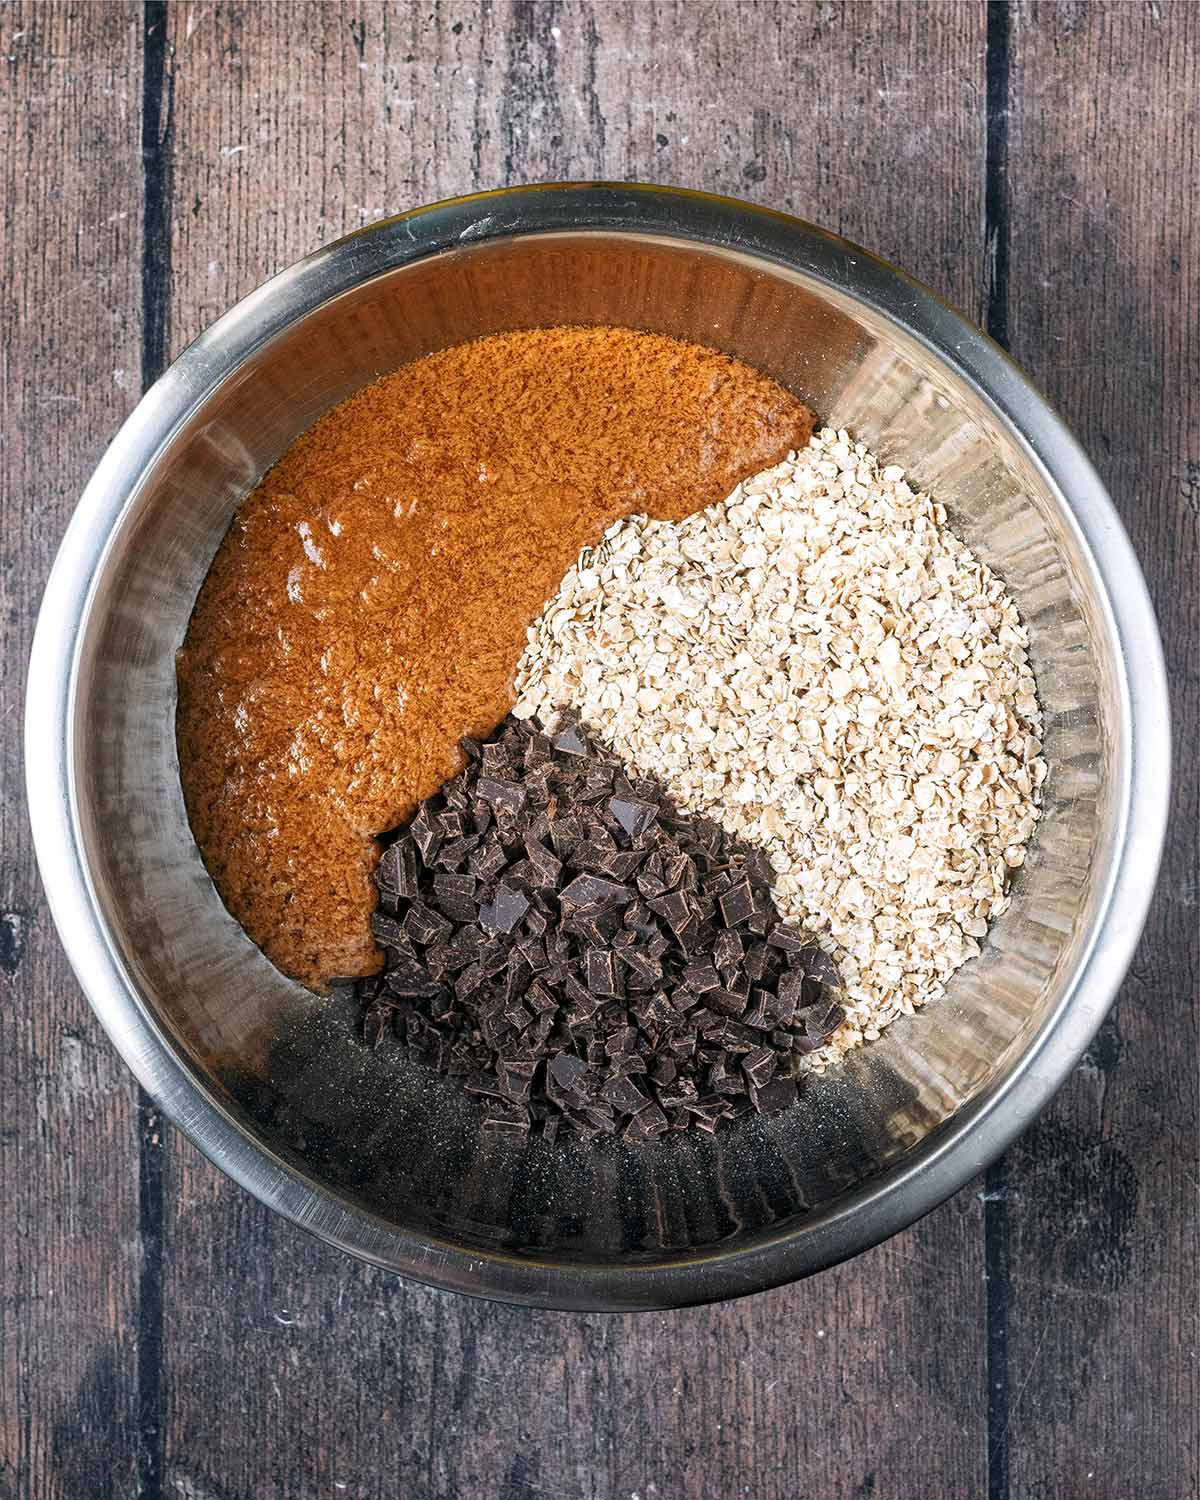
- Put into a bowl: Put the oats and chopped dark chocolate into a large mixing bowl. Pour over the warmed peanut butter and maple syrup.
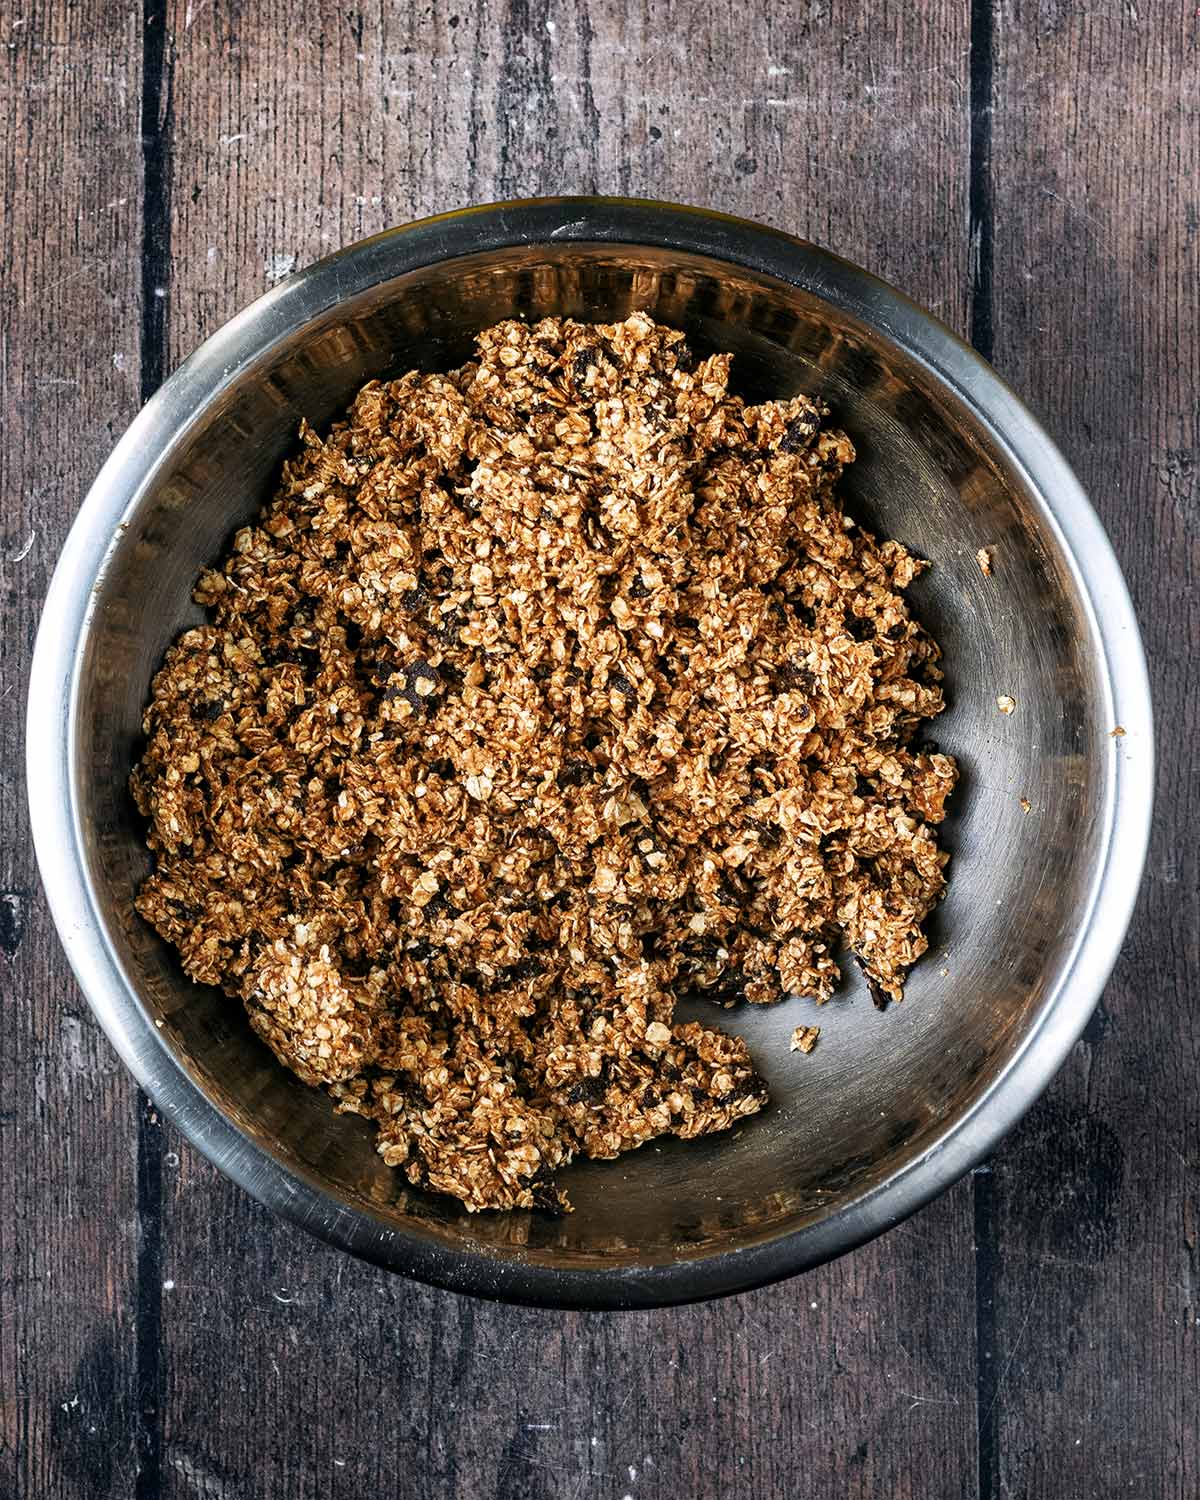
- Mix: Mix really well until the oats and chocolate are evenly distributed and everything looks thoroughly coated.
I often get my hands in towards the end because it is the easiest way to make sure there aren't any dry oats hiding at the bottom. The kids love helping with this bit too.
- Check the mixture: Before you put everything into the tin, squeeze a little of the mixture firmly in your hand - it should stick together. This is a useful check because different brands of oats and peanut butter can behave slightly differently.
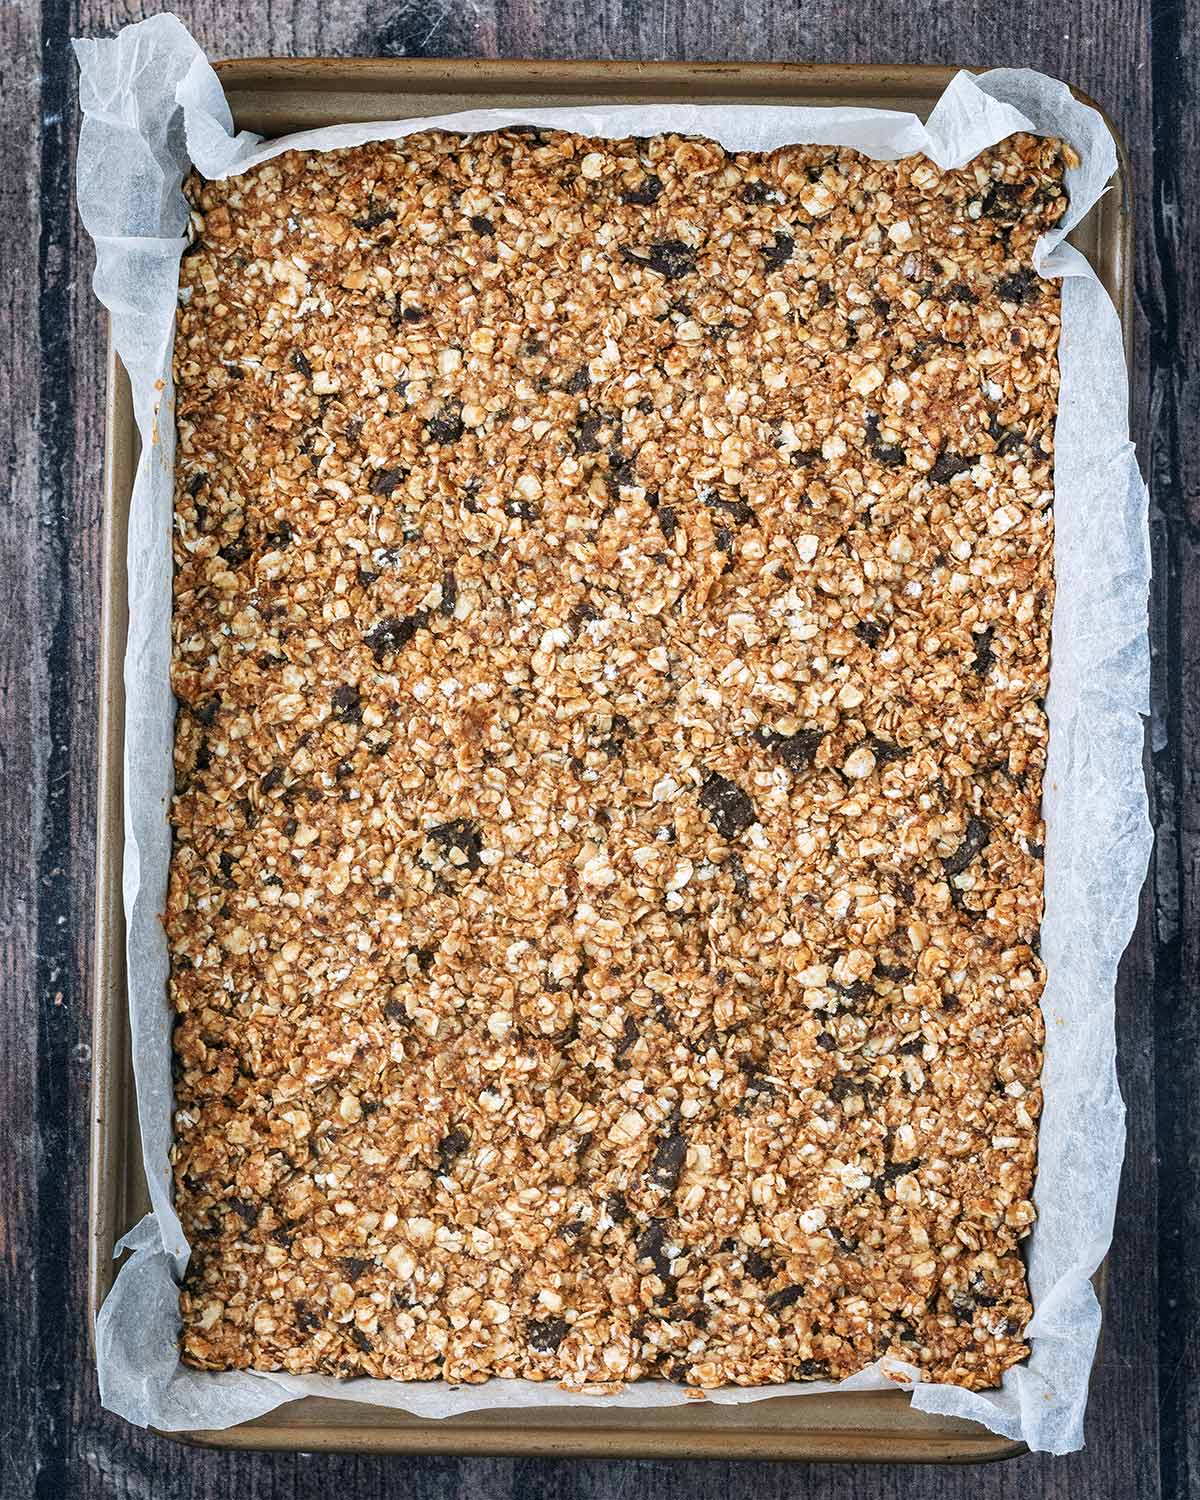
- Press it down firmly: Tip the mixture into your lined tin and spread it right into the corners.
Now press it down firmly.
💡 Don't just lightly smooth the top. Compacting the mixture properly is one of the most important things you can do to help no bake oat bars hold their shape.
I use the back of a spoon or a flat-bottomed glass to really press everything down.
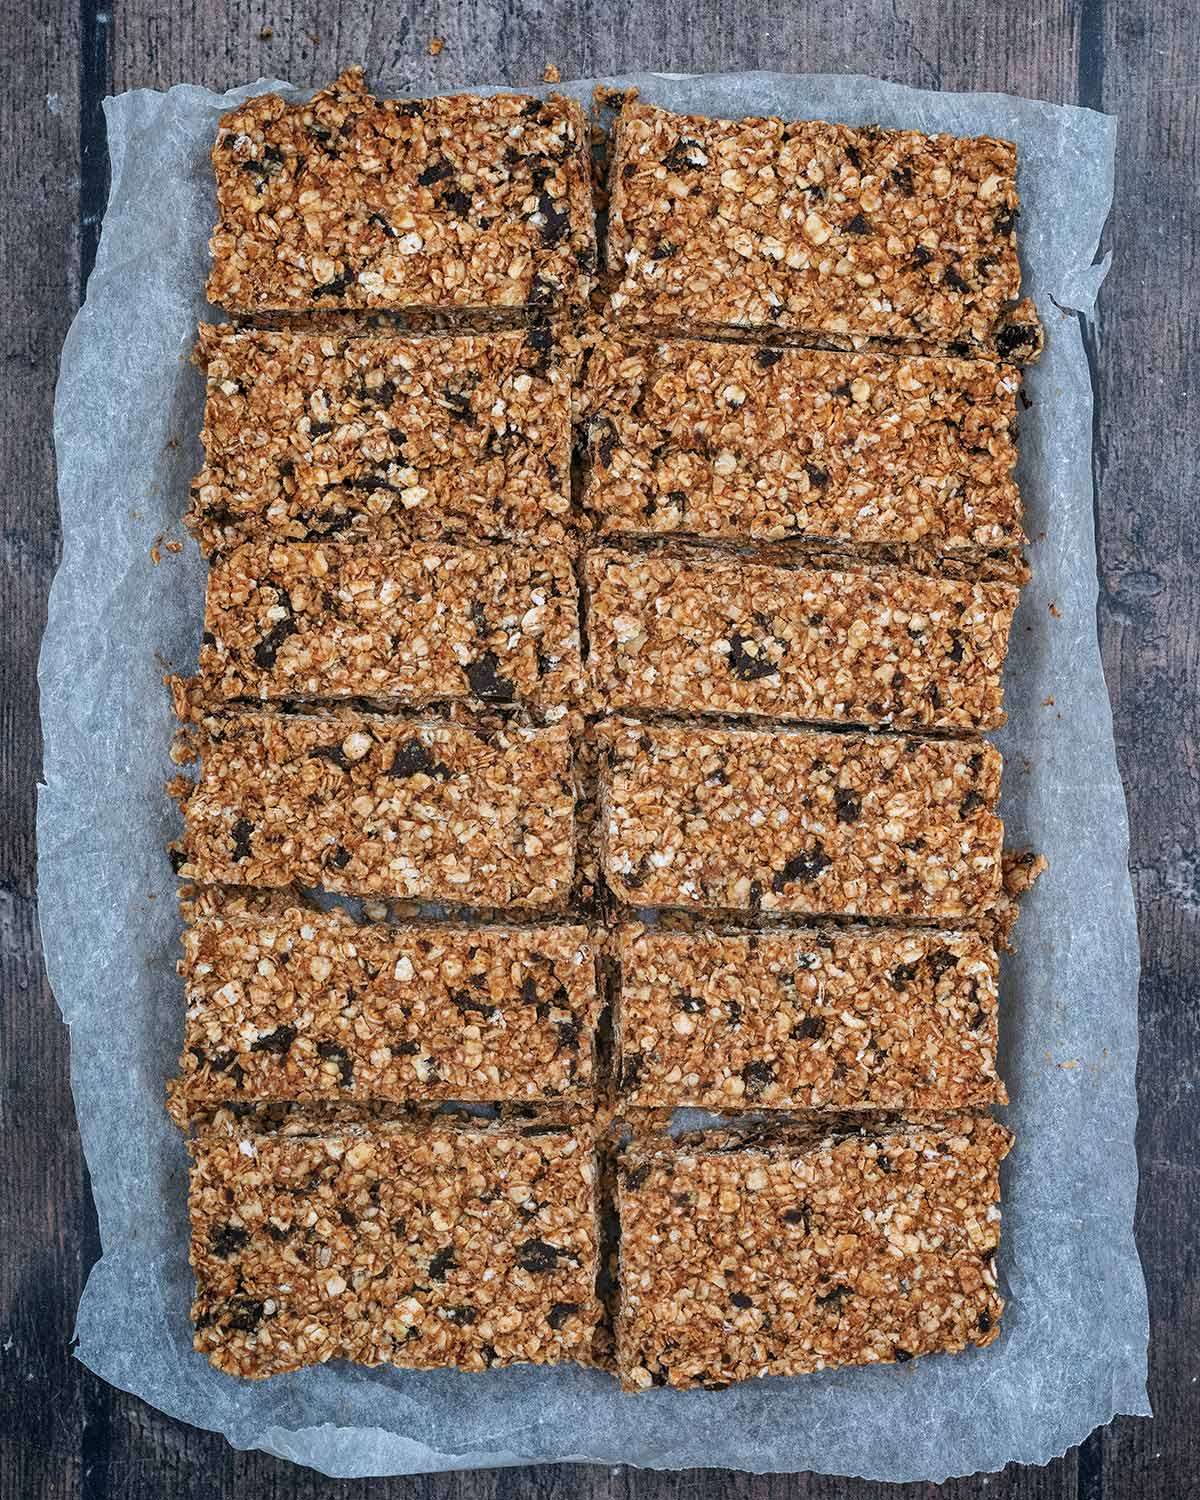
- Chill: Put the tin into the fridge for around 2 hours, or until the mixture is completely firm.
- Slice: Use the baking paper to lift the whole slab out of the tin and put it onto a chopping board. Cut into 12 bars or smaller squares.
Troubleshooting: How to Stop Peanut Butter Oat Bars Falling Apart
If you've ever made homemade oat bars that tasted great but disintegrated as soon as you picked one up, you will know how frustrating it is. There are a few things that help.
|
Problem |
Likely cause |
|
Make sure everything is properly coated |
You shouldn't have lots of loose, dry oats left in the bowl. Mix really thoroughly so the peanut butter and maple syrup reach all the oats. |
|
Check your peanut butter |
Some peanut butter is naturally much drier than others. If you're using natural peanut butter, always stir the jar really well first so the oil is evenly distributed. |
|
Press, don't just spread |
This is probably the biggest one. Once the mixture is in the tin, really compact it. The more firmly everything is pressed together before chilling, the easier it will be to cut neat bars afterwards. |
|
Chill them properly |
Two hours might feel like a long wait when there is chocolate involved, but don't rush this part. If the middle still feels soft, give the bars longer. |
|
Cut with a sharp knife |
Lift the chilled slab out first and use a large sharp knife. If you want very neat cuts, warm the knife under hot water, dry it and then slice. Wipe the knife between cuts if needed. |
Variations
Chocolate orange - Add a little finely grated orange zest to the mixture.
Mint chocolate - Add a tiny amount of peppermint extract for a chocolate-mint version. Start with less than you think you need, as peppermint extract can quickly overpower everything else.
Dried cherries - Add some finely chopped dried cherries. Cherry, dark chocolate and peanut butter is such a good combination. Remember that adding lots of extra dry ingredients can make the mixture harder to hold together, so don't go overboard.
Seeds - Pumpkin or sunflower seeds add some extra crunch. Again, keep additions fairly small so you don't upset the balance between the oats and sticky ingredients.
Are Chocolate Peanut Butter Oat Bars Healthy?
These bars are made with four familiar ingredients - oats, peanut butter, maple syrup and dark chocolate.
The oats provide fibre and the peanut butter contributes some protein, but the bars also contain chocolate and maple syrup and they are fairly energy dense. I think of them as a filling homemade snack rather than a low-calorie snack.
One full-size bar contains approximately 317 calories, 8g of protein and 3g of fibre.
For my children, I usually cut them into smaller squares, particularly if I am serving them with fruit or as part of a bigger snack.
What I find most useful about them is that they're easy to make ahead, simple to portion and can be kept in the fridge or freezer ready for busy afternoons.
Nut-Free Variation for Schools That Restrict Nuts
If your child's school asks families not to send in peanuts or tree nuts, sunflower seed butter is an option for replacing the peanut butter.
Different brands of seed butter vary in consistency, so check the mixture before pressing it into the tin. When squeezed firmly, it should hold together.
However, swapping the peanut butter doesn't automatically make the finished bars suitable for every child with an allergy. Always follow your school's individual allergy policy and check every ingredient label, including any precautionary "may contain" information.
Please note, I have not tested this recipe using sunflower seed butter, however, it is the closest nut-free alternative to peanut butter in both texture and flavour.
Storage
Fridge - Keep the bars in an airtight container in the fridge for up to a week. They hold their shape best when chilled, especially in warm weather.
If you are taking them out for the day, I would use a cool bag rather than leaving them somewhere warm for hours. This is particularly useful for picnics, days out or sports training days.
Freeze - These freeze really well and this is one of the reasons I make them so often. Once the slab is completely chilled, cut it into individual bars.
Put pieces of baking paper between them or wrap the bars individually, then put them into a freezer-safe container. They can be frozen for up to 3 months.
Defrost as many as you need in the fridge. Freezing individual portions also stops a batch disappearing quite as quickly!
Dannii's Top Tips
- Do the squeeze test. Before pressing the mixture into the tin, squeeze some in your hand. If it holds together, you're on the right track.
- Press firmly. Don't just spread the mixture into the tin. Really compact it so the bars hold together.
- Stir natural peanut butter first. You don't want all the oil at the top of the jar and dry peanut butter at the bottom.
- Use rolled or jumbo oats. Avoid steel-cut oats for a no-bake recipe.
- Chill completely. If the centre still feels soft, give the bars longer before cutting them.
- Use baking paper. Leave enough hanging over the sides so you can lift the whole slab out.
- Use a sharp knife. A warm, dry knife will give you cleaner cuts.
- Cut smaller portions for kids. You don't have to serve these as huge café-style bars.
- Keep them cool. Peanut butter oat bars soften in warm temperatures.
- Freeze individual portions. It makes busy-week snacks much easier.
- Don't overload the mixture with extras. Too many nuts, seeds or dried fruit can make the bars harder to bind.
Frequently Asked Questions
The most common reasons are not mixing thoroughly enough, using a particularly dry peanut butter, not pressing the mixture firmly enough into the tin or cutting the bars before they are properly chilled. Squeeze a little mixture before it goes into the tin. It should hold together.
Warming it makes it much easier to mix evenly through the oats. It only needs gentle heat until it loosens. Don't let it boil.
The maple syrup adds sweetness, but it is also one of the ingredients helping the oats stick together, so I wouldn't recommend reducing it.
Yes. In the US, recipes like these are often called, while in the UK we are more likely to call them oat bars. Both describe the same style of chewy oat-based snack.
They are flapjack-like because they're oat-based, but unlike traditional British flapjacks they don't contain the usual butter-and-golden-syrup mixture or need baking.
More Oat Bar Snacks
If you've tried these chocolate peanut butter oat bars, let me know how you got on in the comments below.
Tag us in your creations on Instagram @hungryhealthyhappy - Use the hashtag #hungryhealthyhappy too.
Recipe
Chocolate Peanut Butter Oat Bars



Recipe Video
Ingredients
- 180 g (⅔ cup) of Peanut butter
- 170 ml (½ cups) of Maple syrup
- 300 g (3⅔ cups) of Jumbo oats - (use certified gluten free oats to ensure this recipe is gluten free)
- 170 g (1 cups) of Chocolate - vegan, 70% Dark; cut into small chunks
Instructions
- Prepare the tin: Line a 25x20cm (10x8 inch) tin with baking paper.
- Combine the liquid: Put 180 g of Peanut butter and 170 ml of Maple syrup into a small saucepan.
- Heat: Warm it gently. You don't want to cook or boil it. You only need to loosen it enough that it will mix easily with the oats. Remove it from the heat.
- Put into a bowl: Put 300 g of Jumbo oats and 170 g of Chocolate (chopped) into a large mixing bowl. Pour over the warmed peanut butter and maple syrup.
- Mix: Mix really well until the oats and chocolate are evenly distributed and everything looks thoroughly coated.
- Check the mixture: Before you put everything into the tin, squeeze a little of the mixture firmly in your hand - it should stick together.This is a useful check because different brands of oats and peanut butter can behave slightly differently.
- Press it down firmly: Tip the mixture into your lined tin and spread it right into the corners. Now press it down firmly.
- Chill: Put the tin into the fridge for around 2 hours, or until the mixture is completely firm.
- Slice: Use the baking paper to lift the whole slab out of the tin and put it onto a chopping board. Cut into 12 bars or smaller squares.
Recipe Notes
- Press firmly. Don't just spread the mixture into the tin. Really compact it so the bars hold together.
- Stir natural peanut butter first. You don't want all the oil at the top of the jar and dry peanut butter at the bottom.
- Use rolled or jumbo oats. Avoid steel-cut oats for a no-bake recipe.
- Chill completely. If the centre still feels soft, give the bars longer before cutting them.
- Use baking paper. Leave enough hanging over the sides so you can lift the whole slab out.
- Use a sharp knife. A warm, dry knife will give you cleaner cuts.
- Cut smaller portions for kids. You don't have to serve these as huge café-style bars.
- Keep them cool. Peanut butter oat bars soften in warm temperatures.
- Freeze individual portions. It makes busy-week snacks much easier.
- Don't overload the mixture with extras. Too many nuts, seeds or dried fruit can make the bars harder to bind.
Nutritional Information
Where nutritional information is provided, it is approximate and calculated using online tools. Values can vary depending on the ingredients and brands used, but we endeavour to be as accurate as possible.
All timings are a guide and may vary depending on the ingredients, equipment and, where relevant, the appliance used. Changing the serving size may also affect the time needed.


Ros Mitchell says
All the family enjoy these. Making on repeat as they never last long. Easy to follow recipe and always works out.
Tanya King says
Really, really tasty! And super quick to make. I used a mix of honey and maple syrup. Will take them on walks etc as an energy boost.
Chrissy says
Super quick and simple, but really yummy and last for a good few days. Will definitely make these again.
Amy says
This looks lovely! It reminds me of my Auntie as she used to make me these squares using Mars Bars.